Nearly 30 years ago, I bought my very first telescope, an Orion 150/750mm, which I still own today. At the time, I chose it to explore the deep sky and get into astrophotography. This may seem commonplace today, but three decades ago, you had to be really passionate to get into it. You had to precisely align the telescope, adjust several elements like the motor to compensate for the rotation of the Earth, and install a camera kit to keep everything stable. In short, it was a real challenge, both for the installation and for the observation, not to mention the time spent processing the photos afterwards. After a few months, this passion for the stars ended up being relegated behind other projects.
But in 2023, this passion was suddenly rekindled, thanks to a crowdfunding campaign for an electronic telescope designed by Dwarflabs. Small, compact, portable, easy to set up, capable of capturing long exposure images, and fully controllable via an app... I couldn't resist and fell for the Dwarf II. This telescope has completely changed the game compared to my Orion. Sure, I can get better results with the Orion, but the ease of use and price of the Dwarf II are unbeatable.
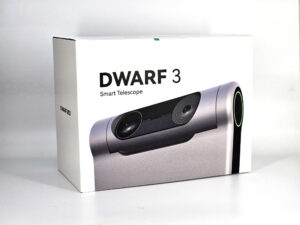
A few months after getting my hands on the Dwarf II, I had the opportunity to test another electronic telescope, even more powerful. Dwarflabs has clearly not said its last word! The Dwarf 3 is already on its way, with the mission of bringing us even closer to the stars. I should receive it before its official release, but while waiting to test it, here is some information on this new technological marvel.
Where to buy?
The Dwarf 3 is available for pre-order on the official website: Dwarf 3 / DwarflabsThe telescope is available at a lower price for those who order it before the launch, the risk that this telescope will be of lower quality than the previous one is quite low.
Update 30/01/2024
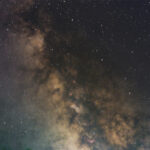
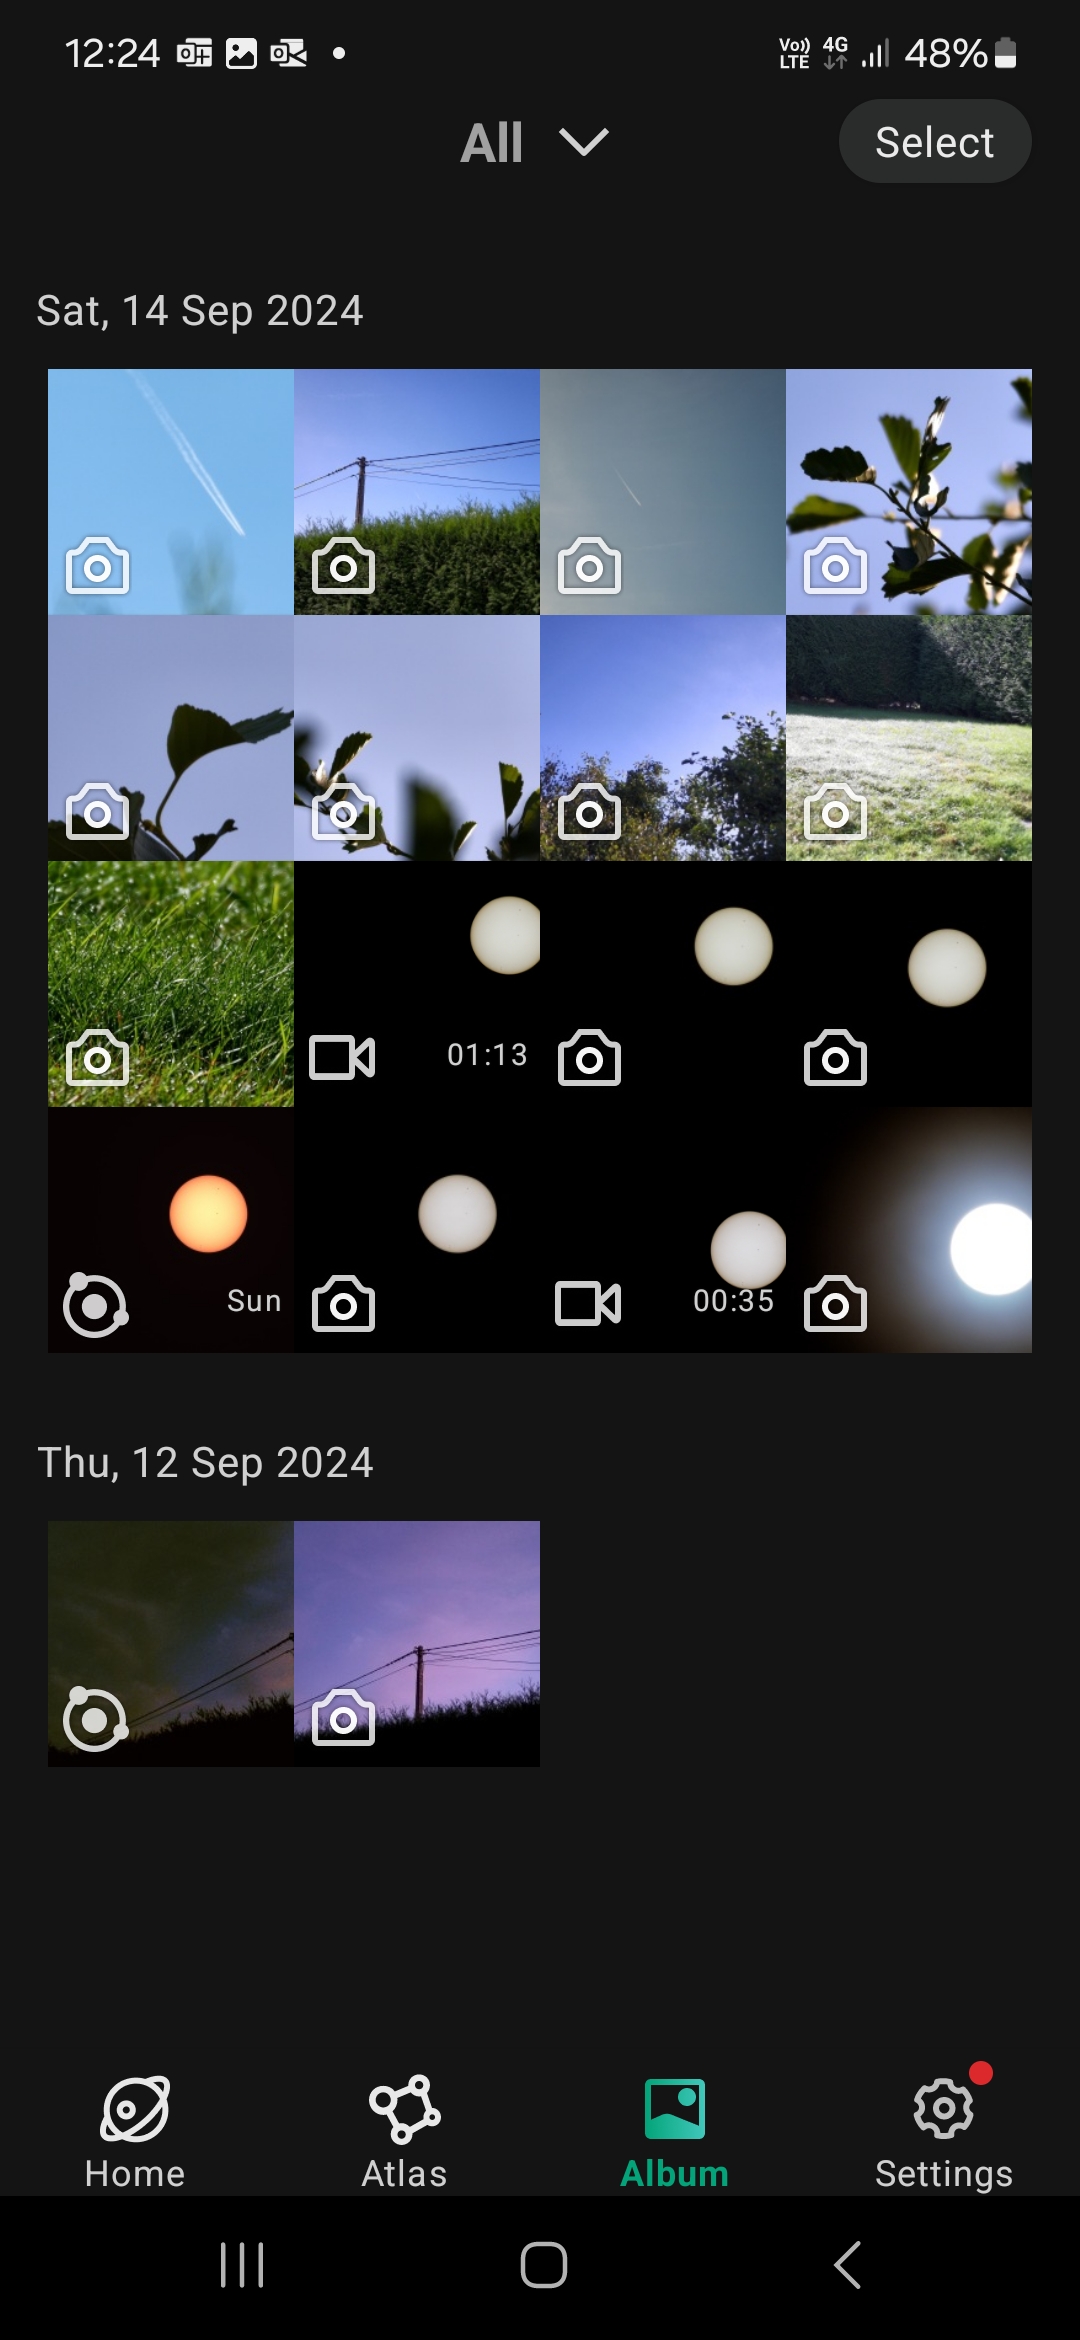
Got a really good clear sky and took some interesting shots.
M42

IC 434
Updated August 22, 2024
I received some pictures taken with the Dwarf 3 and they are quite interesting. The Dwarf 3 is in the final stages of testing before moving to mass production in the coming weeks. Updated September 11, 2024


I received my copy of the Dwarf III and I'm going to start by introducing you to the telescope, hoping not to have to wait too long before having a beautiful starry sky to explore!
Unboxing
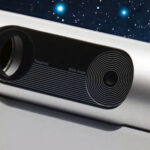
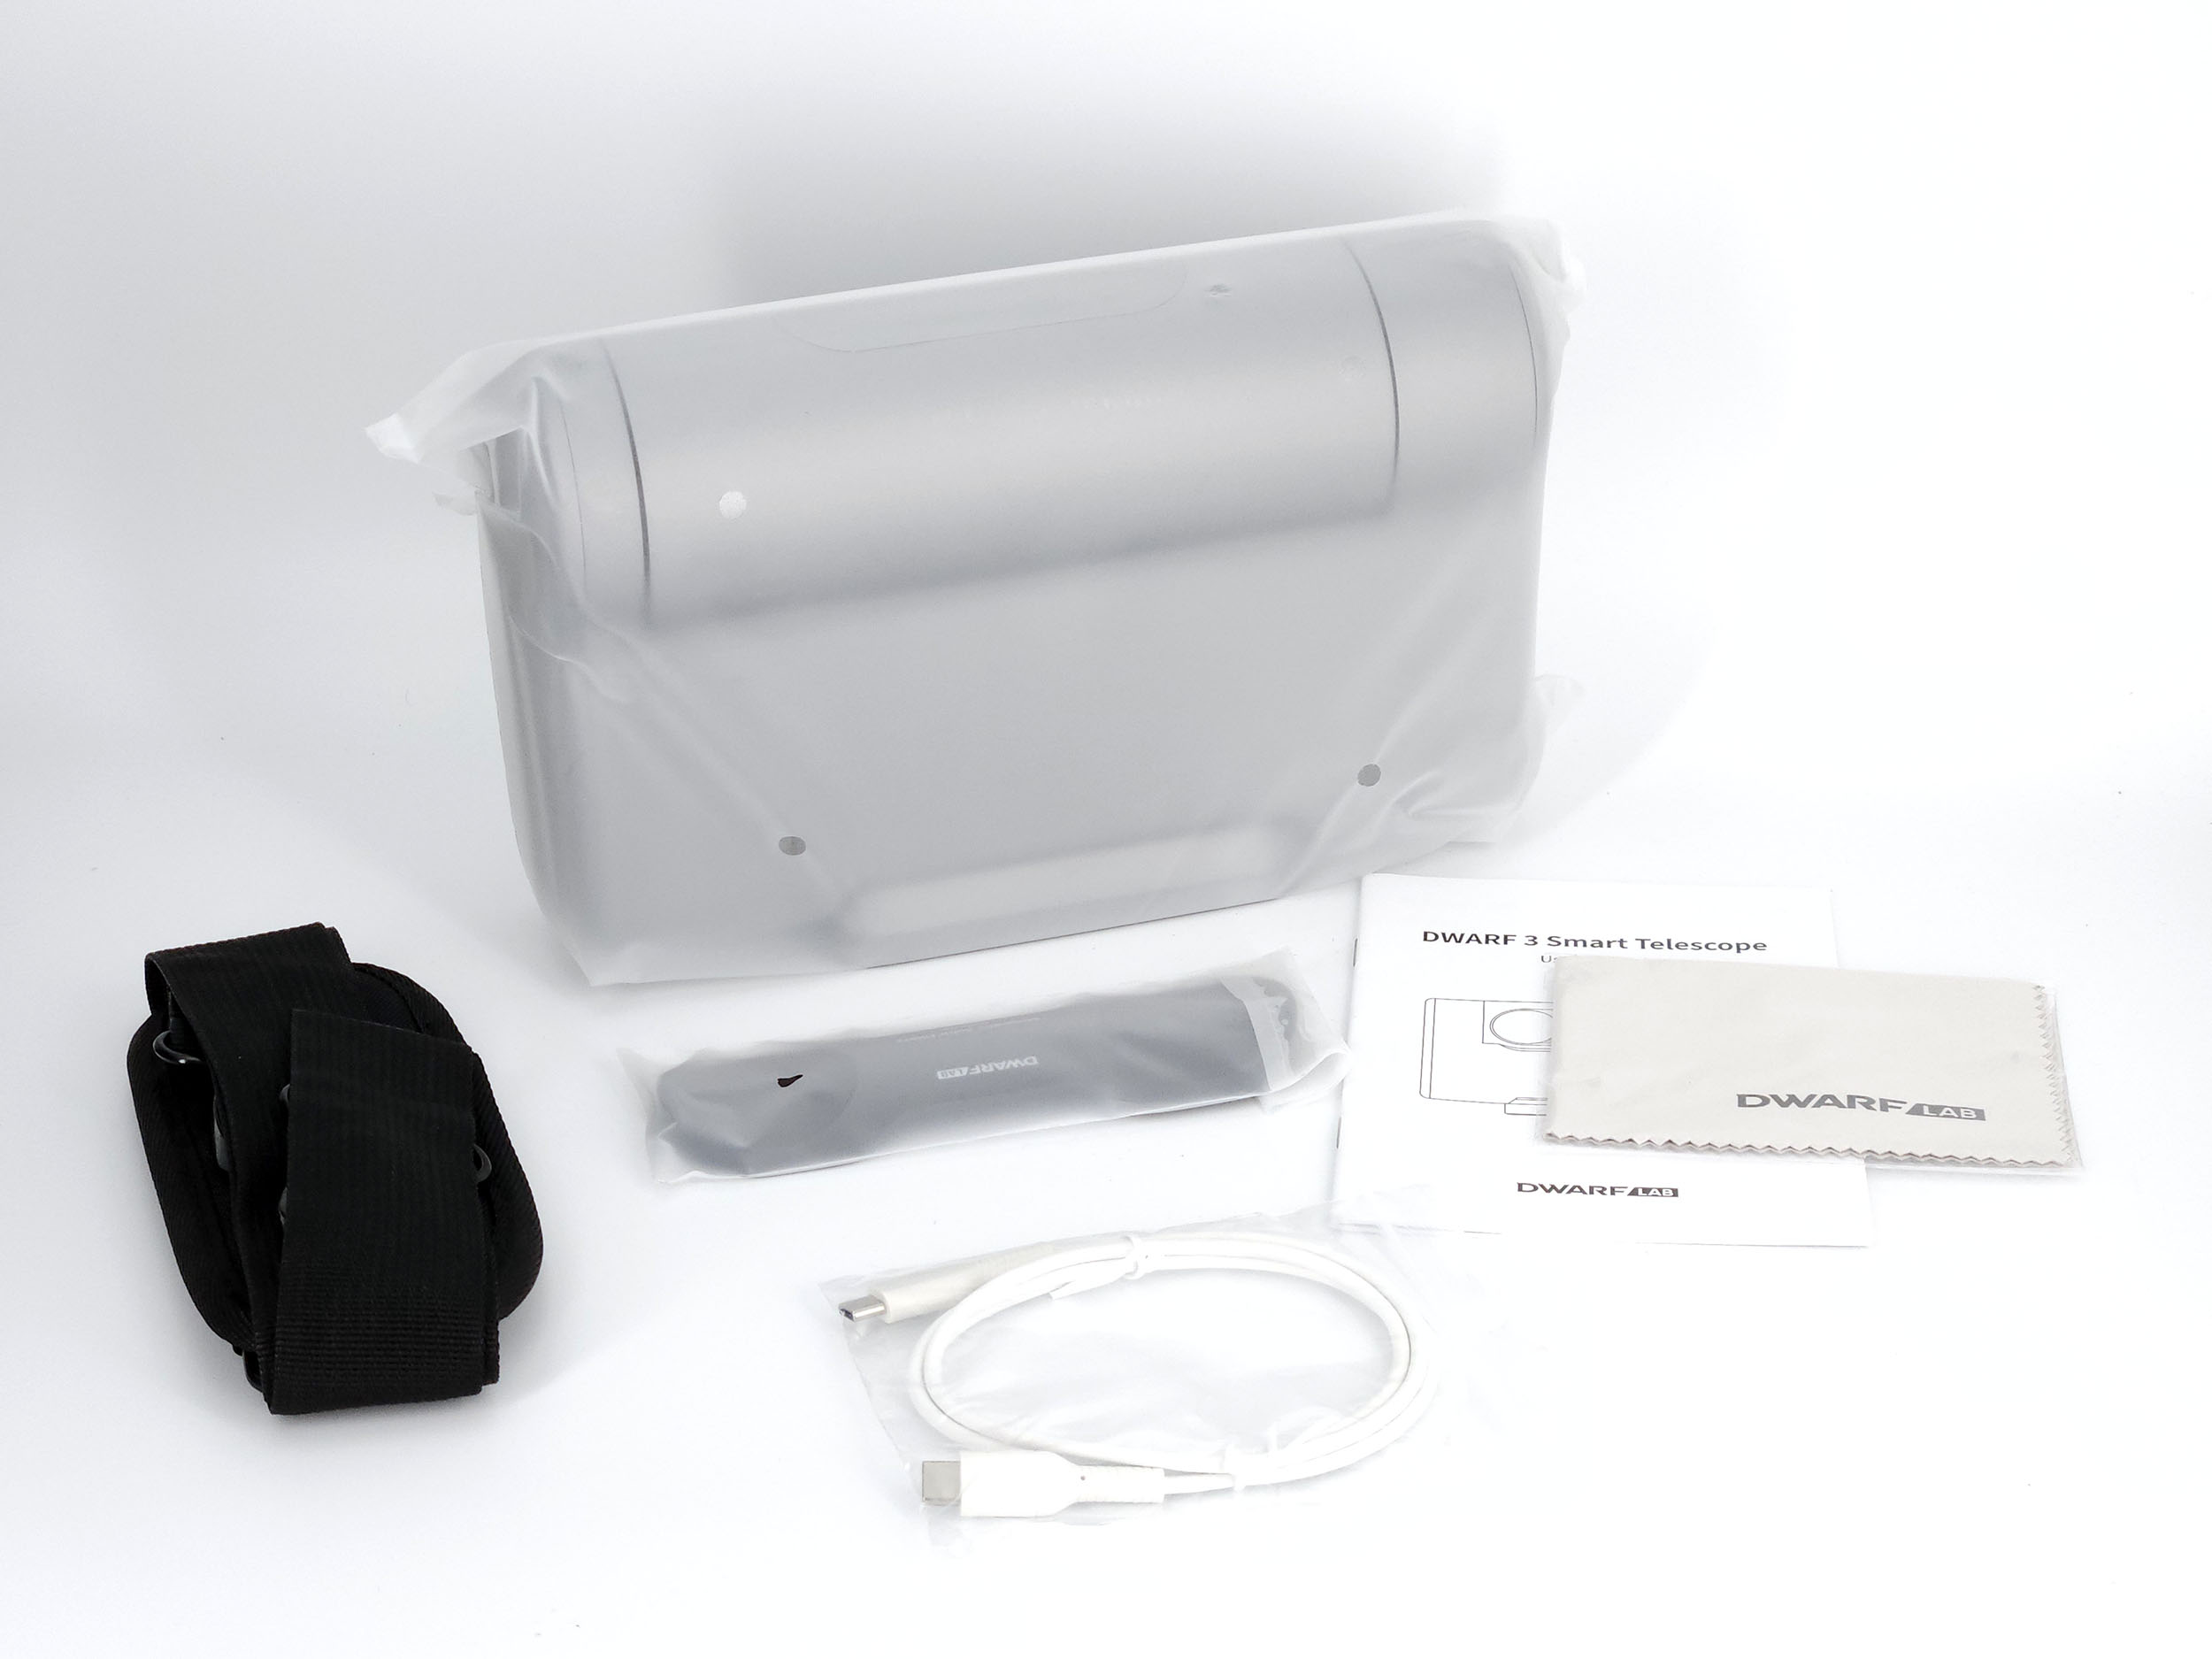
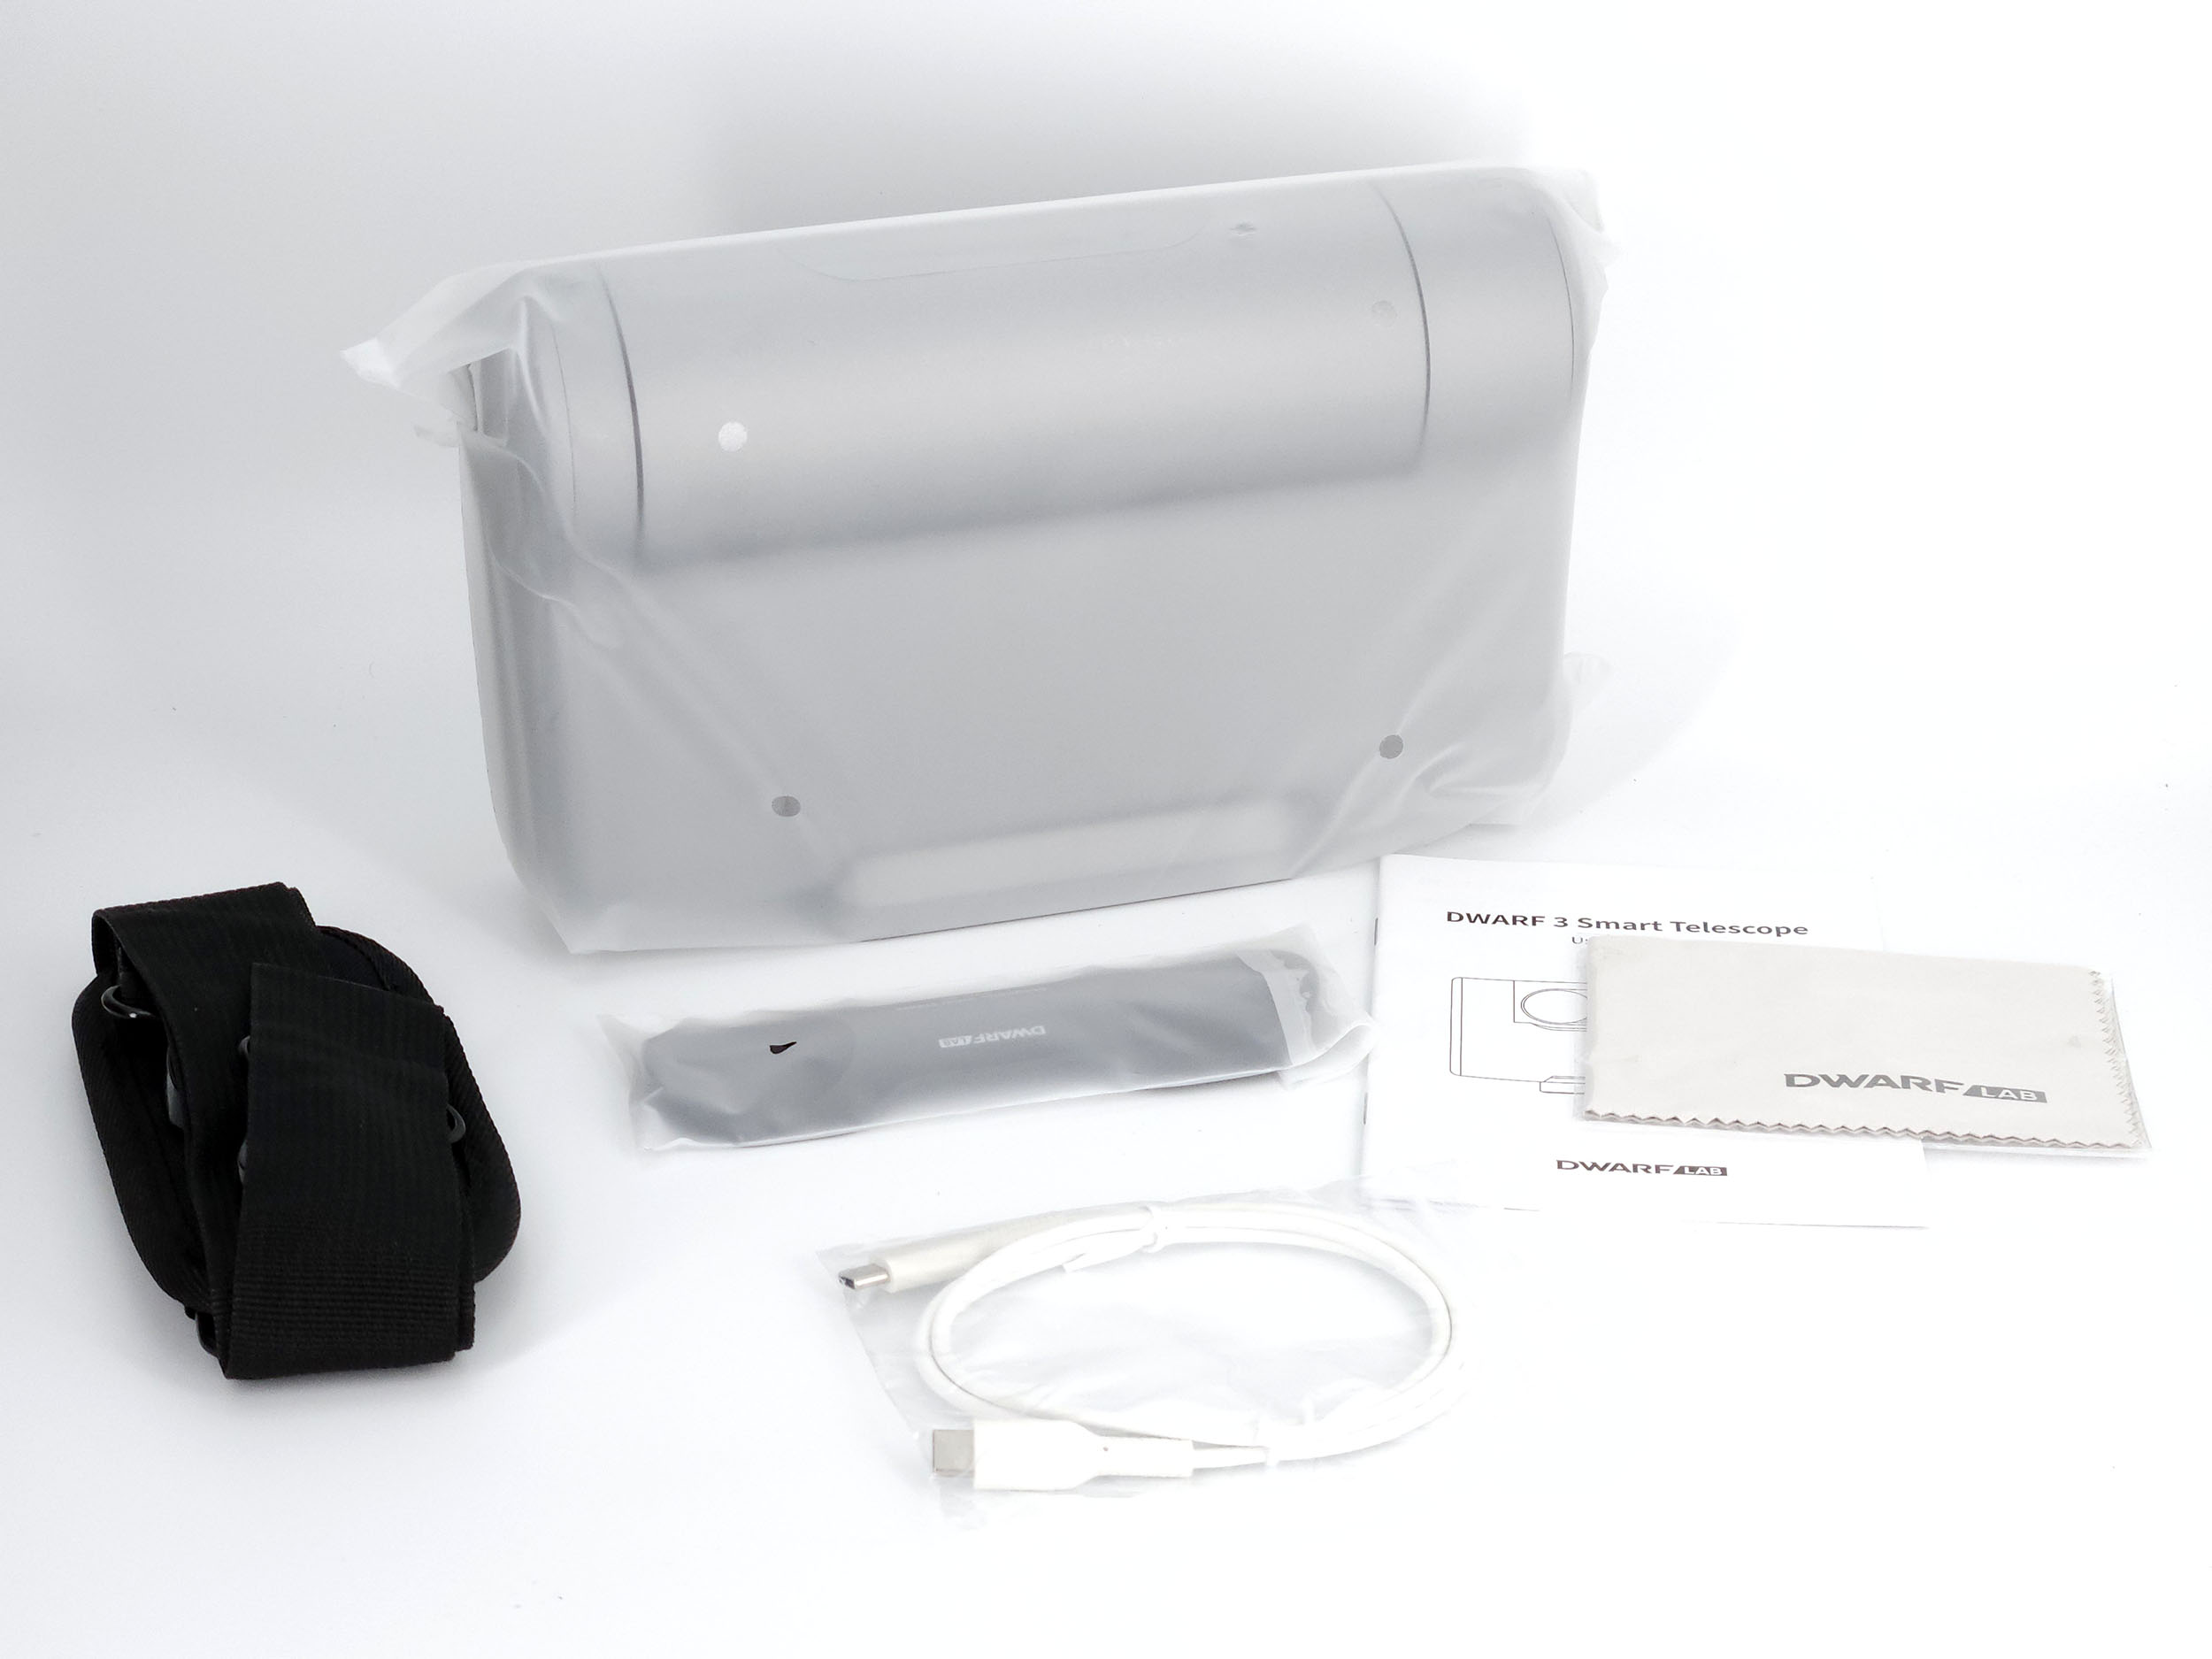
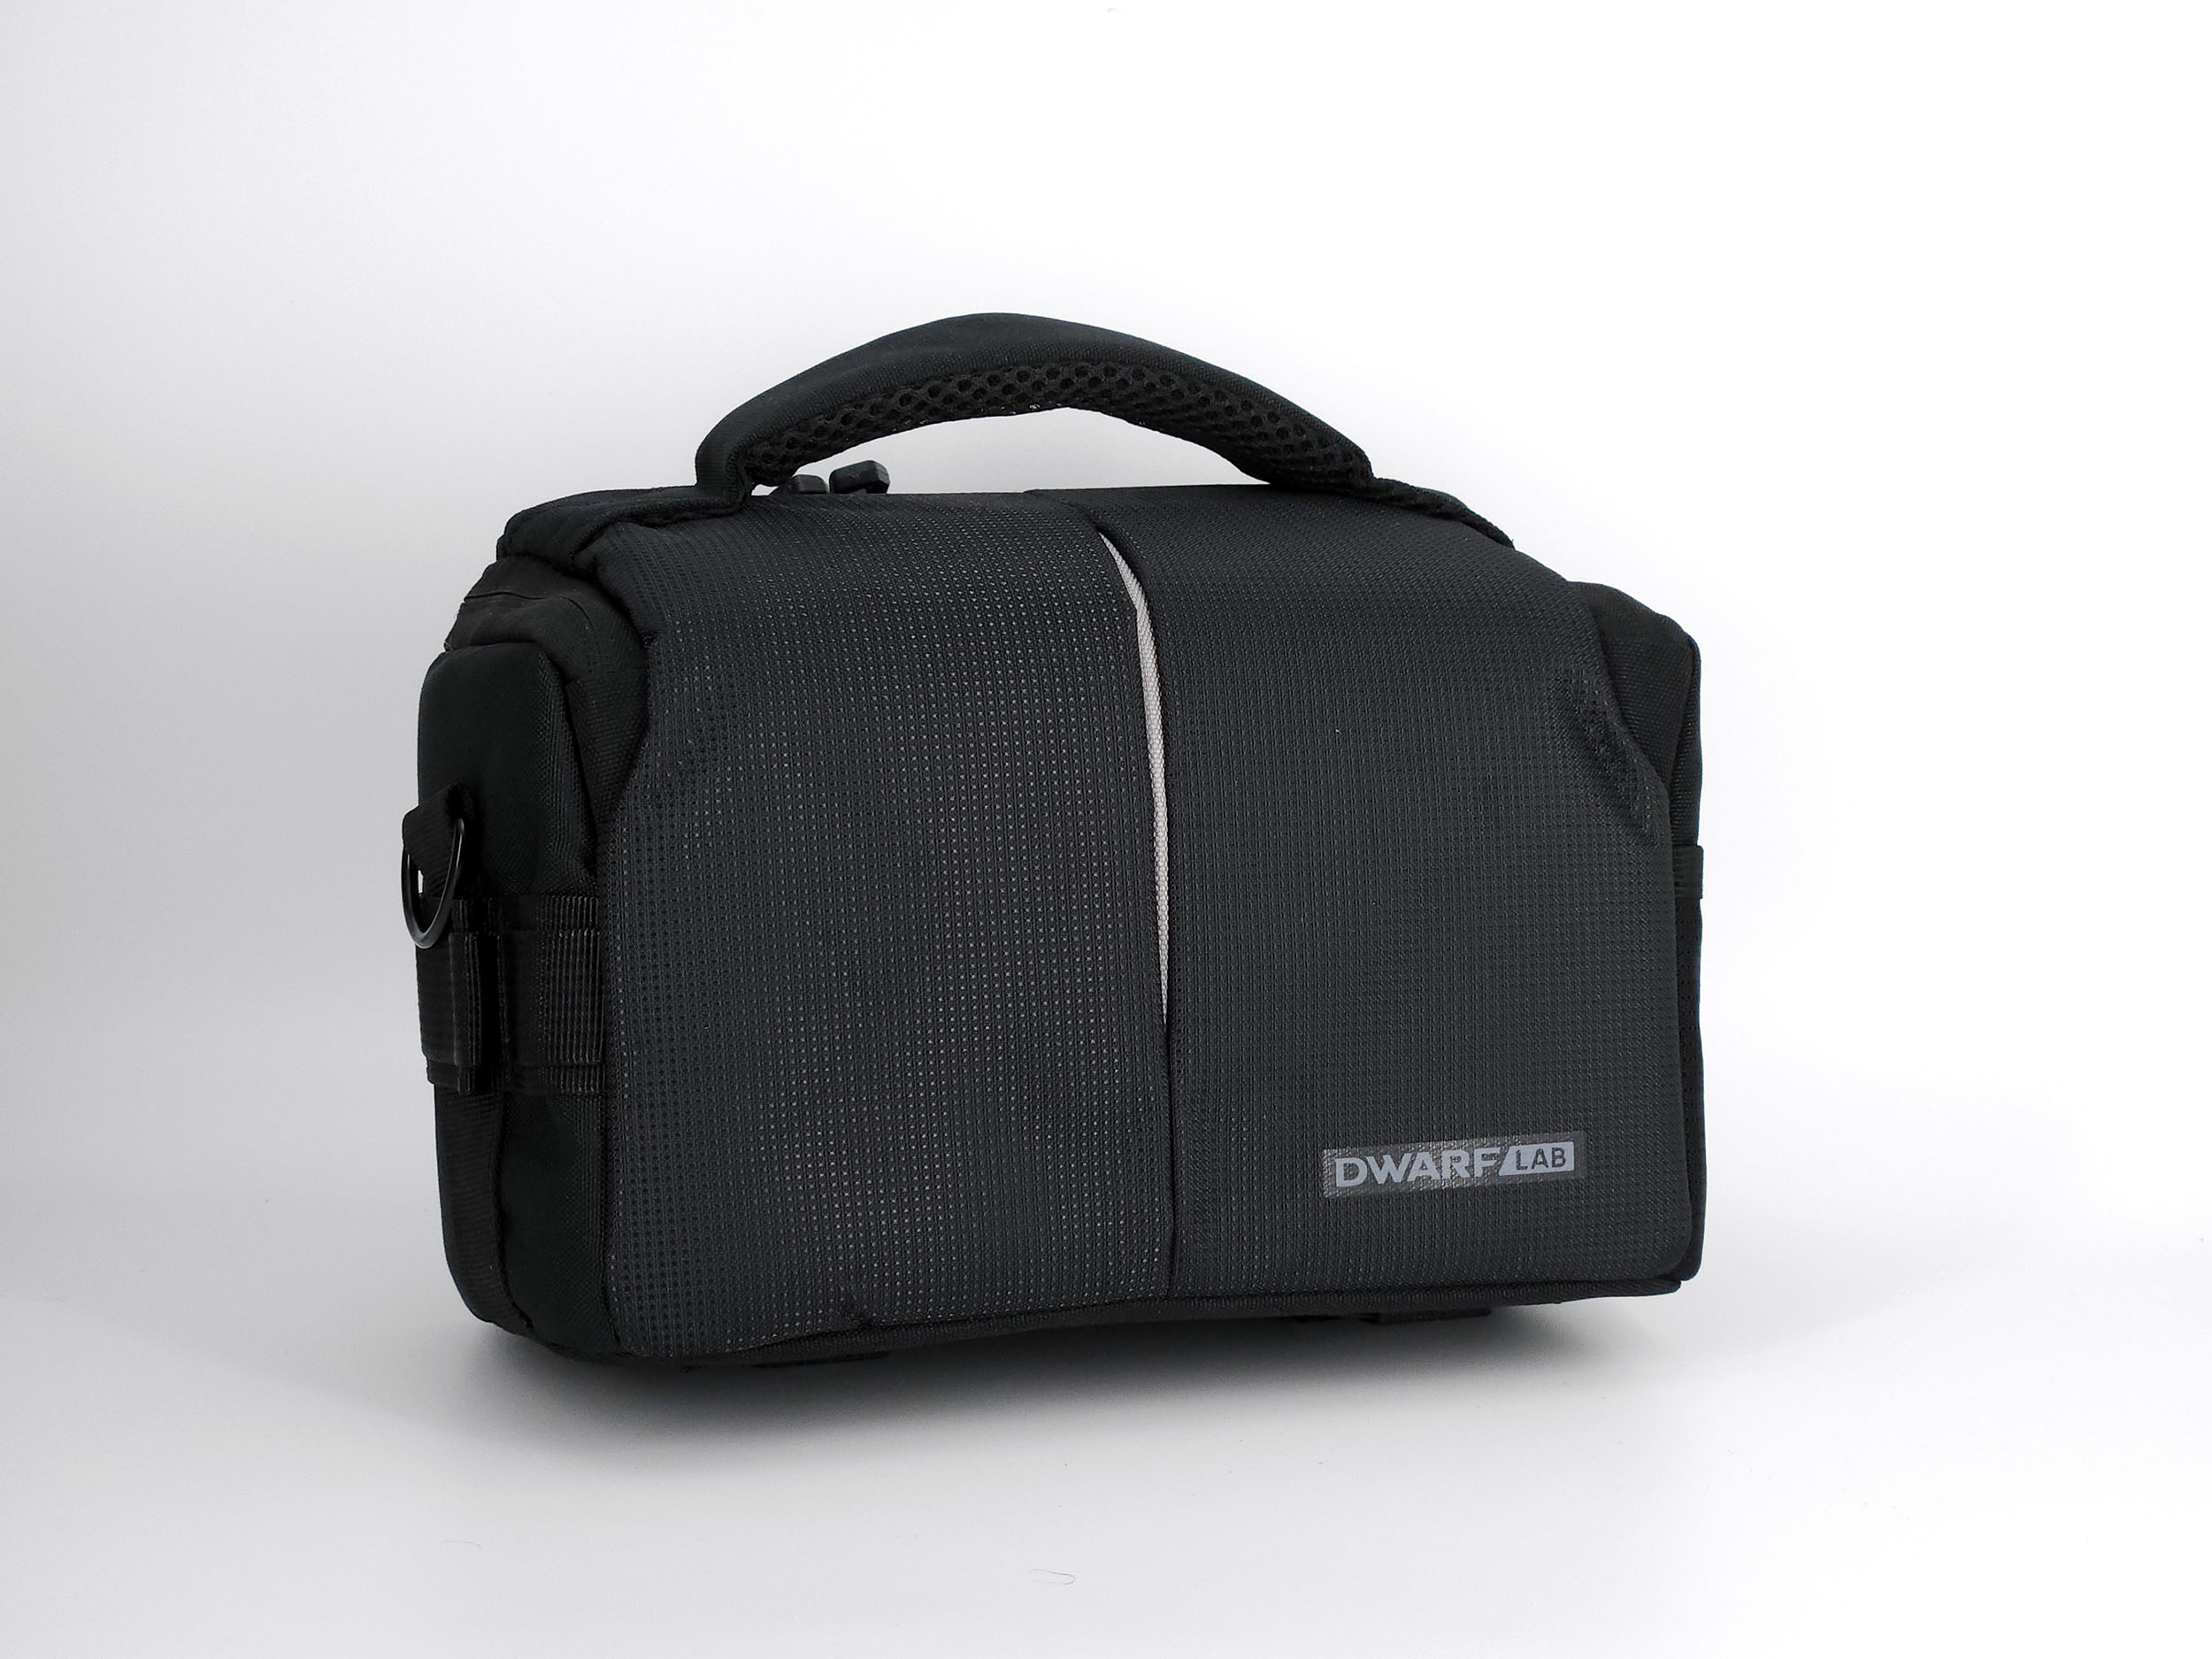
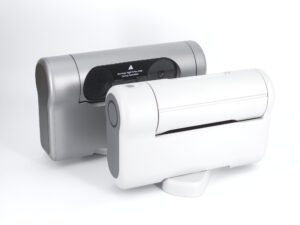
The Dwarf 3 broadly follows the basics of the Dwarf 2, the box seen from the outside strongly resembles the previous model and it doesn't stop there. The Dwarf 3 is very well packaged and is installed in a carrying bag. This bag will allow you to easily take it everywhere with you. This is a definite advantage over the Seestar S50 that I also tested because even though this projector is also portable, the size is much larger. The portability of the Dwarf 3 is therefore a strong point of this product.

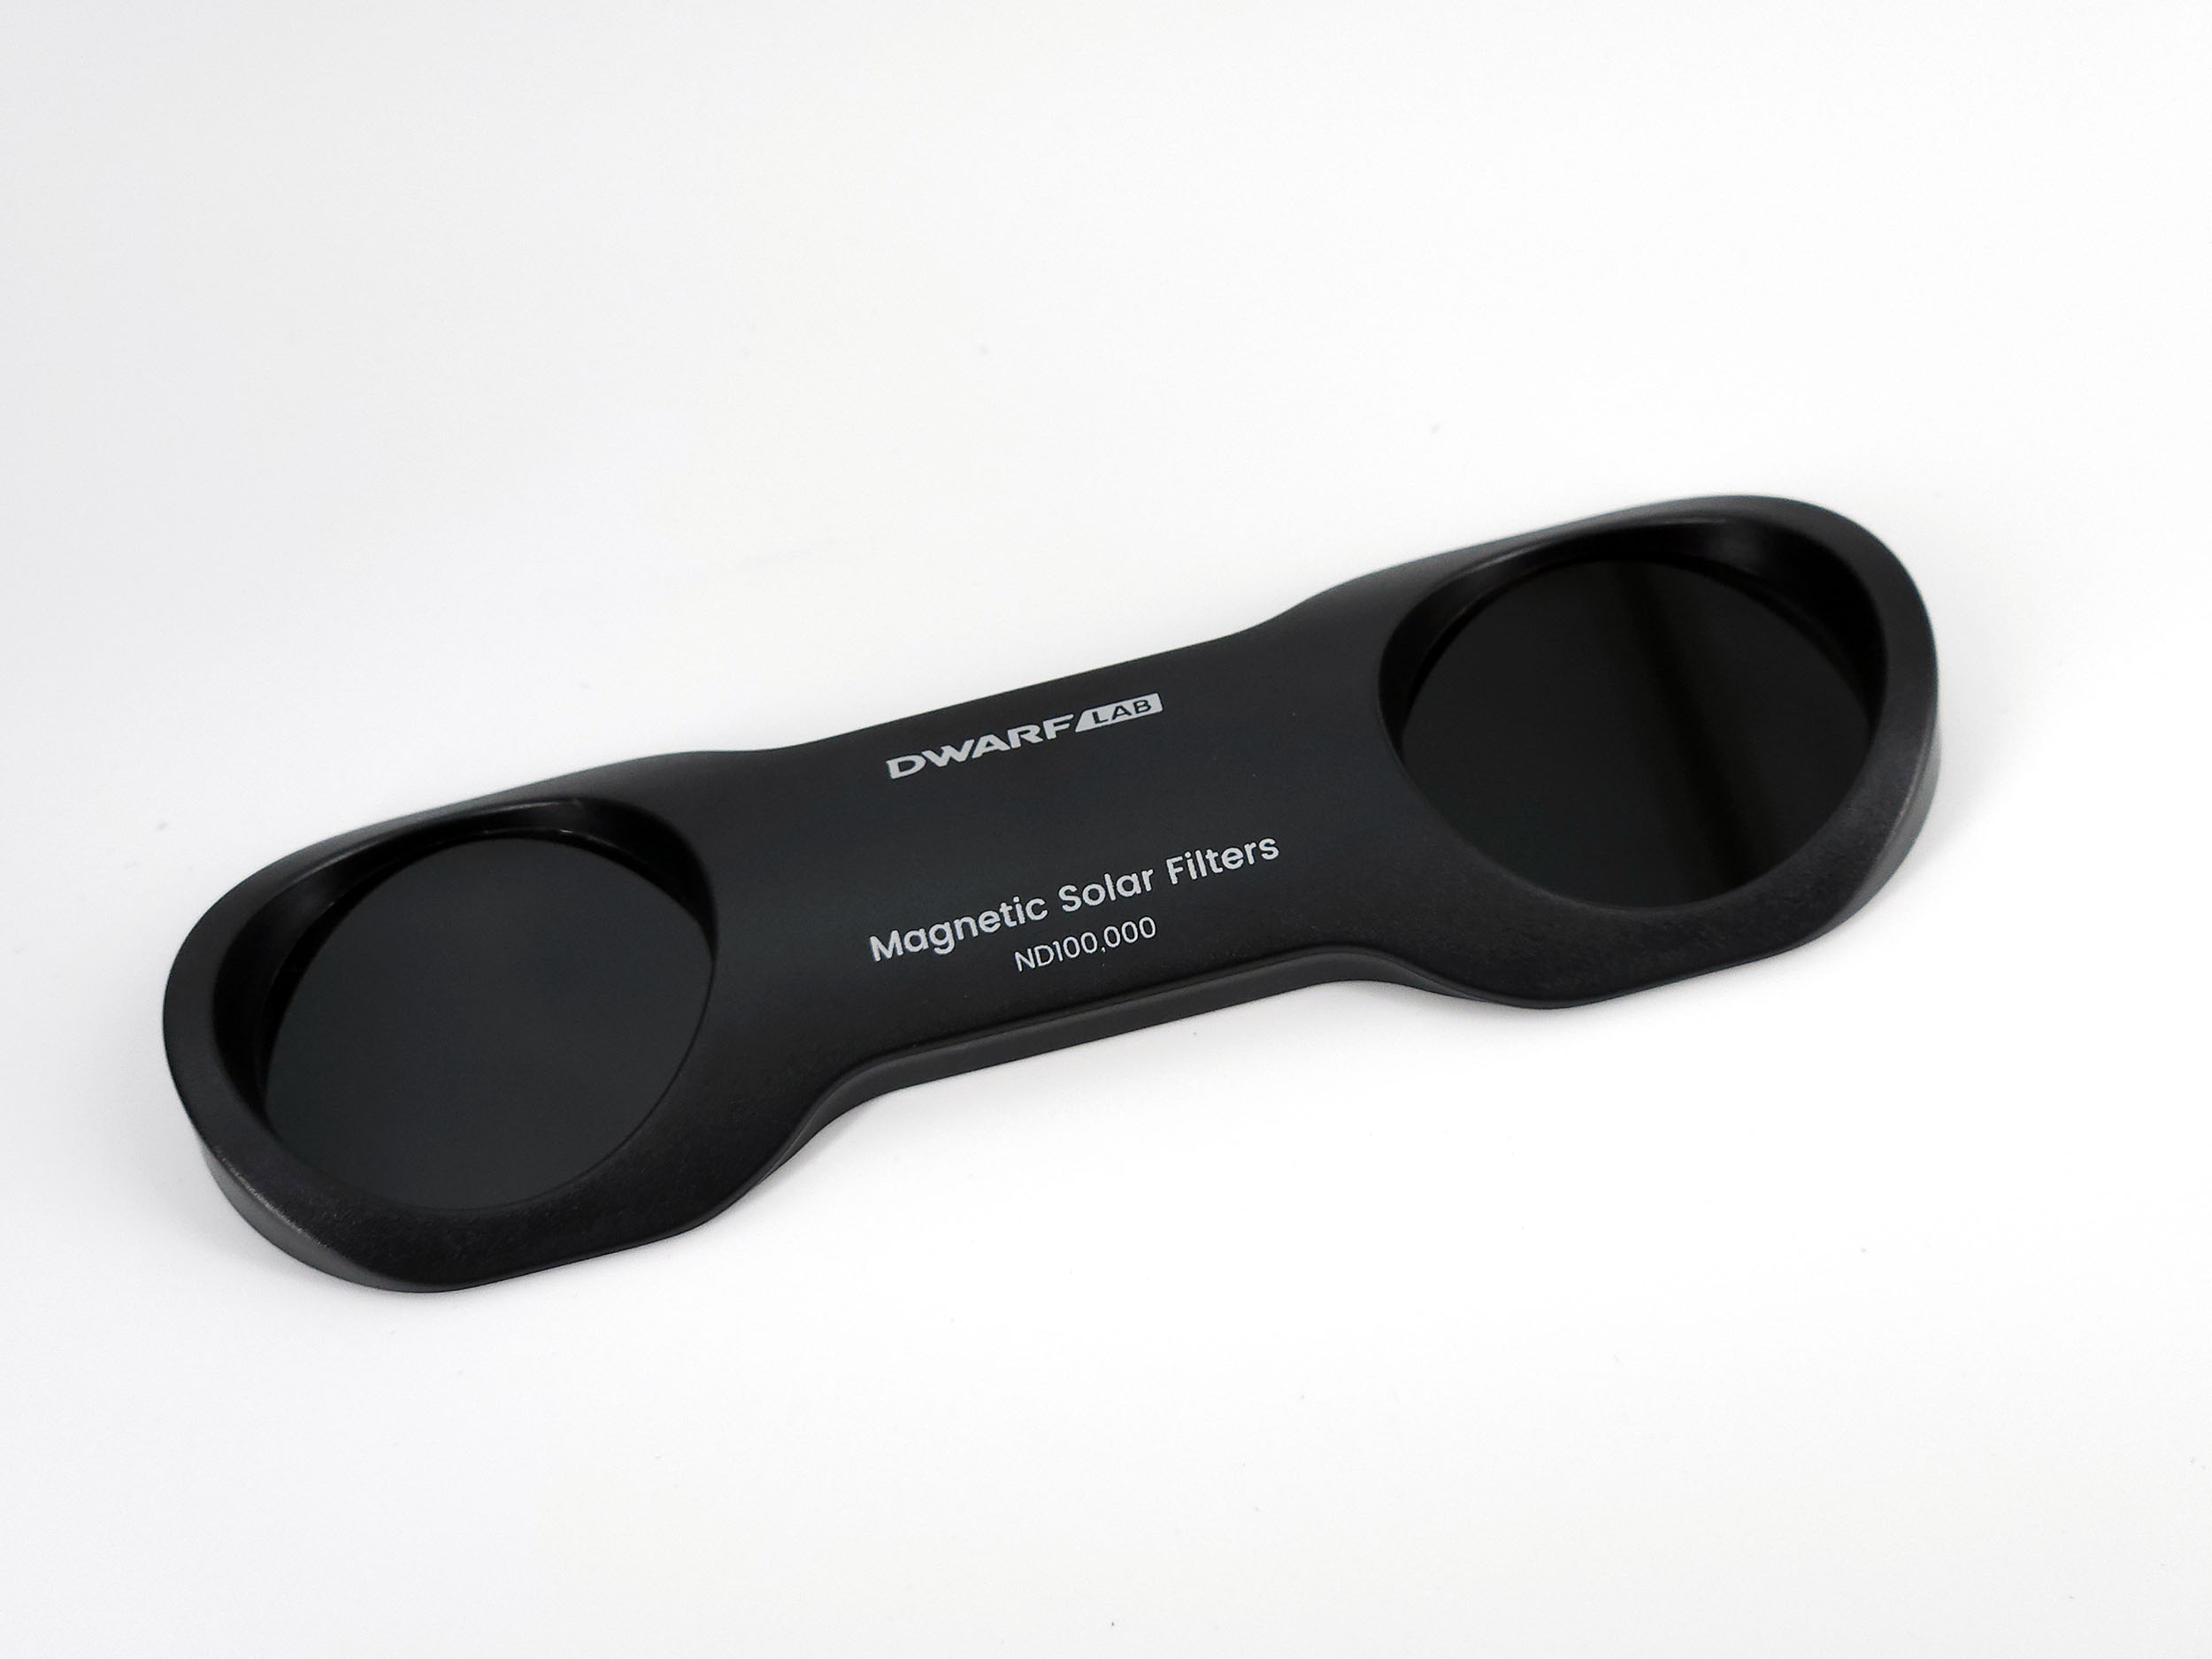
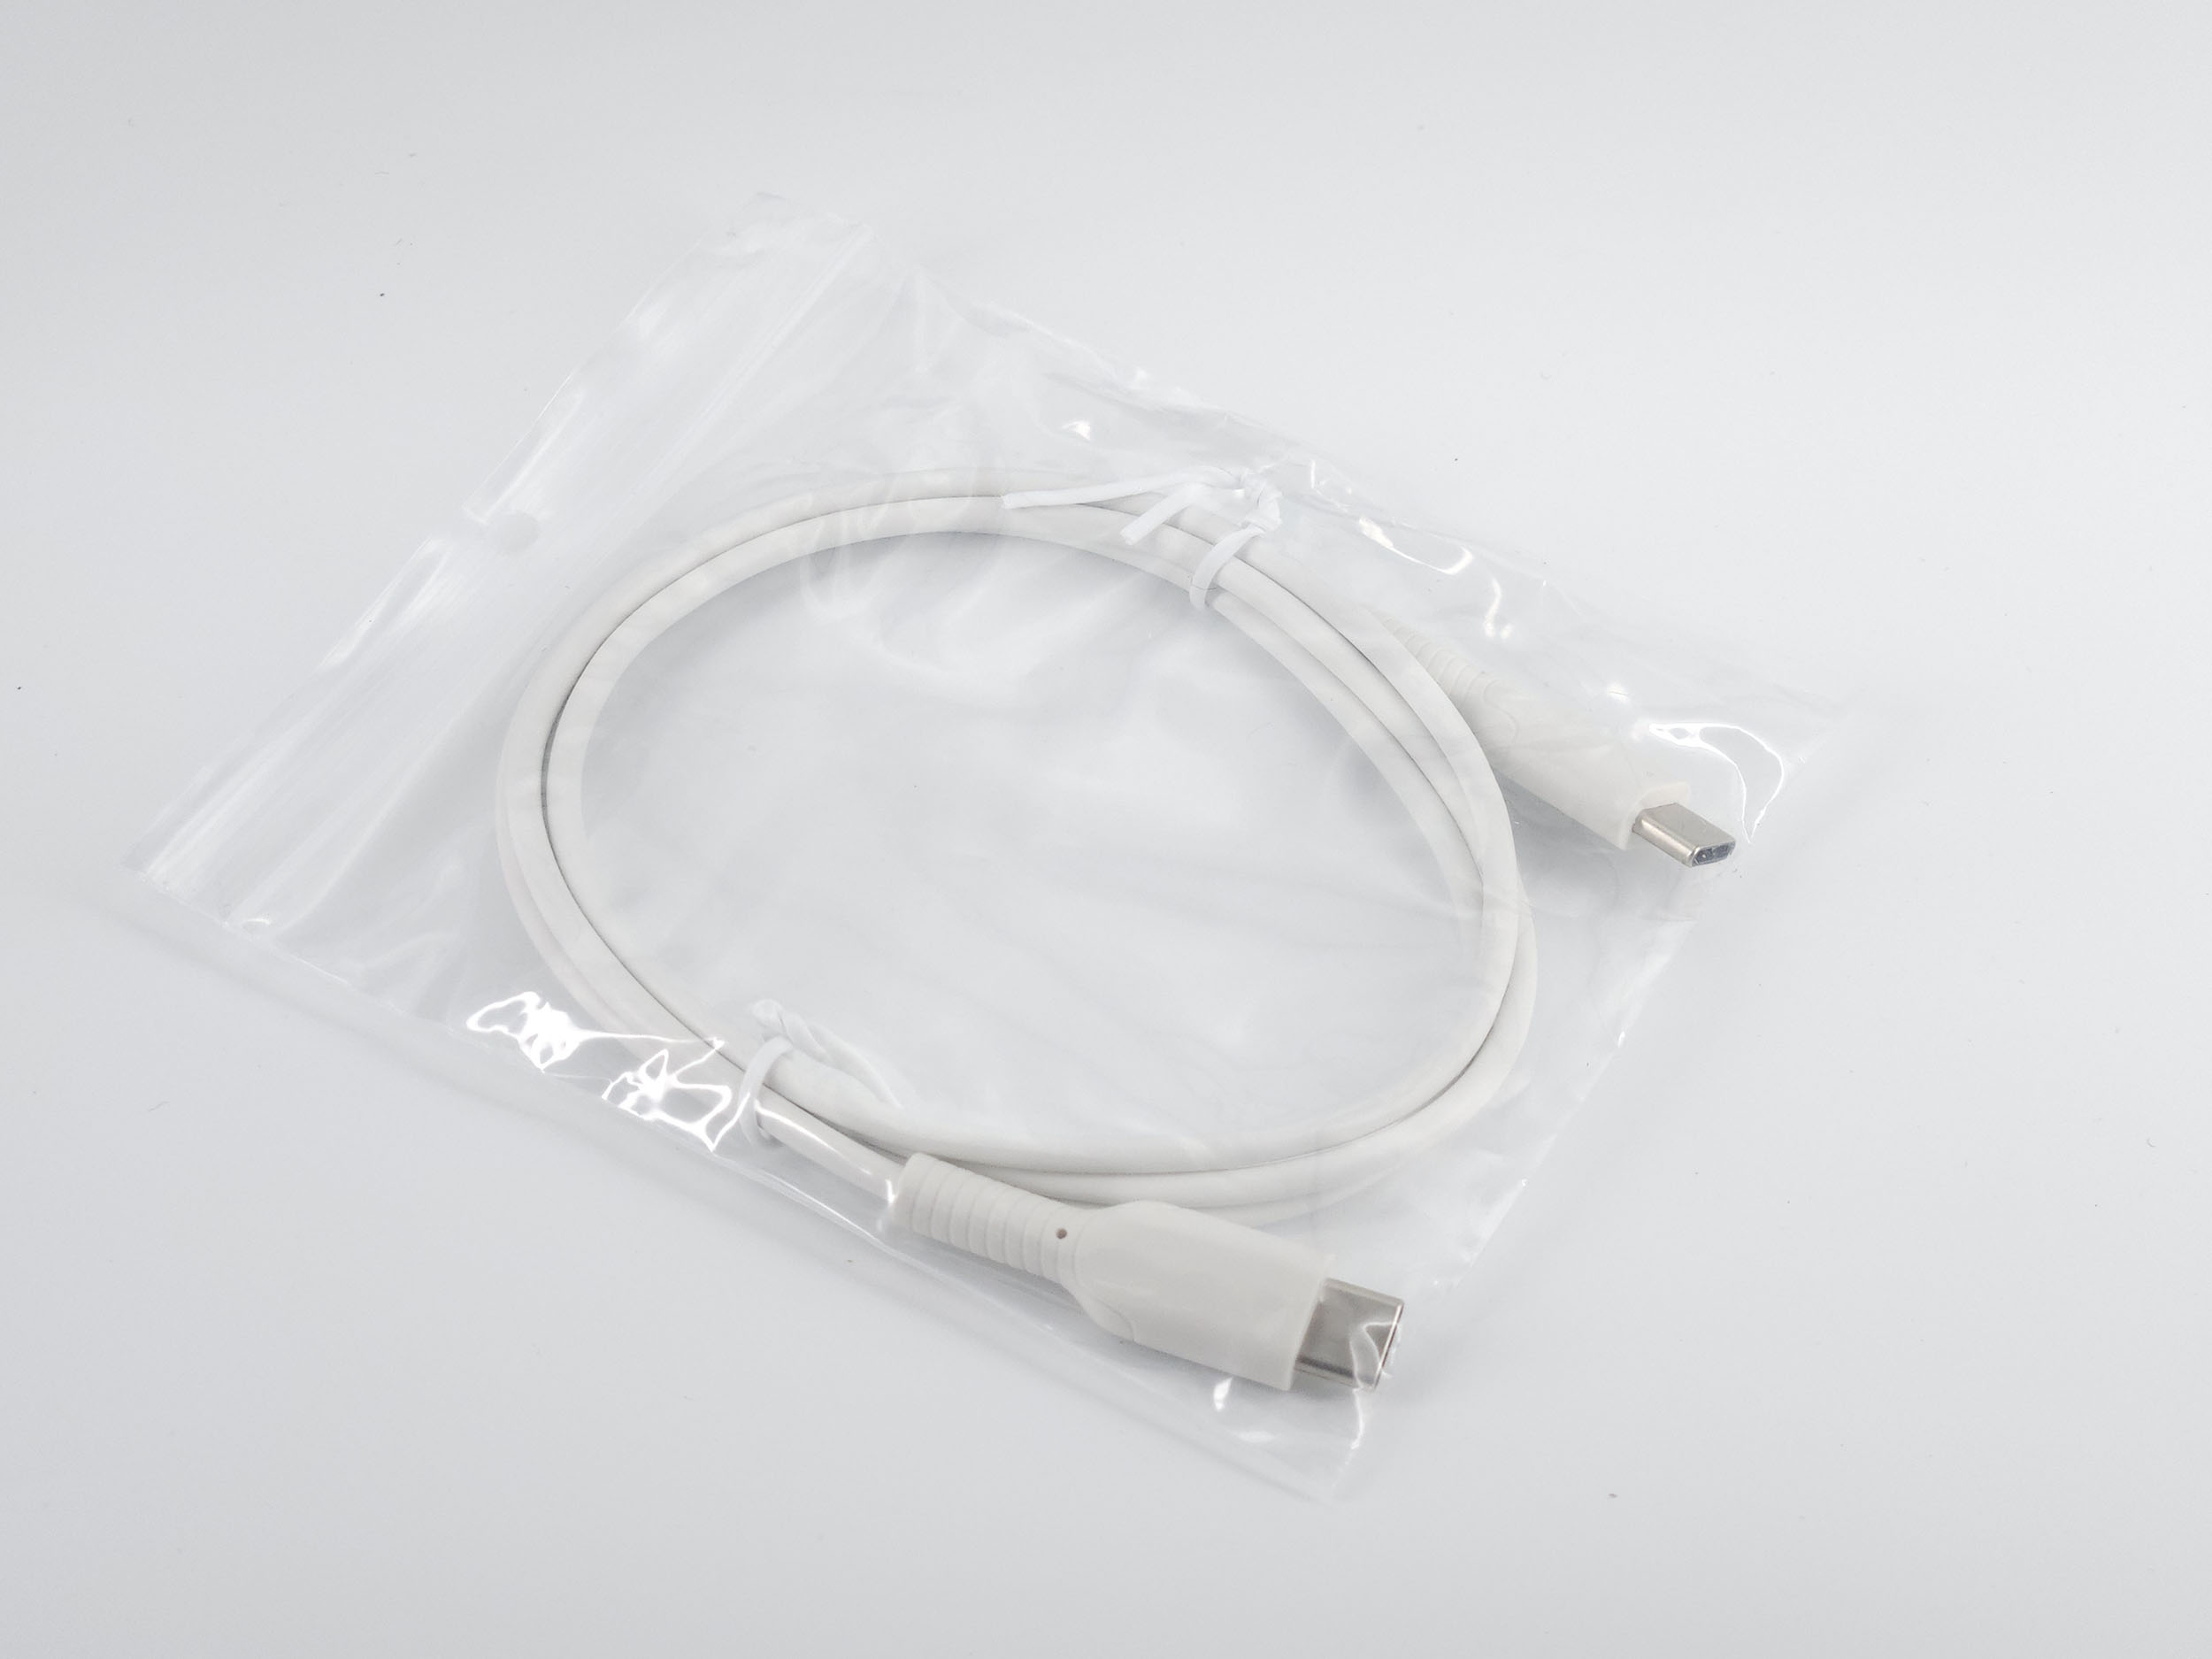
The packaging is good, but what counts is what you find inside. The telescope is protected by a plastic film and comes with a cardboard box that contains the magnetic solar filter, a USB cable (to transfer photos/videos), a manual, a cleaning cloth and a strap for the bag.
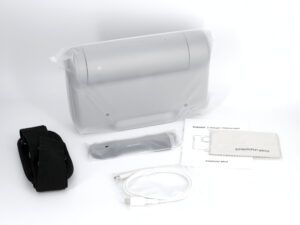
As you probably won't take everything with you on every outing, the whole thing will be a little lighter.


Presentation
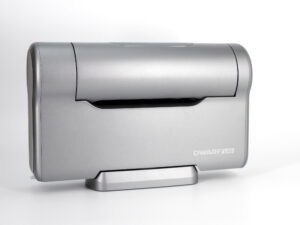
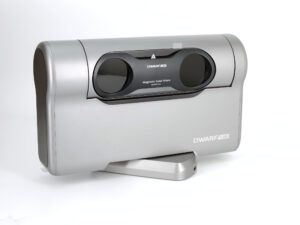
As I wrote above, the Dwarf 3 is very clearly inspired by the Dwarf 2 but with some notable improvements. The telescope is metallic gray, the material used is still plastic but it gives a more qualitative impression than the previous model. The Dwarf 3 uses the principle of an optical block rotating almost 360° on the horizontal axis and a mobile base that rotates almost 360° on its vertical axis. It is a somewhat unusual format compared to other products of this type, but it has the advantage of being usable without using a tripod or other accessory.
The base is nevertheless equipped with a standard tripod screw thread if you want to use the telescope on another support because even if its format is practical, you probably won't be able to put it everywhere. For example, I remember using the Dwarf 2 along the sea to have a clear sky and I had to use a tripod so as not to have railings in the field of vision.
The speakers at the base of the telescope will probably be used to emit voice messages but I will come back to this point once I have observed the sky with the telescope.
There is a USB type C port at the rotating base which will be used to recharge the battery but also to transfer
The power button is on the side and is surrounded by an almost circular LED light to indicate if the telescope is on and if everything is working properly. This light comes to life depending on what you do with the telescope and if it turns red, there is a problem. This may seem anecdotal but I had already found it very practical on the Dwarf 2. I had tested the Dwarf 2 in winter and I had placed it outside a few meters from a window. The color allowed me to quickly see if I had to intervene.

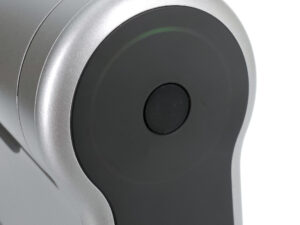
The protective lens for observing the sun fits perfectly into the shape of the telescope and fits better than in the previous model. This accessory is absolutely essential for observing the sun.
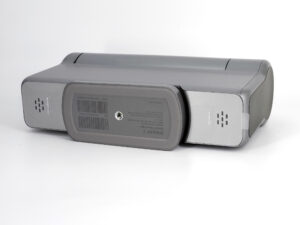
After switching on and rotating the optical block on the horizontal axis, the two lenses appear, they are significantly larger than on the previous model. The main optical block has an aperture of 35 mm compared to 24 on the previous model, which represents a gain of more than 100% in terms of light entry surface. Increasing the focal length will reduce this benefit at the focal point to arrive at a quantity of light more or less equivalent to the previous model but the larger aperture will bring a higher level of detail to the sensor. This means that the Dwarf 3 will not bring a gain in brightness to the sensor but it will allow less visible details to be brought to the sensor because they would not have been visible with the previous model.
The new photo sensor will obviously also play a role in optimizing the image but if this sensor receives more details and is also more efficient, the image produced by the Dwarf 3 should be of better quality than the Dwarf 2. This is very theoretical at this stage, I will have to check this further in the test by comparing the two telescopes in the same conditions.
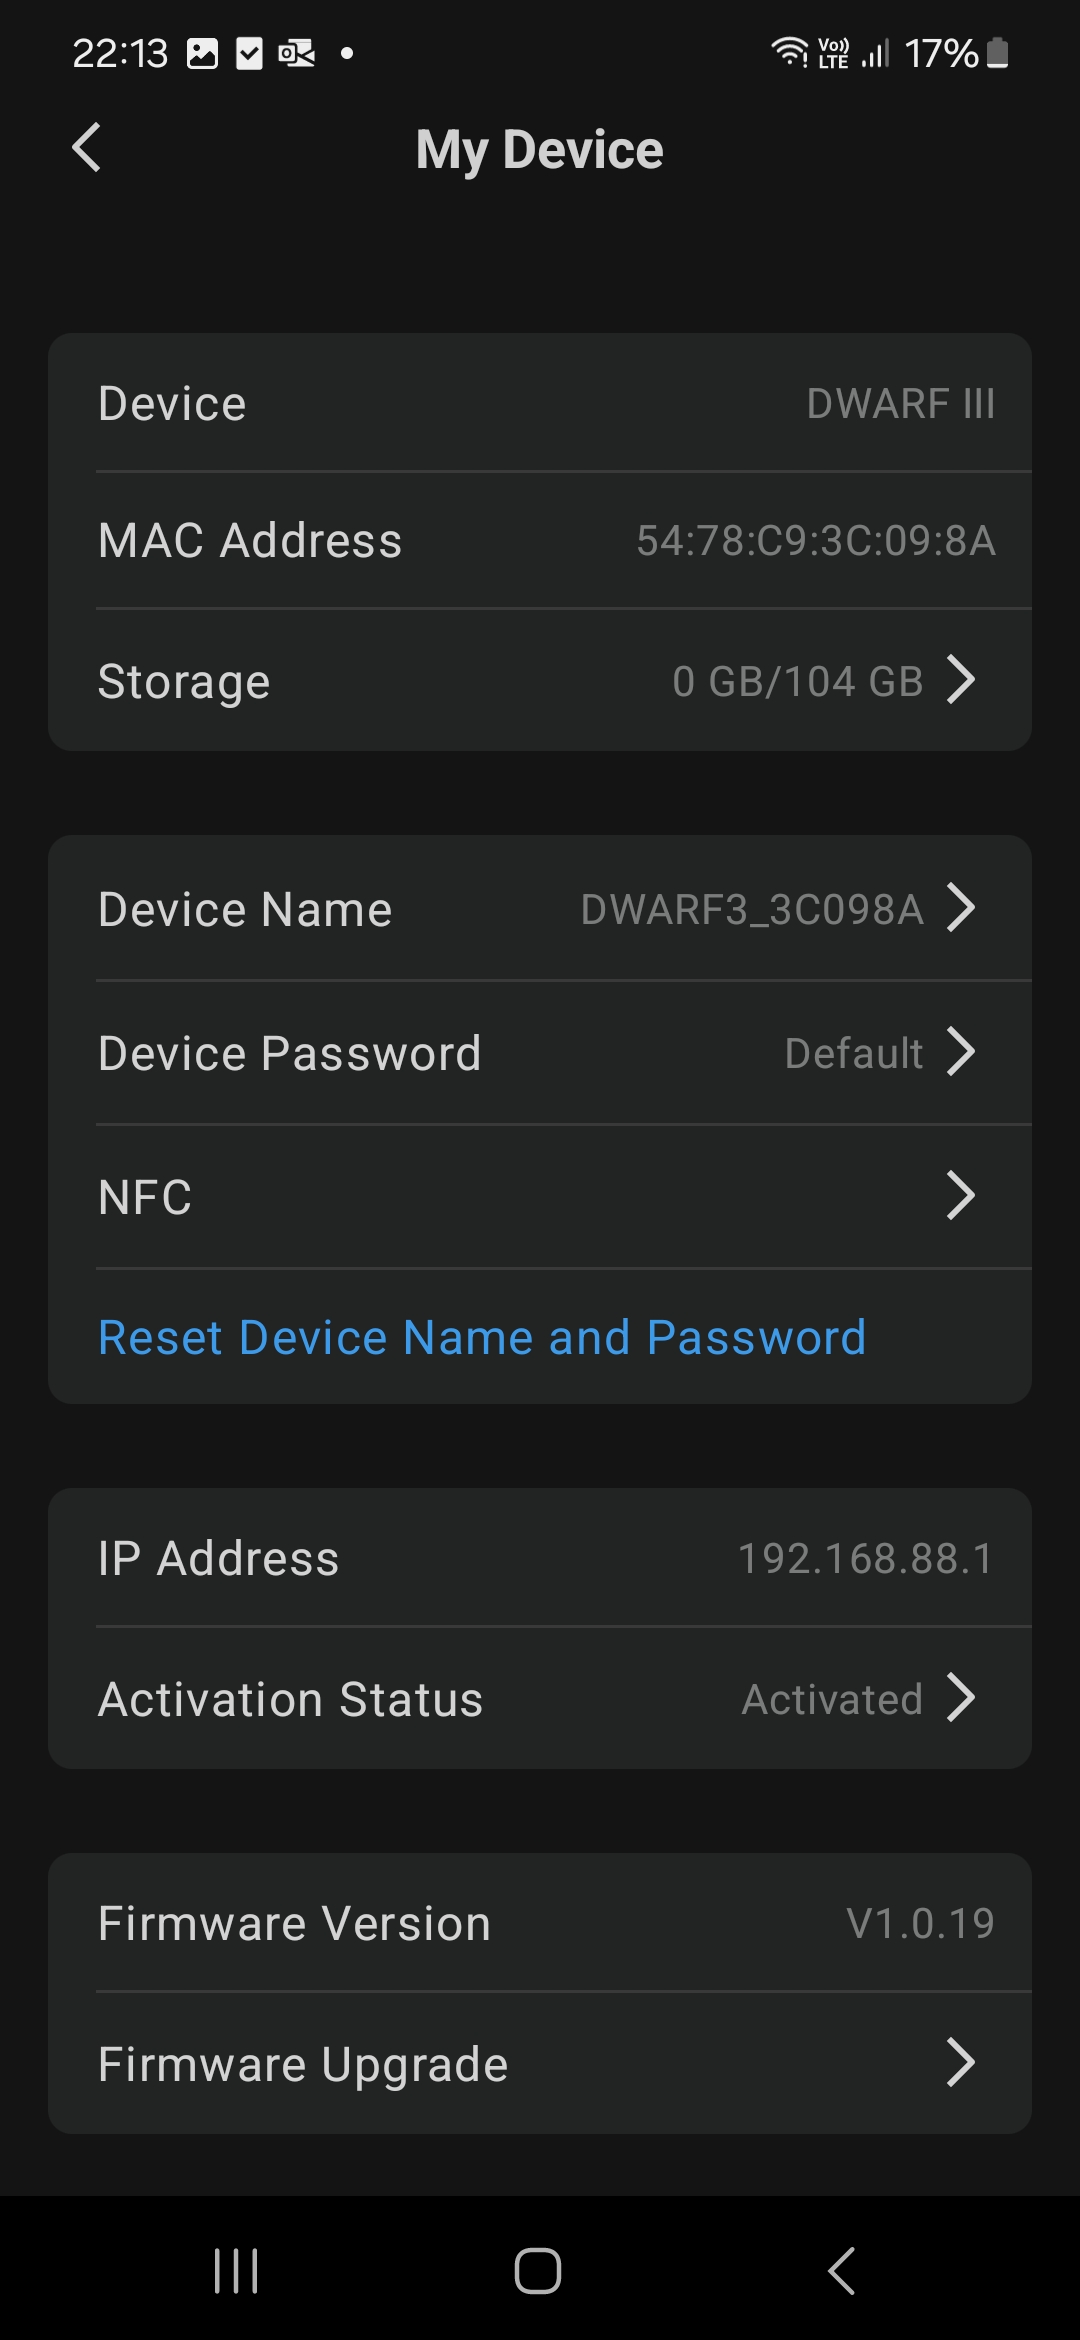
This new model is more imposing than the previous one but the difference does not stop there. The previous model worked with a memory card and its location was far from practical, it was necessary to rotate the horizontal axis, open a compartment and dislodge a card in a very narrow slot. The Dwarf 3 has a storage capacity of just over 100Gb internally (128 in total but the operating system takes up a little space).
The size of this new Dwarf 3 also plays a role in the battery, the capacity goes from 5600 mAh to 10000 mAh.
The Dwarf 3 brings some other changes. First, there is the telephoto aperture which goes from 24 to 35 mm which will bring a gain of 45% of light. The optical block is composed of several very low dispersion lenses. The wide angle also gains in aperture by going from 2.8 to 3.5 mm. The changes do not stop there. The focal length of the telephoto lens goes from 100 to 150mm and the sensor used goes upmarket with the Sony IMX 678 Starvis 2. The maximum exposure time per pose goes from 15 to 60 seconds.
About Dwarflabs
Dwarflabs is a Chinese company that has already marketed several successful products including the Dwarf II which sold a few thousand copies. You should always be wary of new companies that market an innovative product through crowdfunding but Dwarflabs has passed this milestone. I'm not sure that the Dwarf 3 will go through the crowdfunding box, they now have a solid enough base to take care of it themselves.Configuration
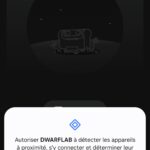
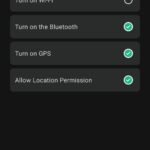
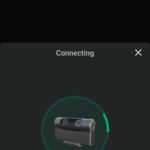
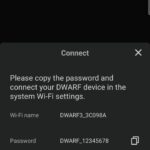
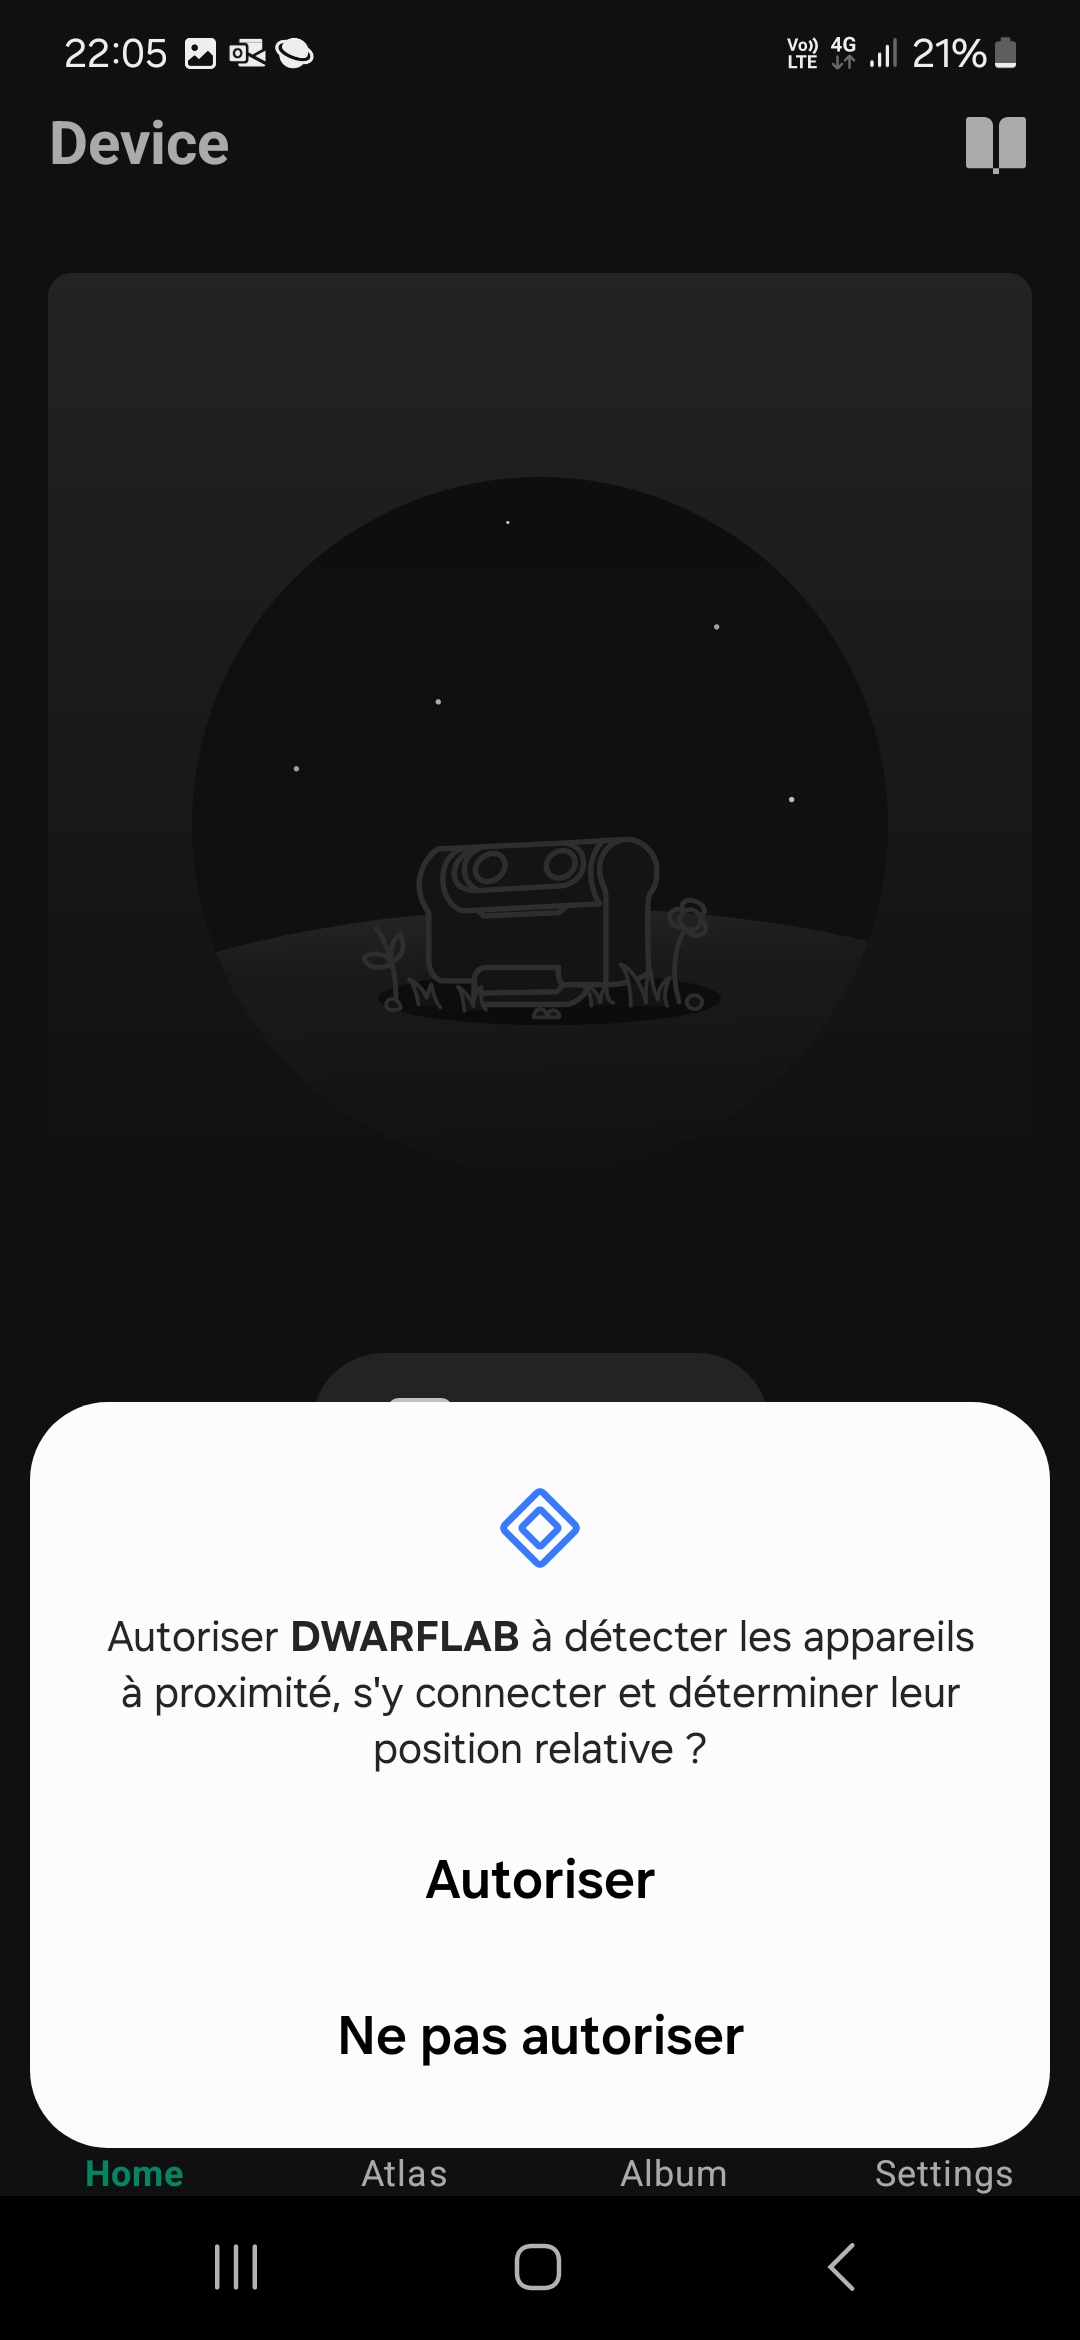
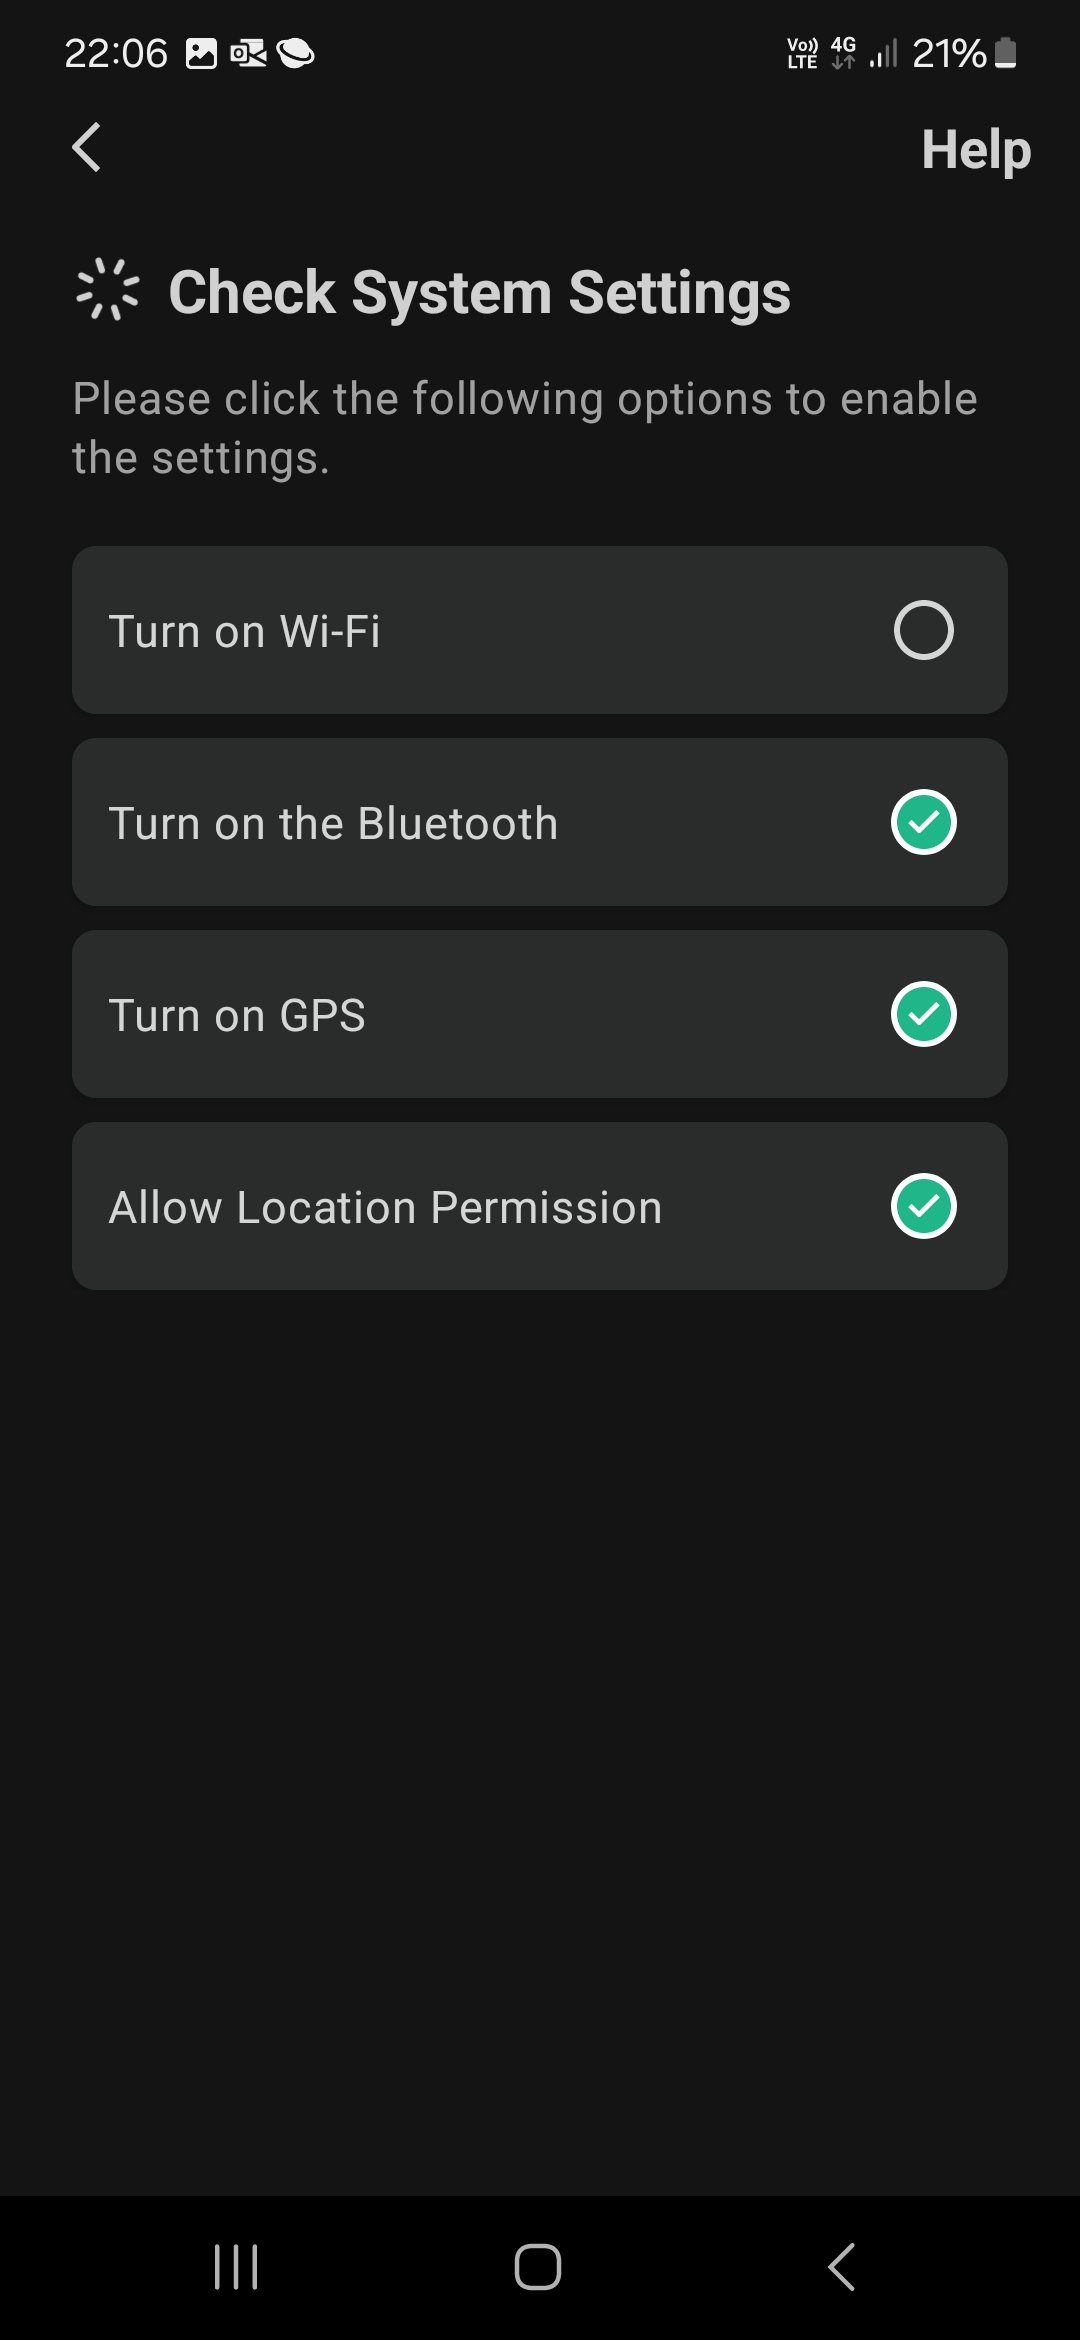
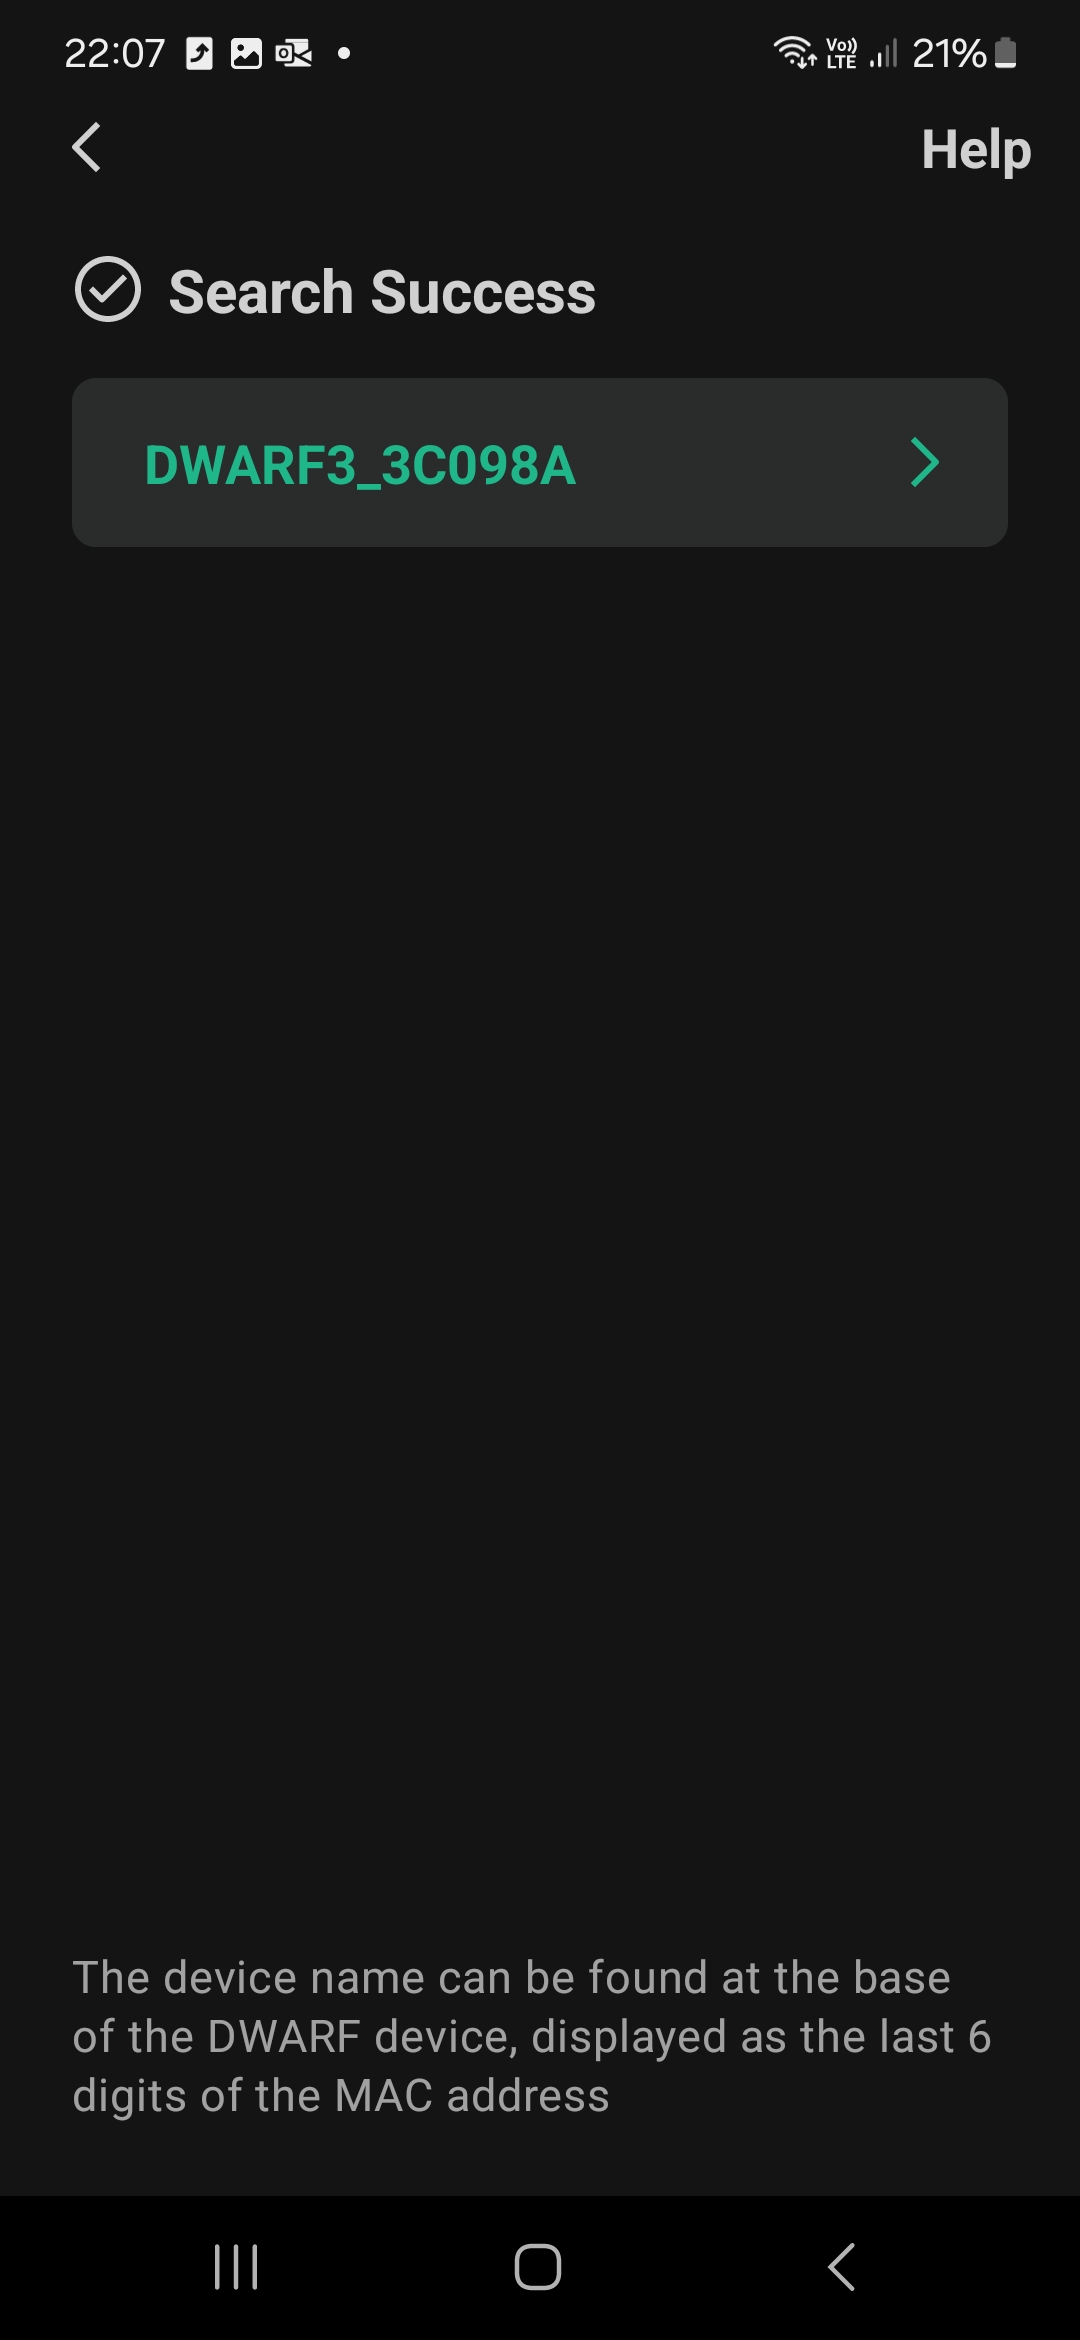
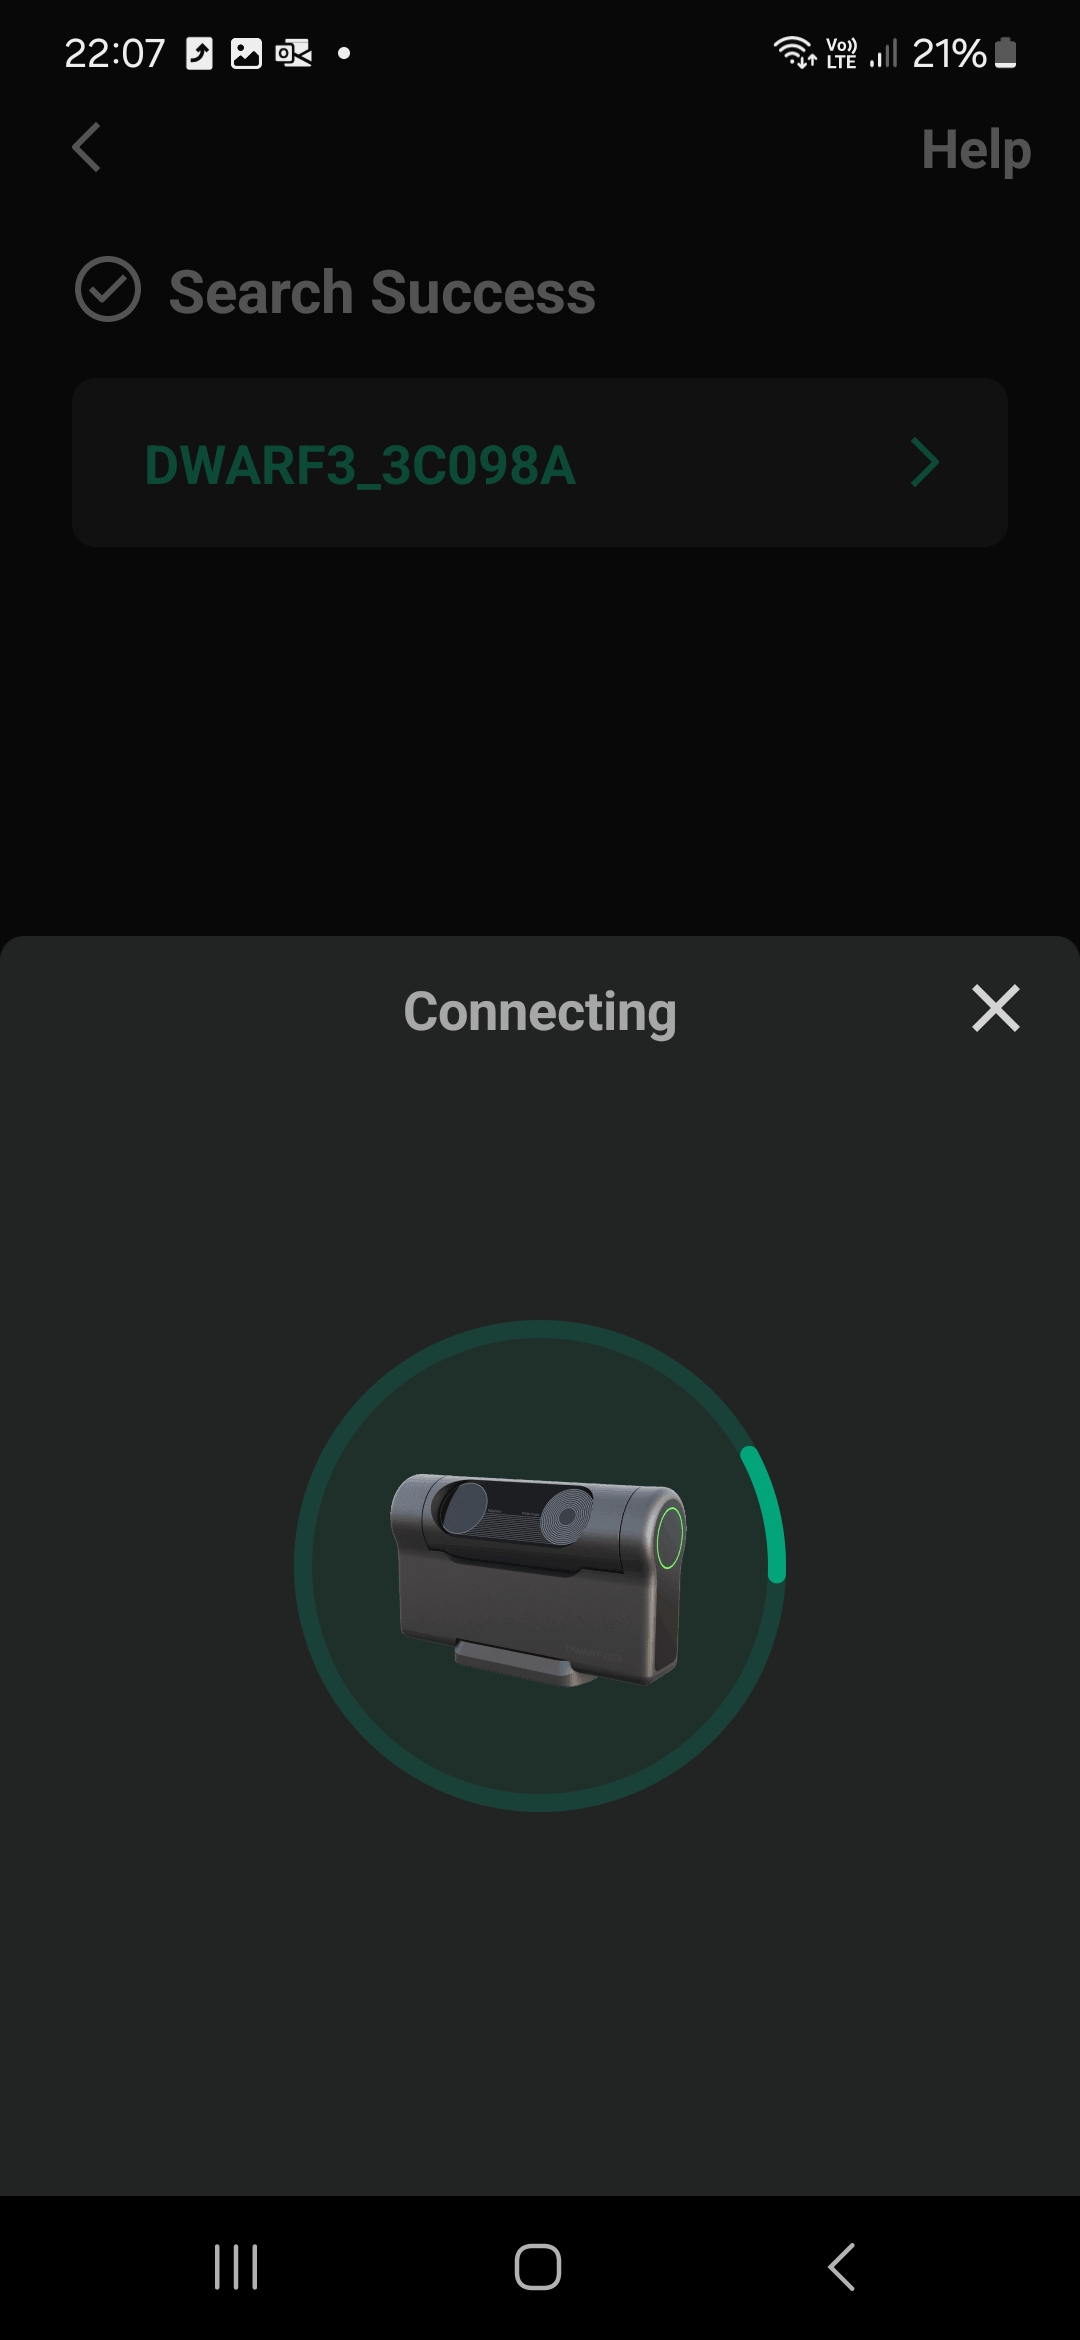
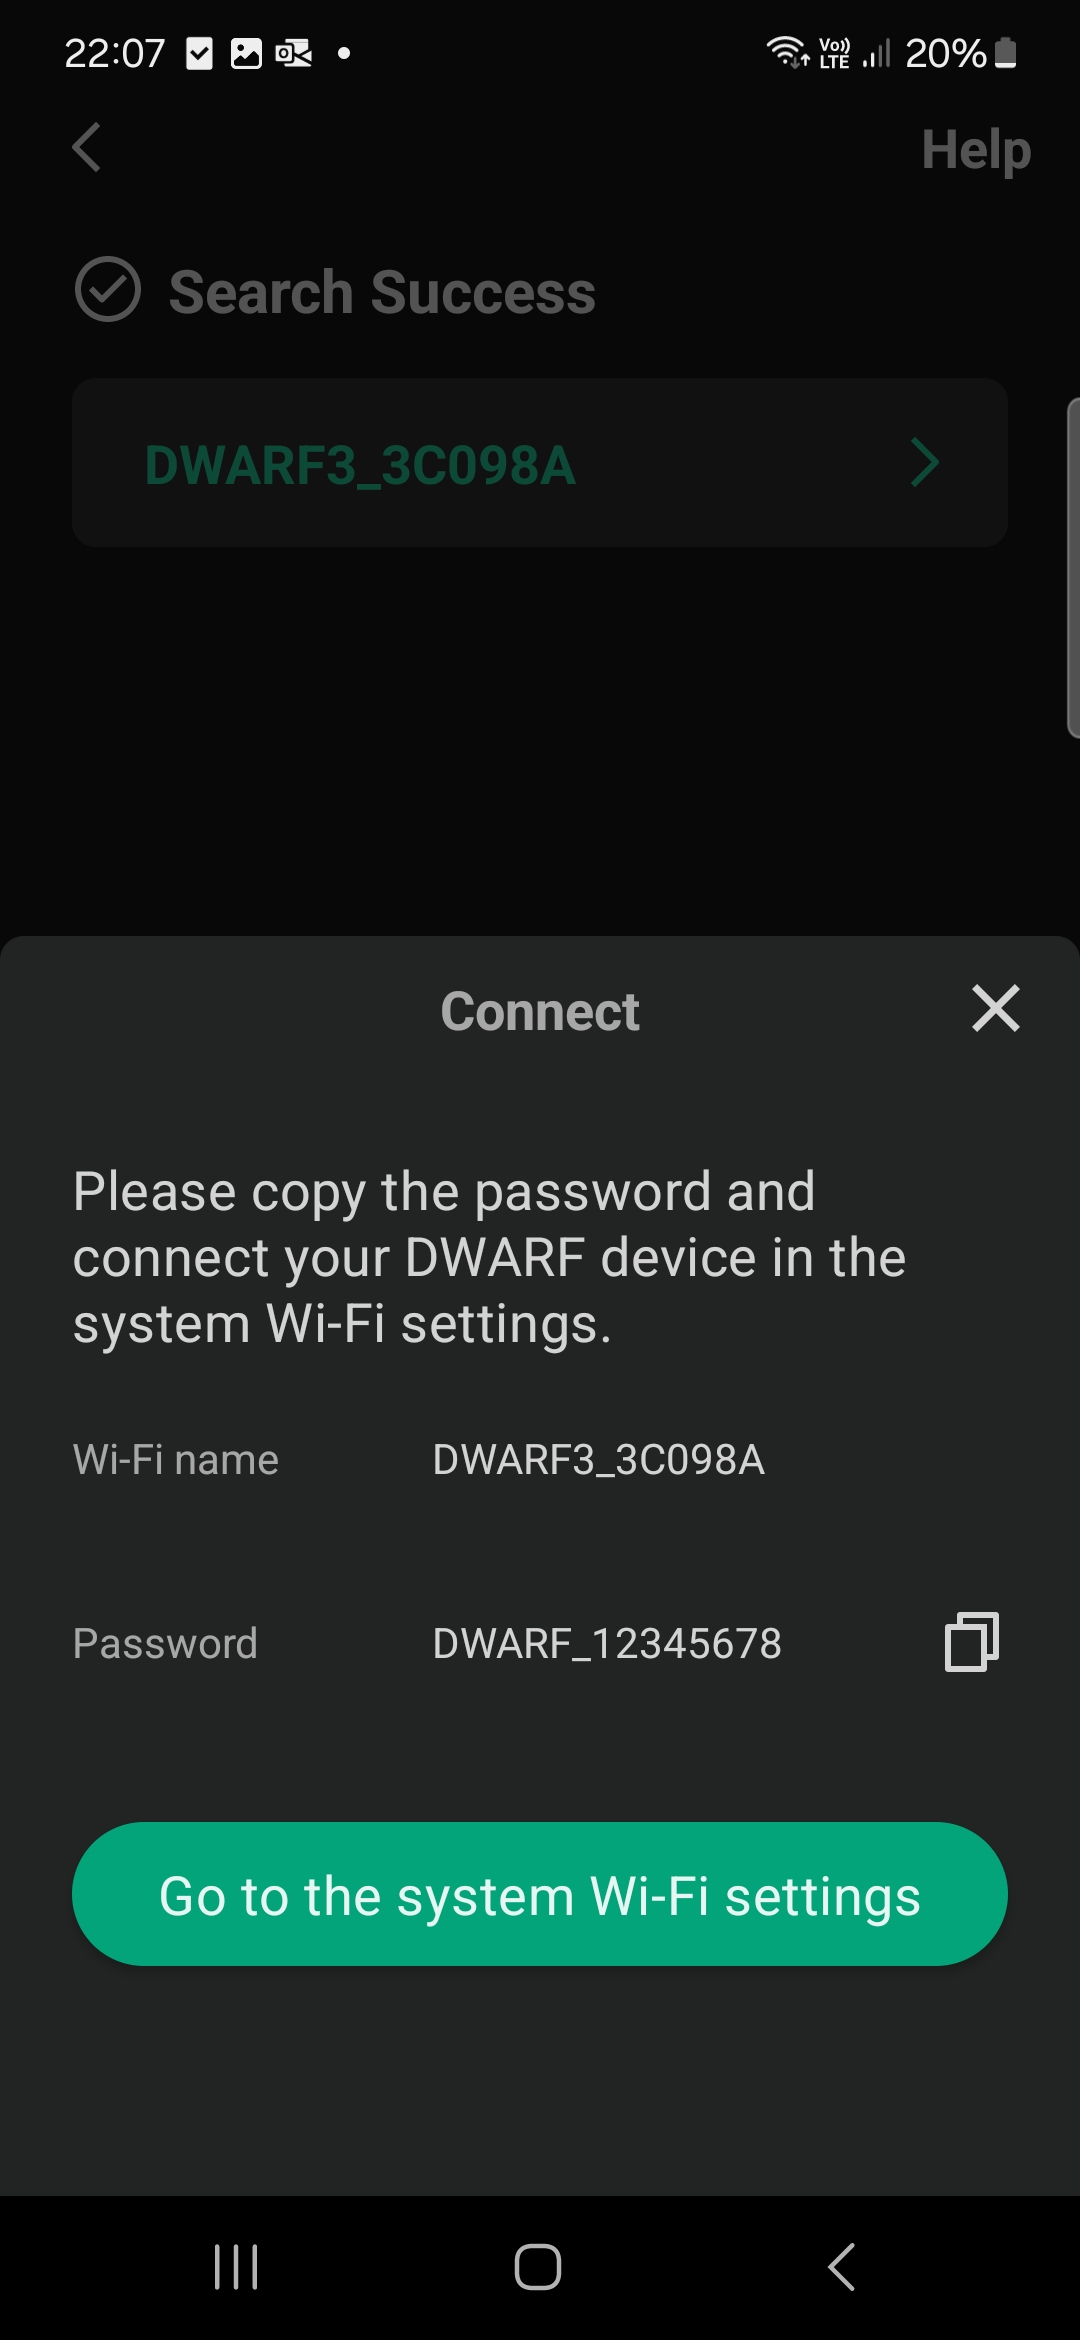
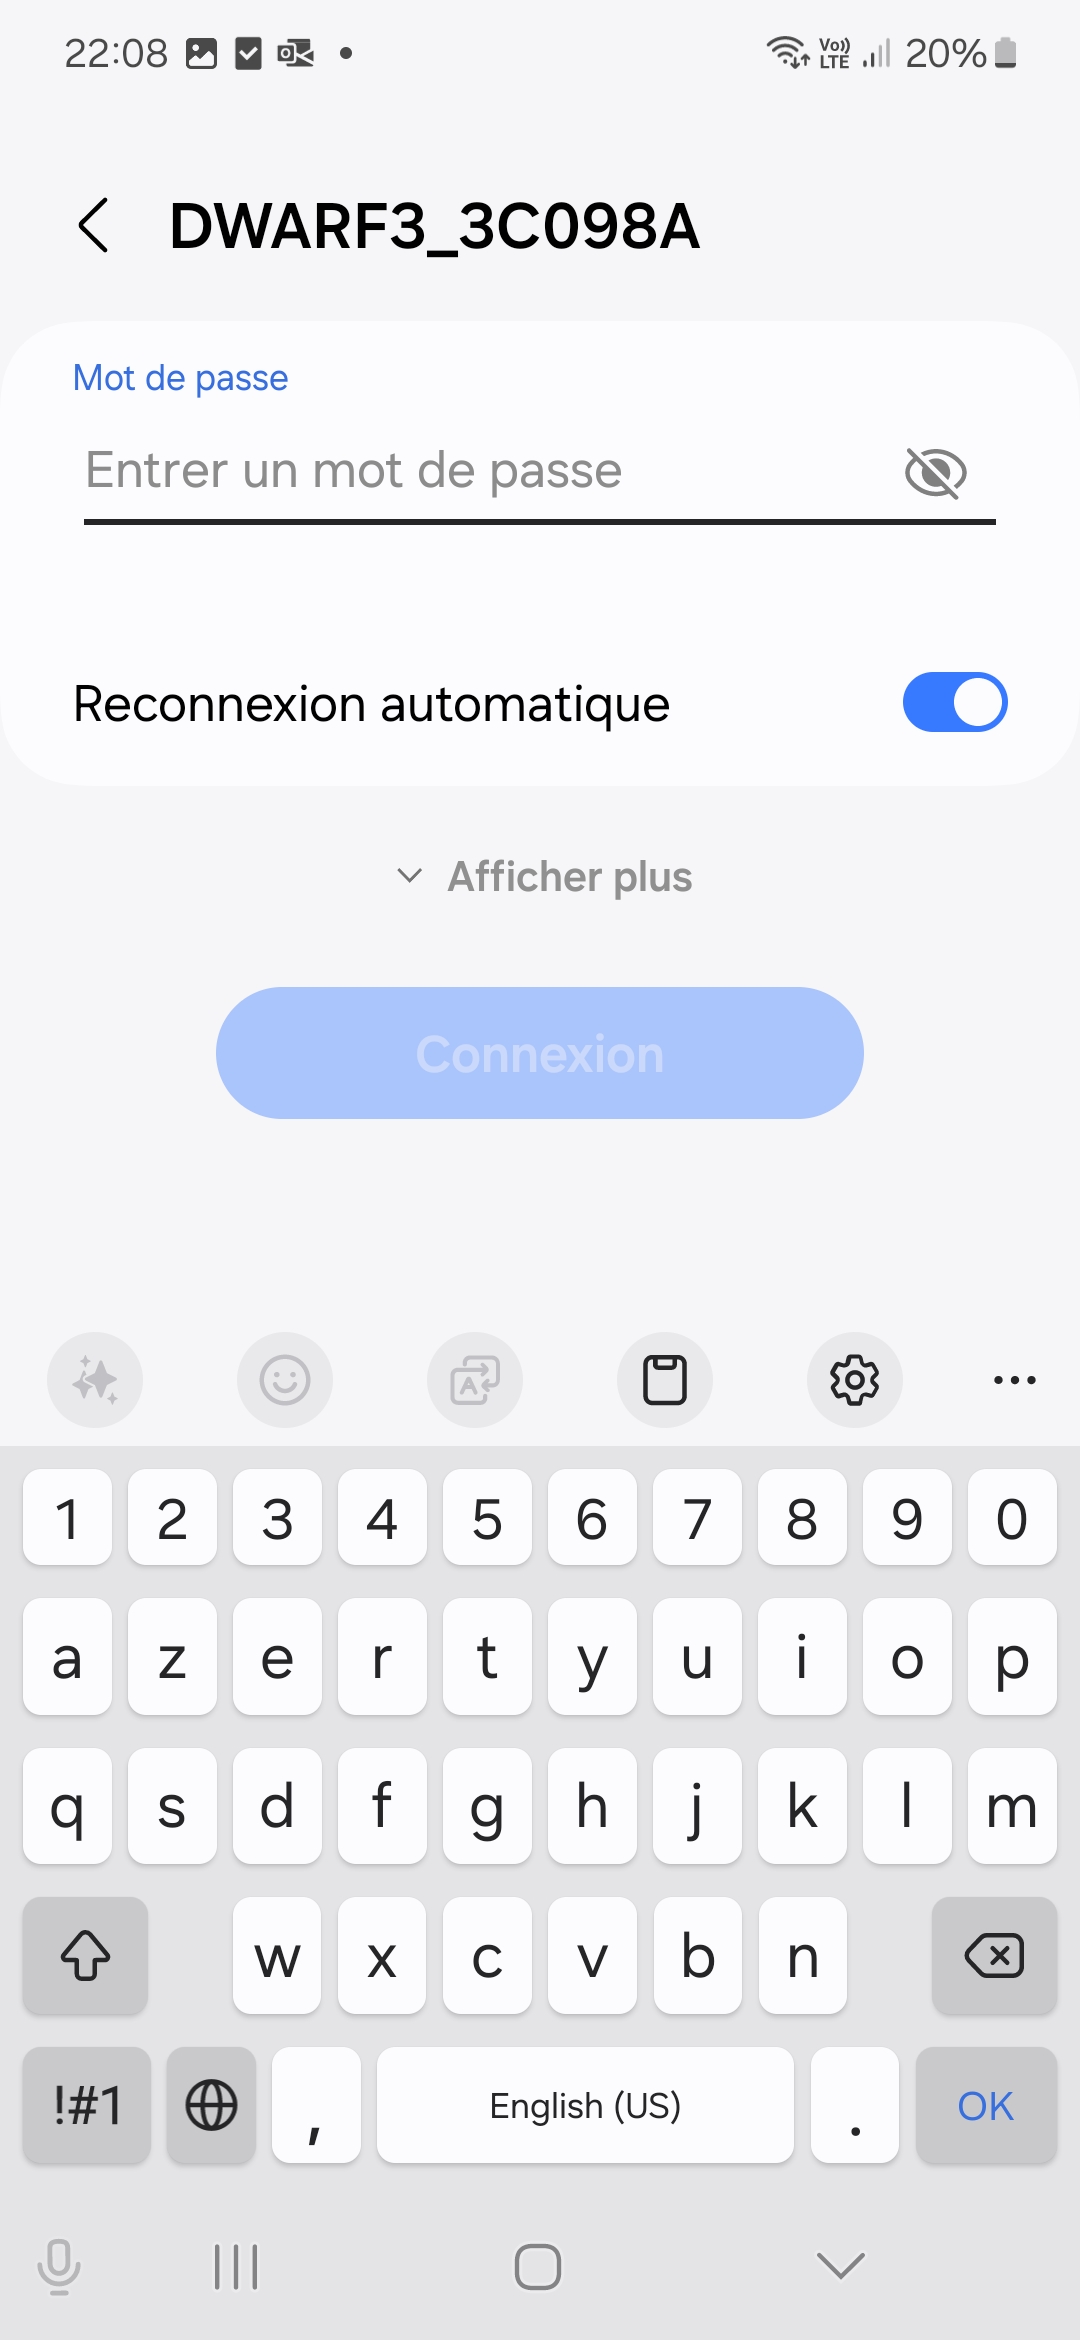
This telescope cannot be used without a smartphone (iOS or Android). I was not convinced by the Dwarf 2 Android application because it gave me a lot of trouble calibrating the projector. The Dwarf 3 will be launched with a new application, Dwarflabs gave me early access and I will present it to you in preview.The first step is to detect the telescope and pair it with the app. Just turn on the telescope and start searching through the app. The new app found the telescope almost immediately. The telescope has its own wifi transmitter, which means that if you search for available wifi networks near you with your phone, you will see the telescope appear. This is also how to use the telescope. The password is displayed on the app screen.
This means that when you use the telescope via wifi, you are no longer connected to your home wifi, which is normal! I had received some comments about this when I tested the previous model, but using wifi provides bandwidth and better connectivity to control the telescope remotely. The telescope will send images to the phone, so the channel used must be powerful enough to do so.
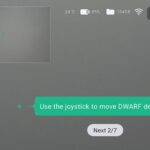
The telescope is then controlled by a touch circle output on the screen that will allow you to rotate it on its horizontal and vertical axis, it is very easy to use. You can also switch from one optical block to another at any time. Switching from one optic to another allows for easier location of the sky because to locate a celestial object with the 35 lens, you risk searching for a long time. Fortunately, there is automatic location in the application, I will come back to this point later in the test.
I took a screenshot of each step of the configuration and the first steps with the application. There is a step-by-step tutorial of the main functions. The interface has evolved a little compared to the previous version, I will do an update to share my impressions after using the application in real conditions.


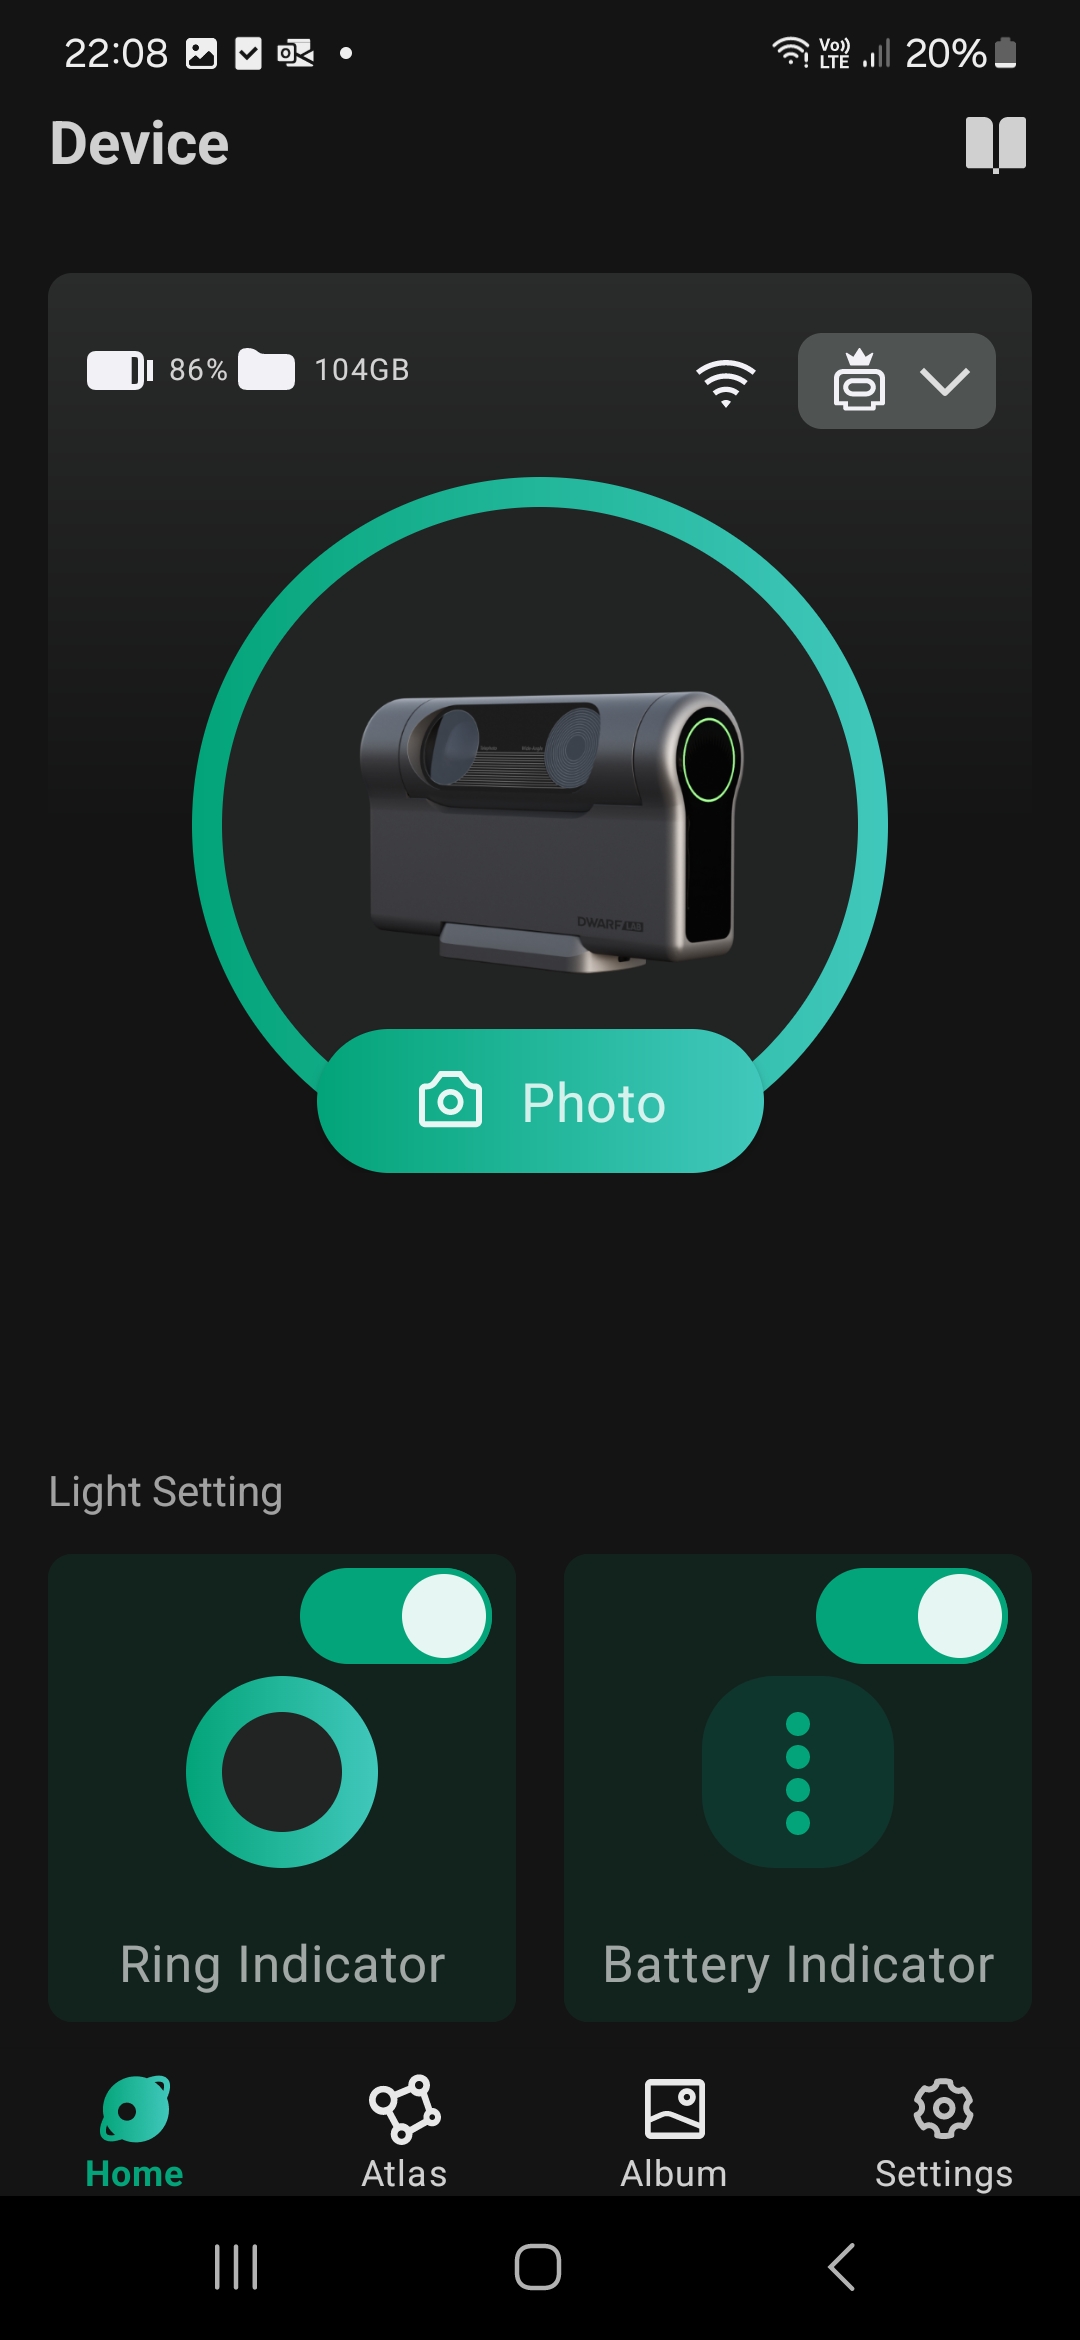
Application
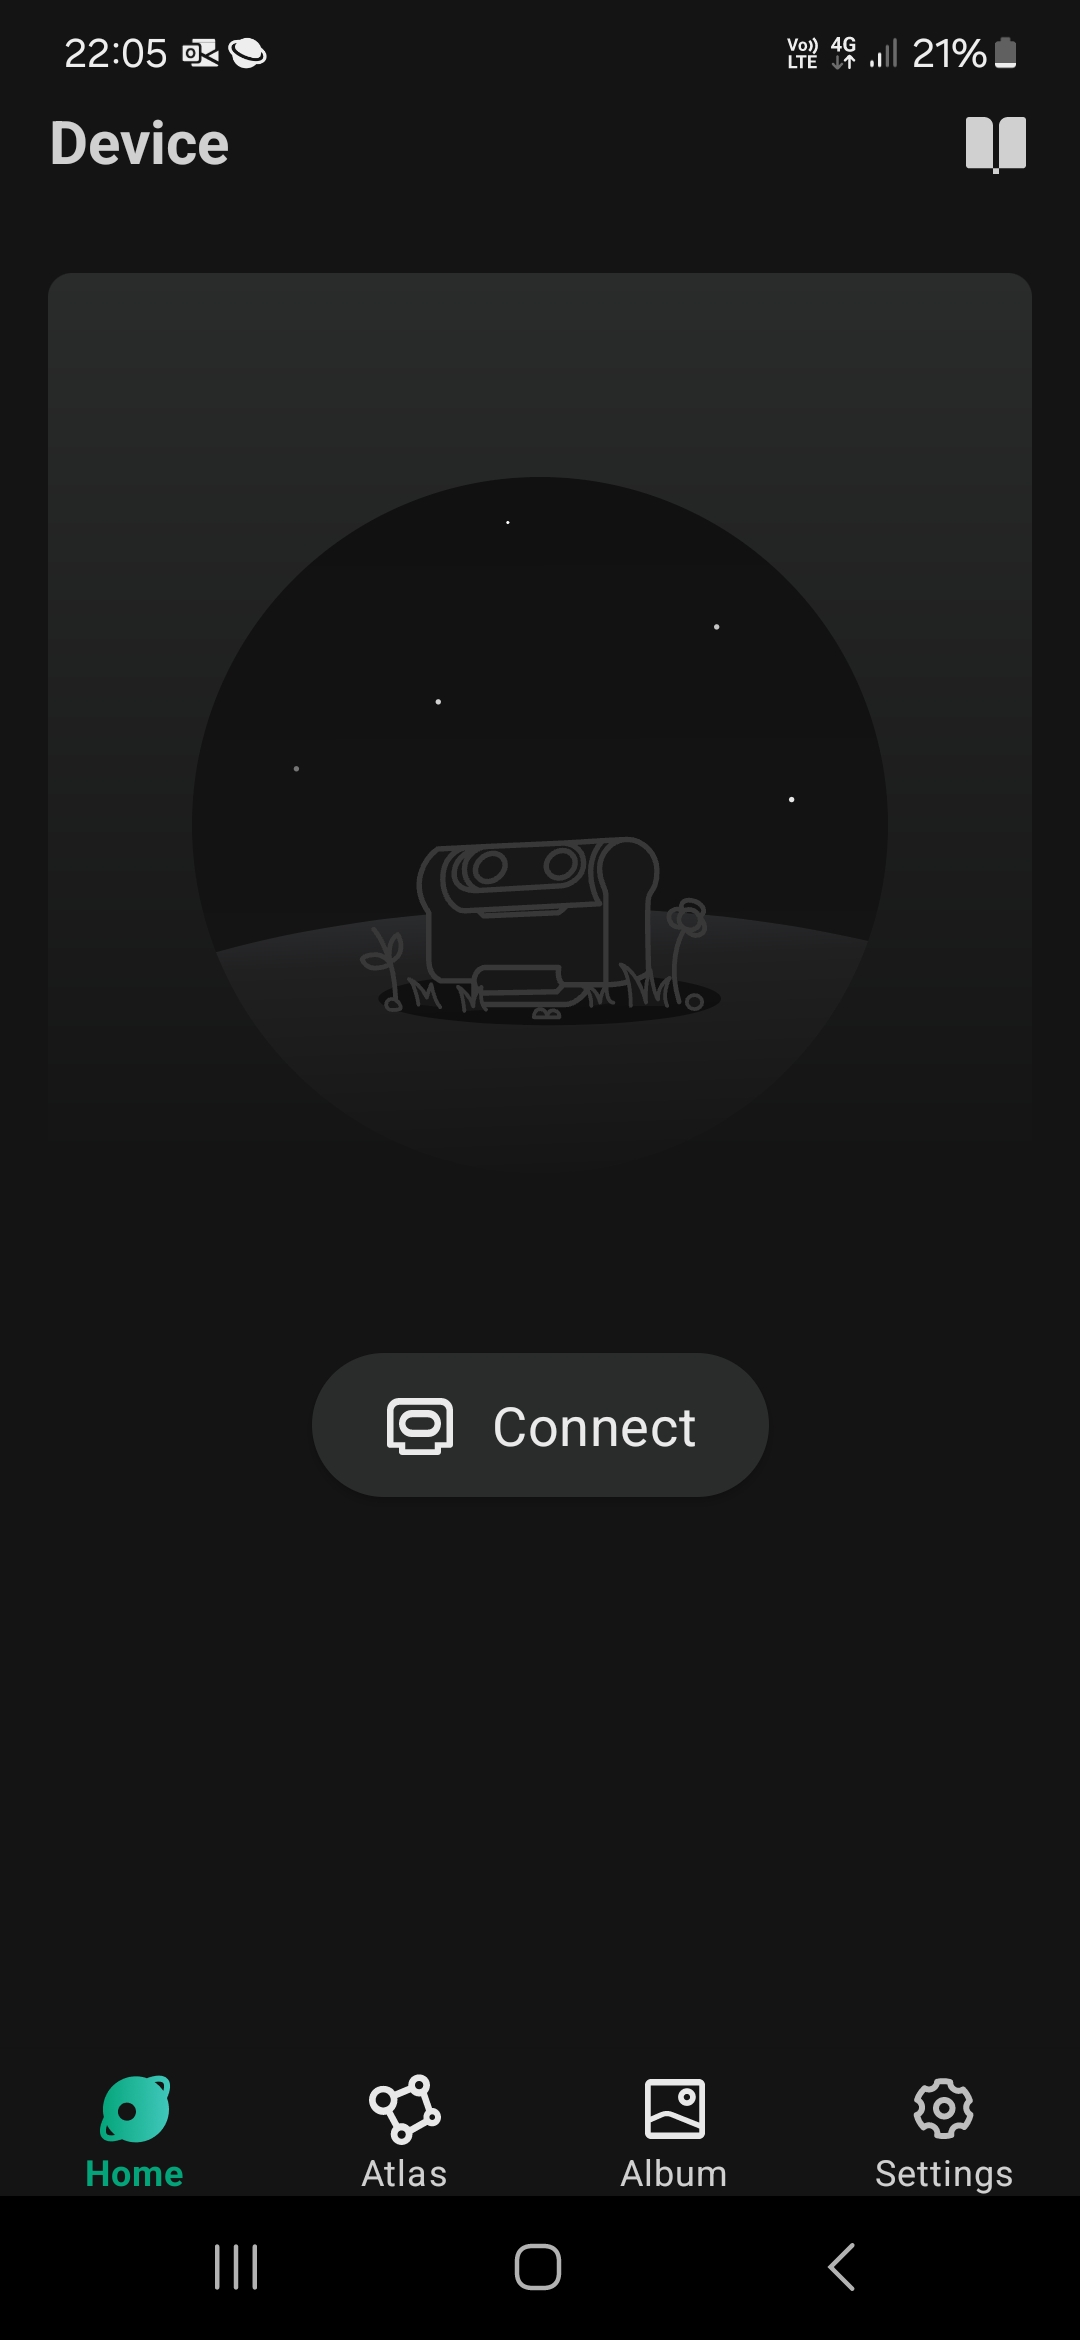
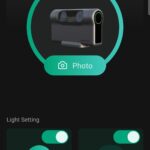
The application is composed of 2 distinct interfaces, there is the home screen and the telescope control screen.Let's start with the home screen. It contains the following elements:


- a battery indicator
- a free space indicator on the telescope
- a wifi indicator
- access to the telescope control
- an on/off button for the LED ring lighting around the power button
- an on/off button for the battery indicator
Then at the bottom of the screen, it has 4 sections:
- a button to return to the home screen
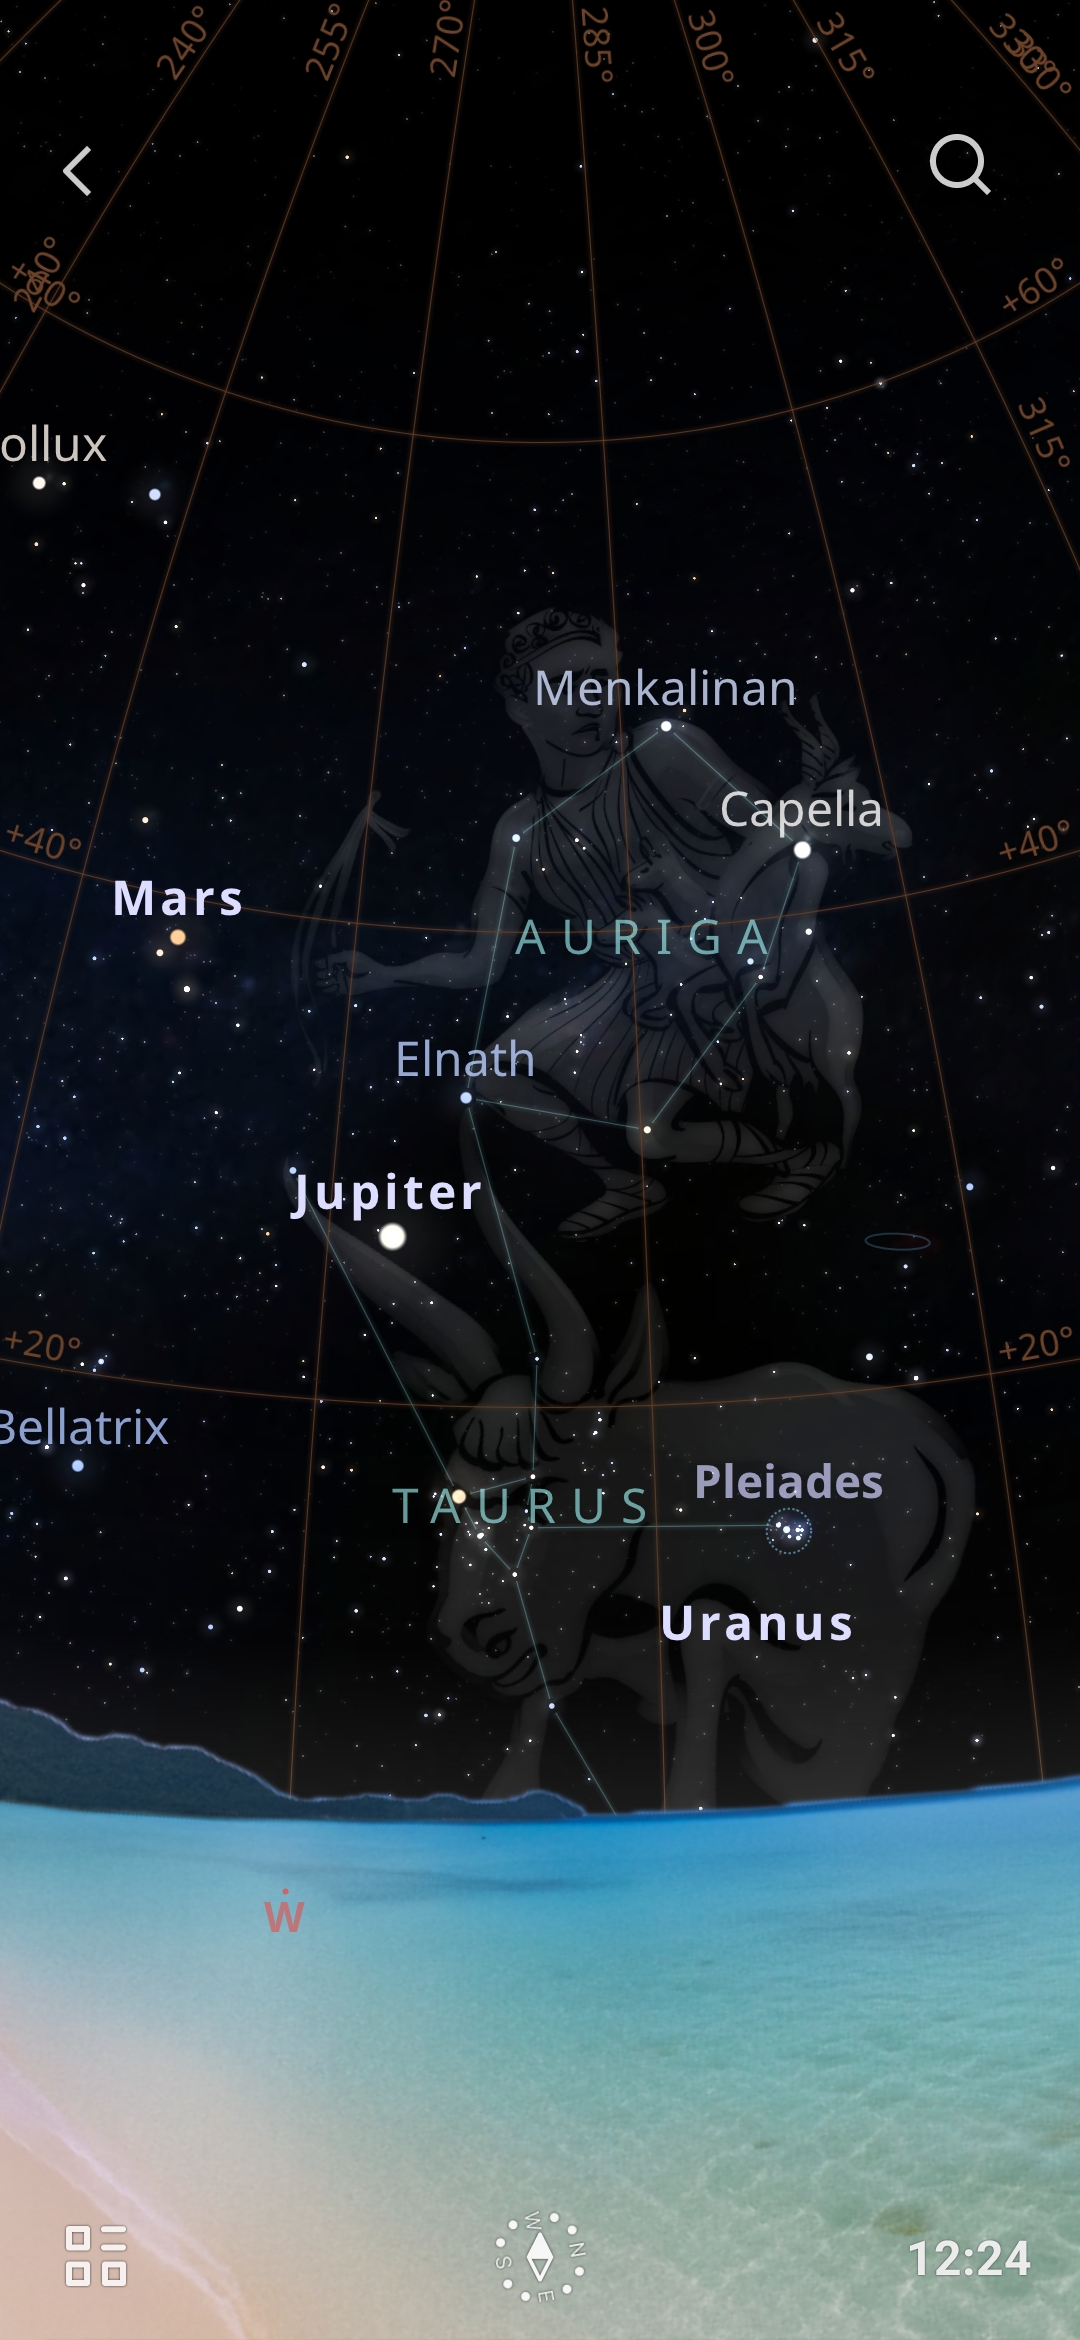
- a button to access the atlas of astronomical objects, it tells you what is visible where you are and you can select the object to follow
- a button to access the album of photos and videos you have taken
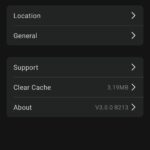
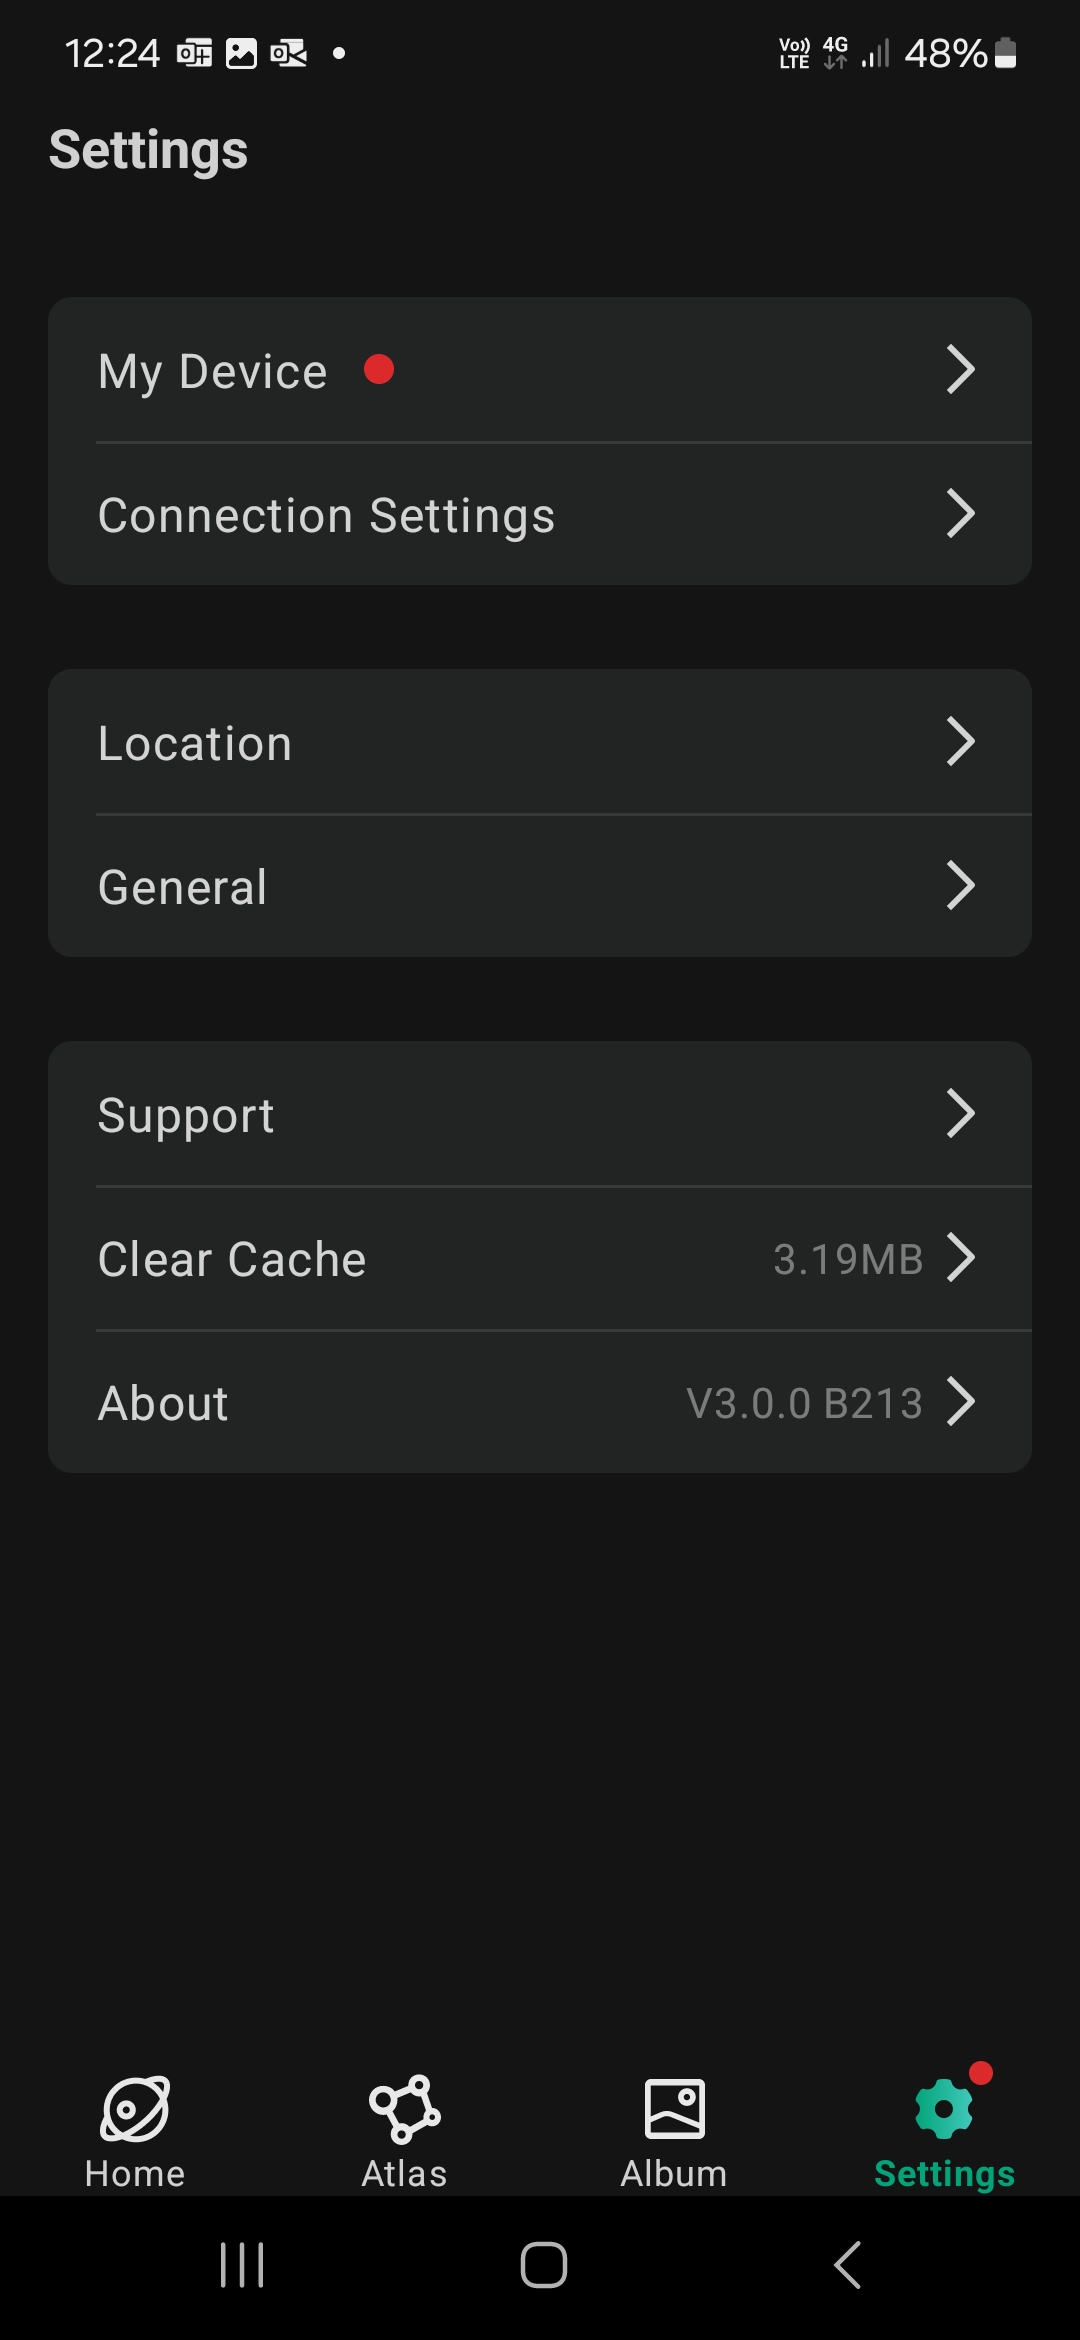
- a button to access the telescope settings where you will see the current version, the possibility to update or restart/stop the telescope. I find it unfortunate here that when I use the stop function the telescope does not return to the transport position. The horizontal axis points the optical block of the projector towards the inside of the projector but the vertical axis does not move, so it must be manually put back in the right place to be able to store it.
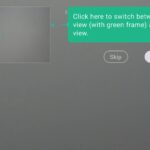
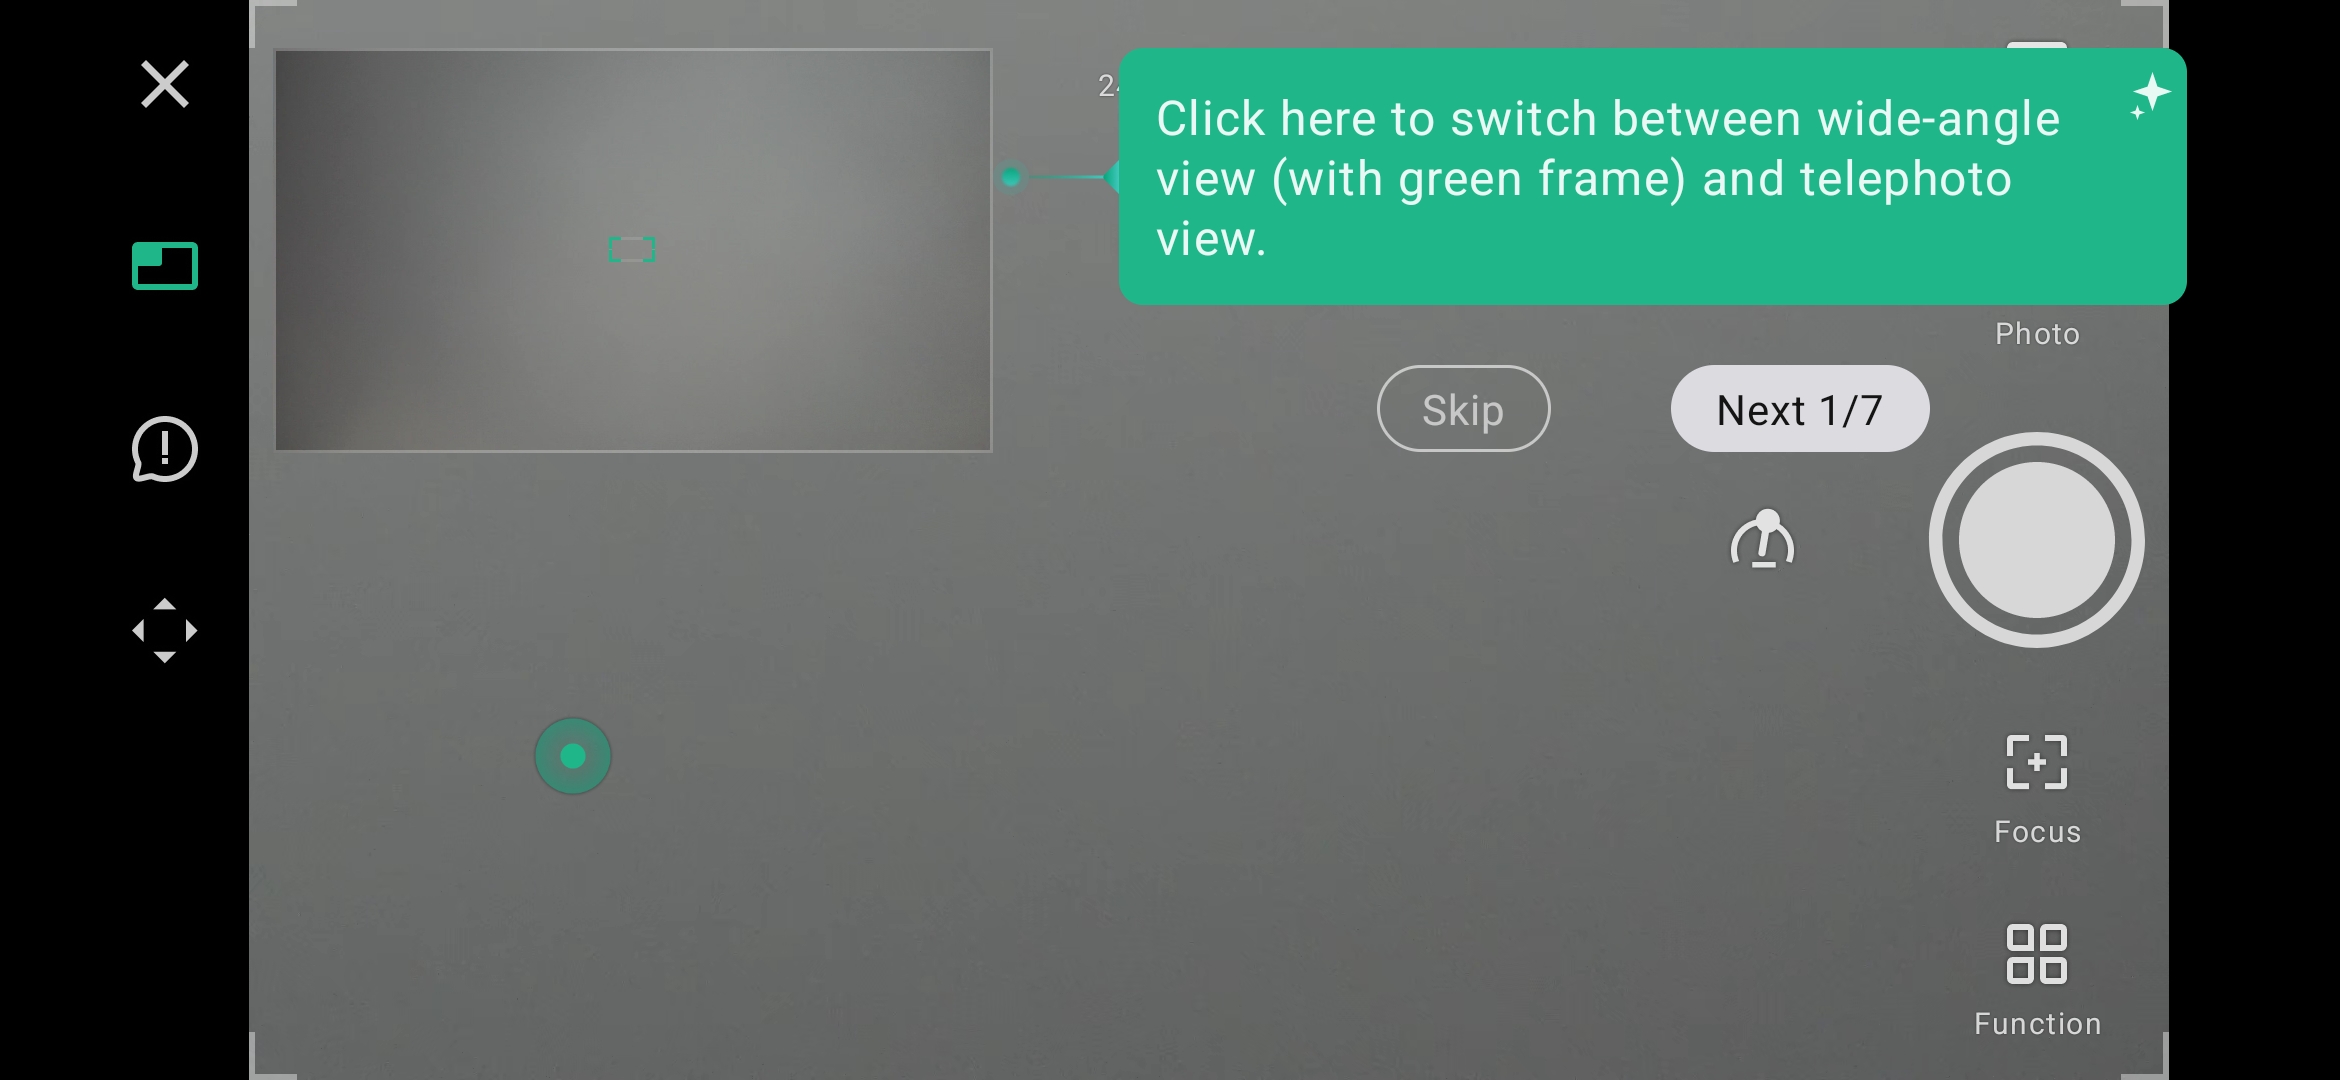
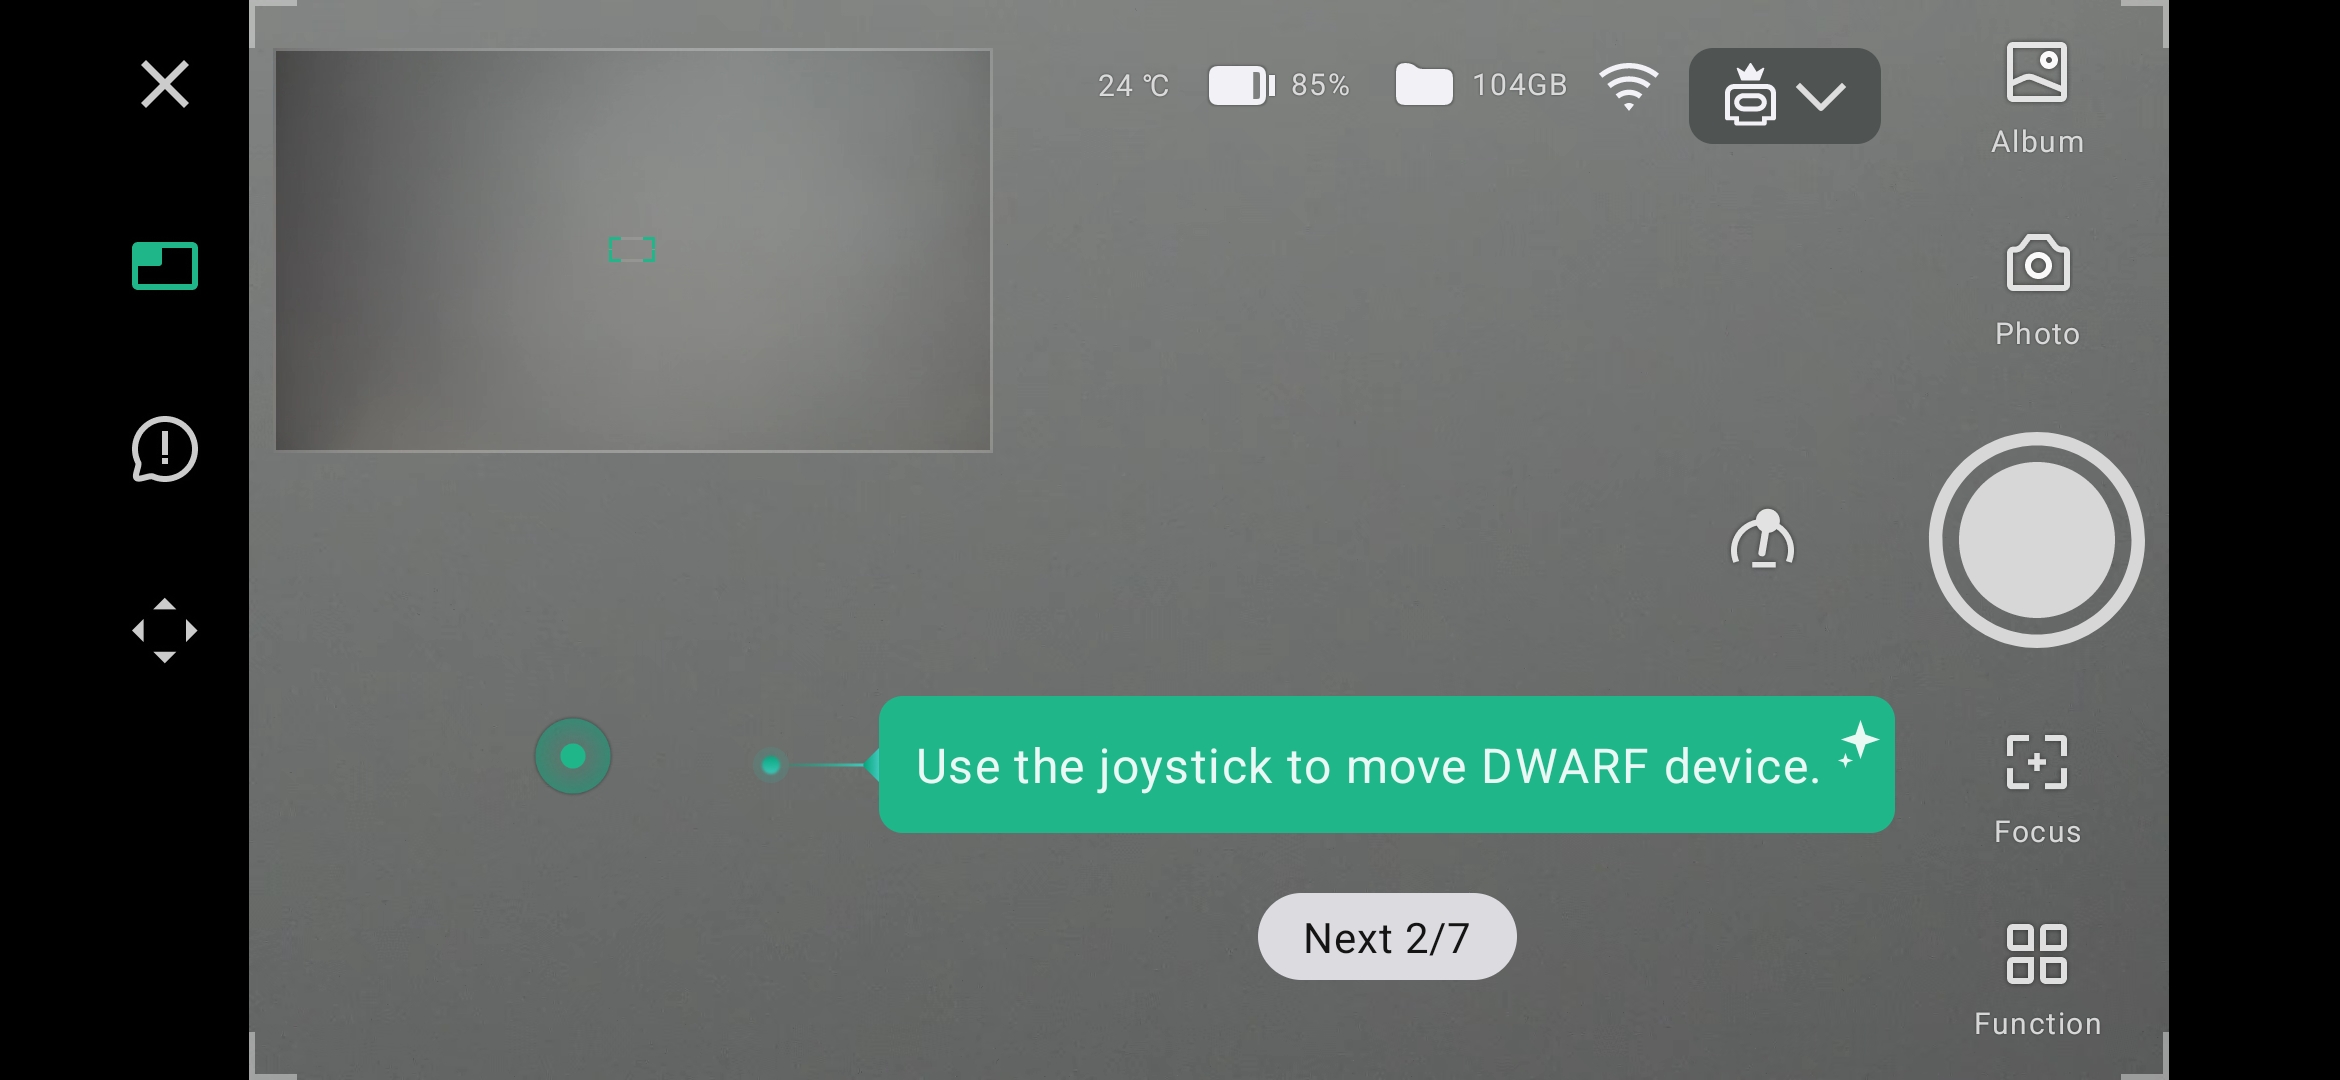
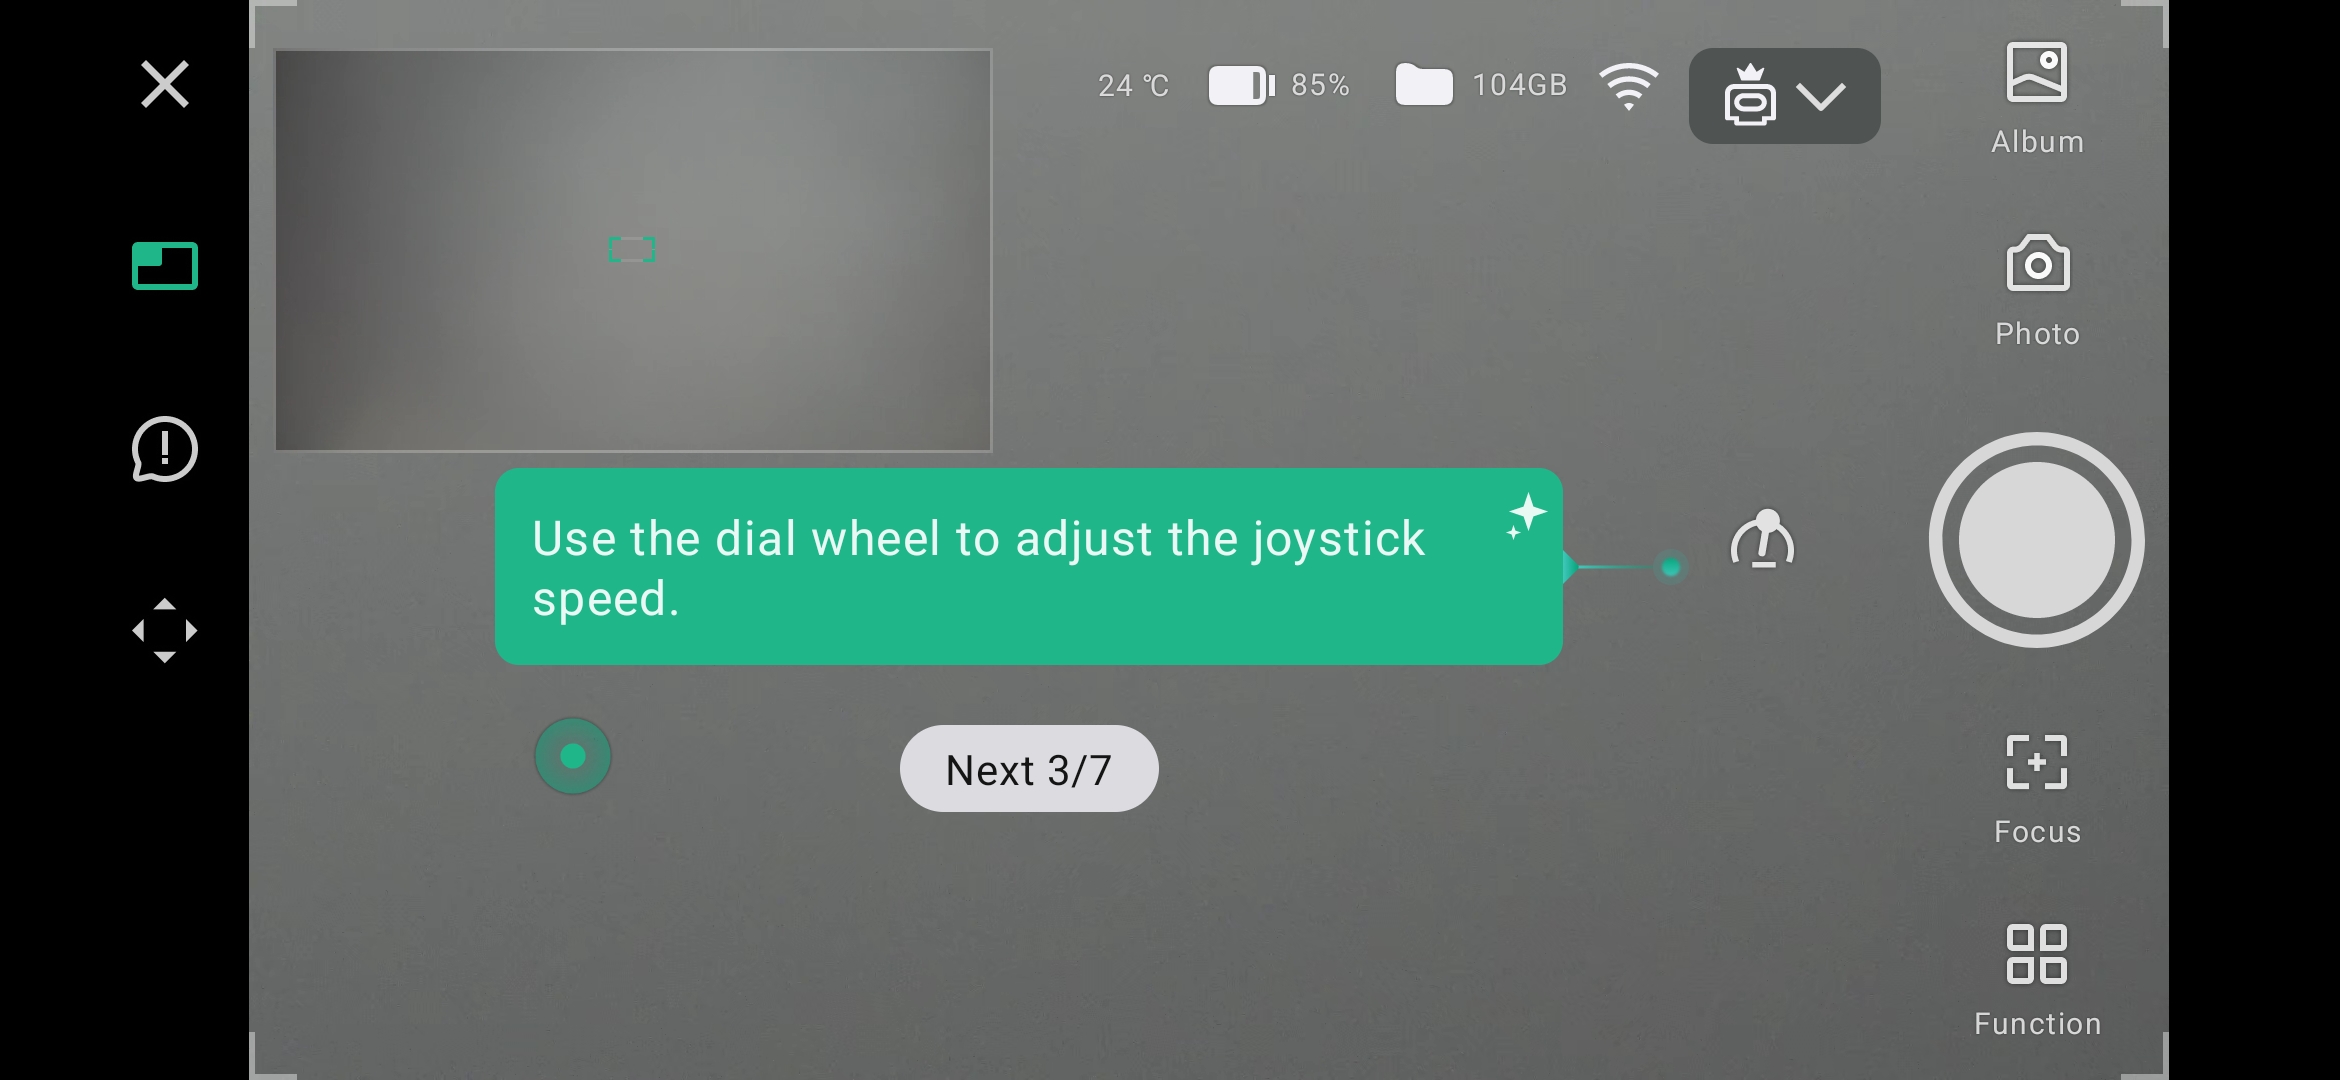
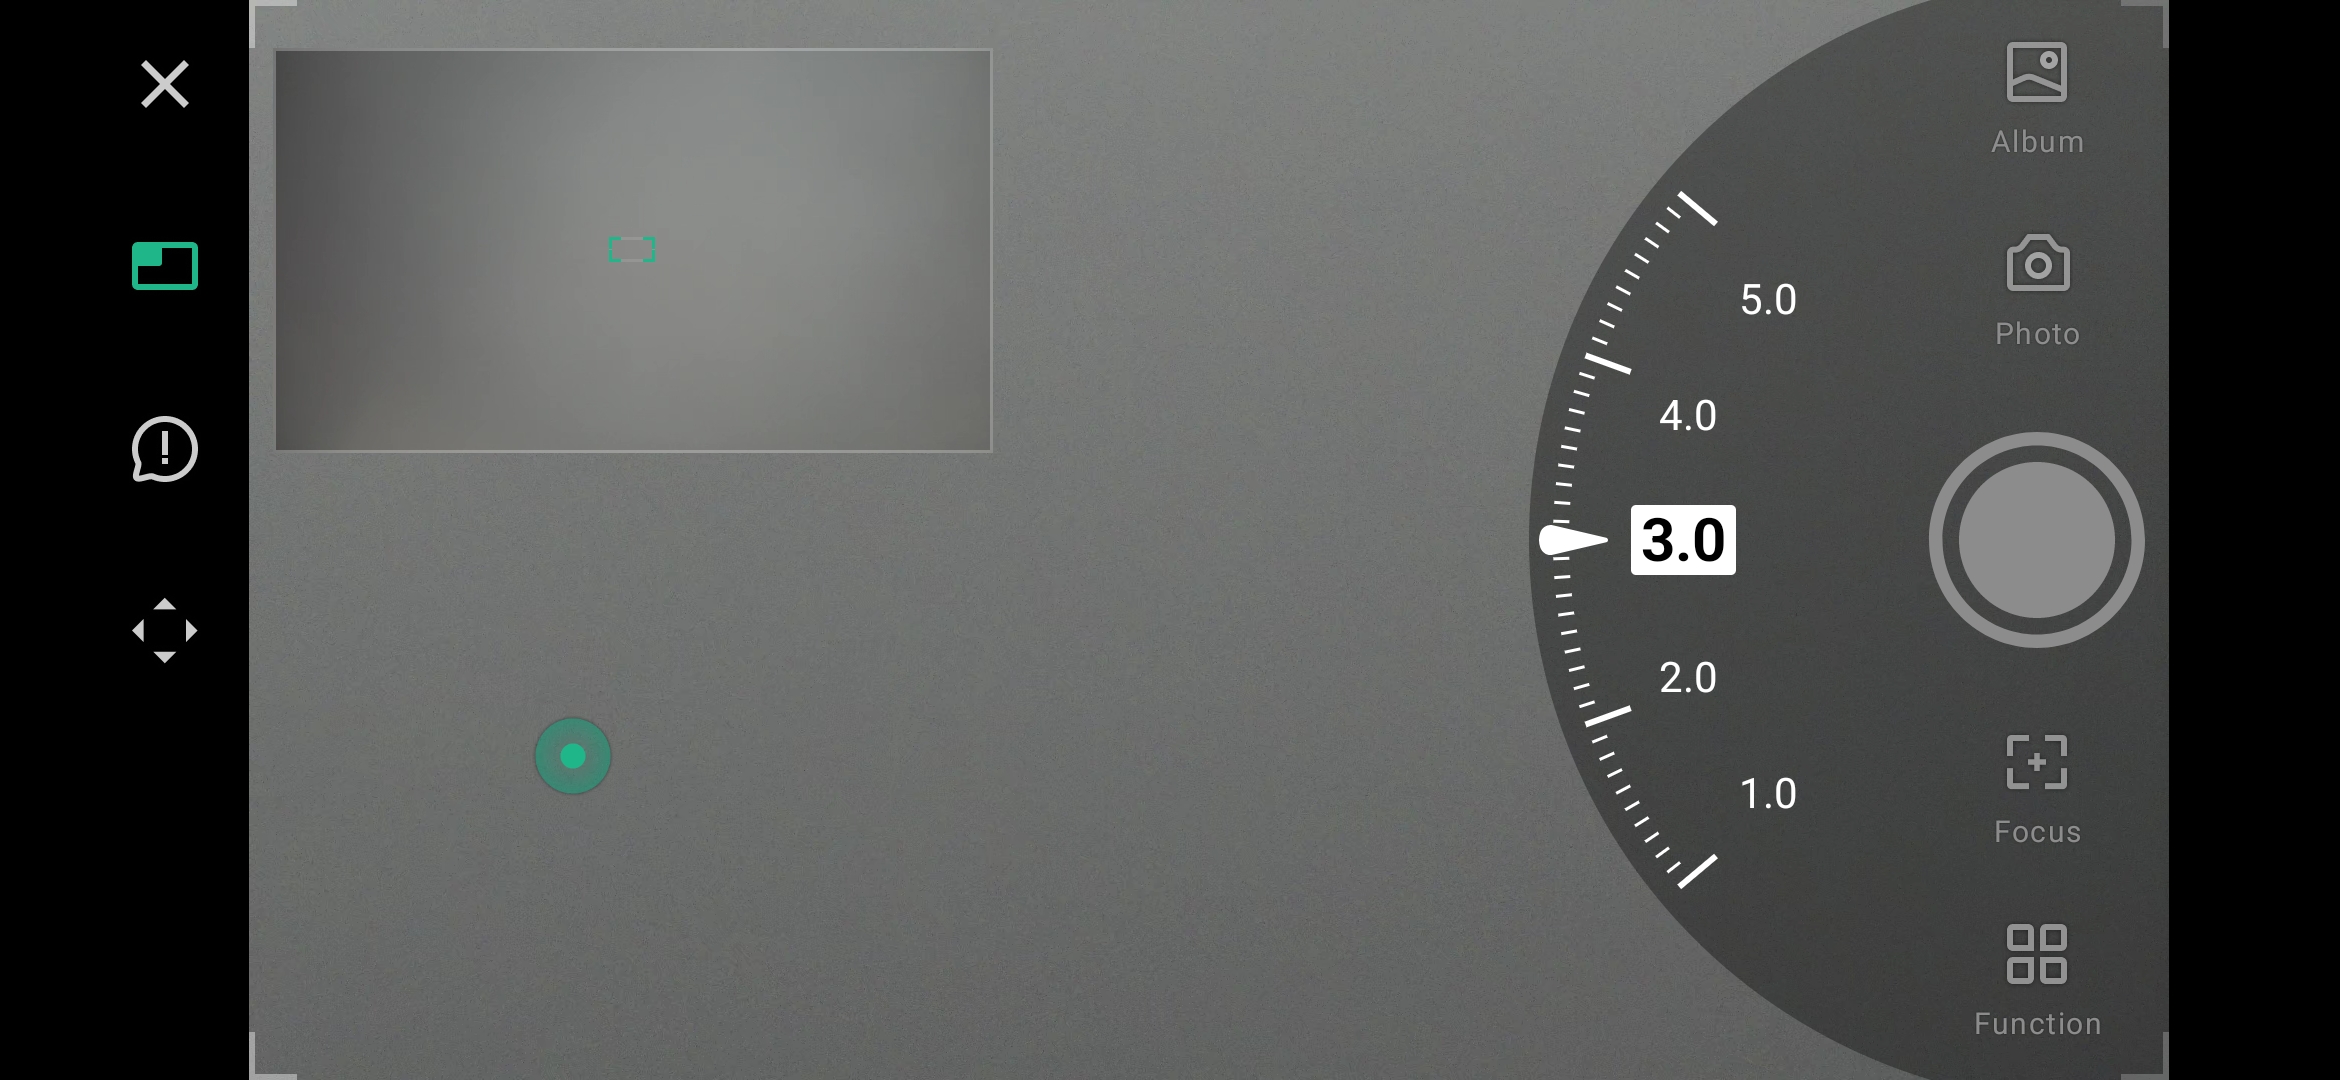
Then there is the telescope control interface The main screen is divided into 2 windows that allow you to see through the telephoto lens and the wide-angle lens at the same time. The wide angle makes it easier to spot your target and you can switch from one lens to the other with a simple click.
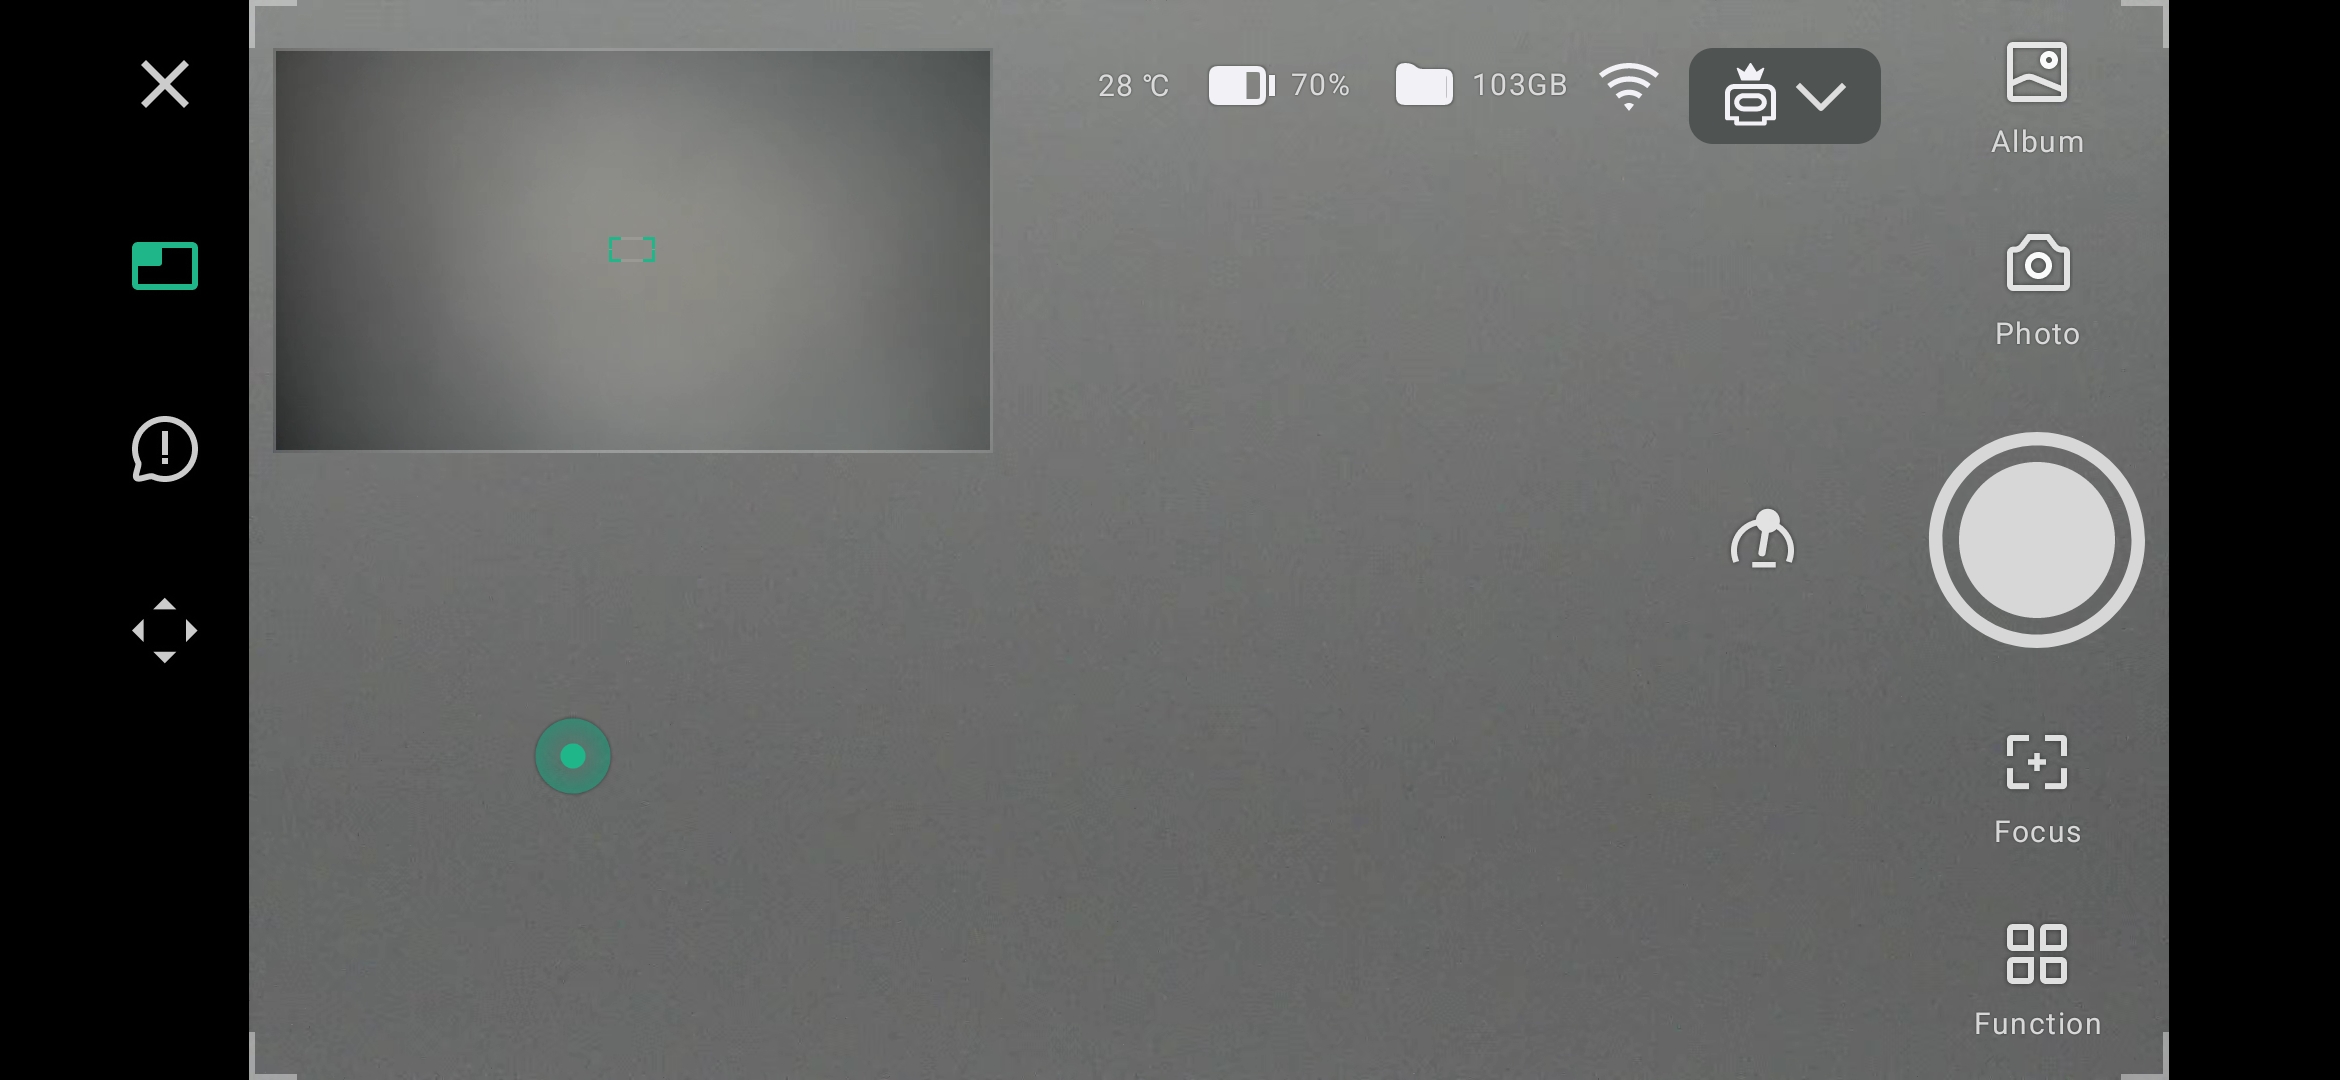
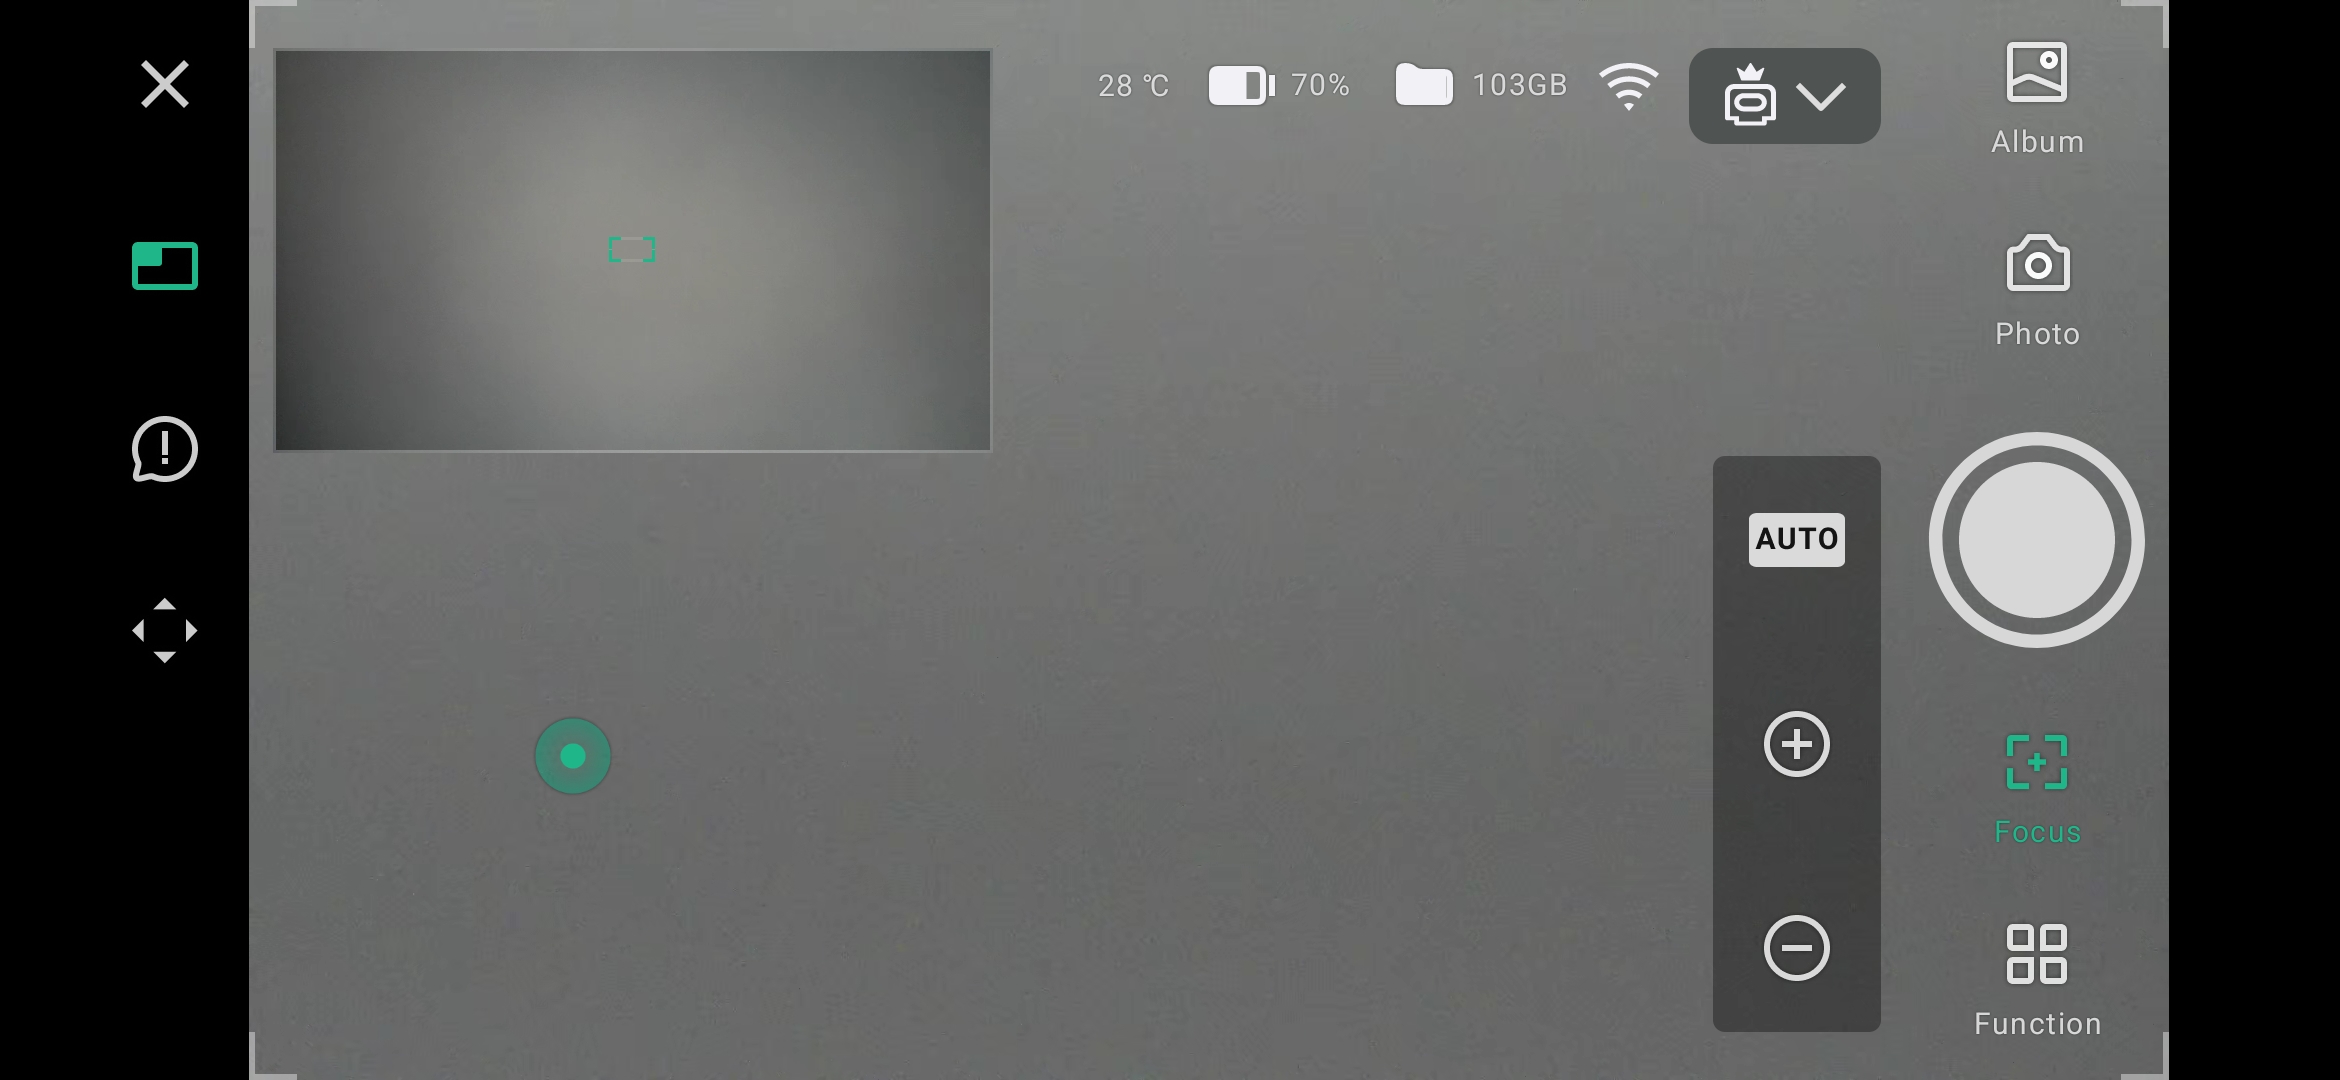
At the top we find the usual indicators but this time I see a temperature indicator. When I made my first observation of the sun it rose to almost 50 ° C, I do not know how far the telescope can go.
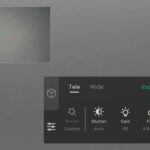
On the right, there are several functions:
- access to the album (the same as the one accessible on the home screen)
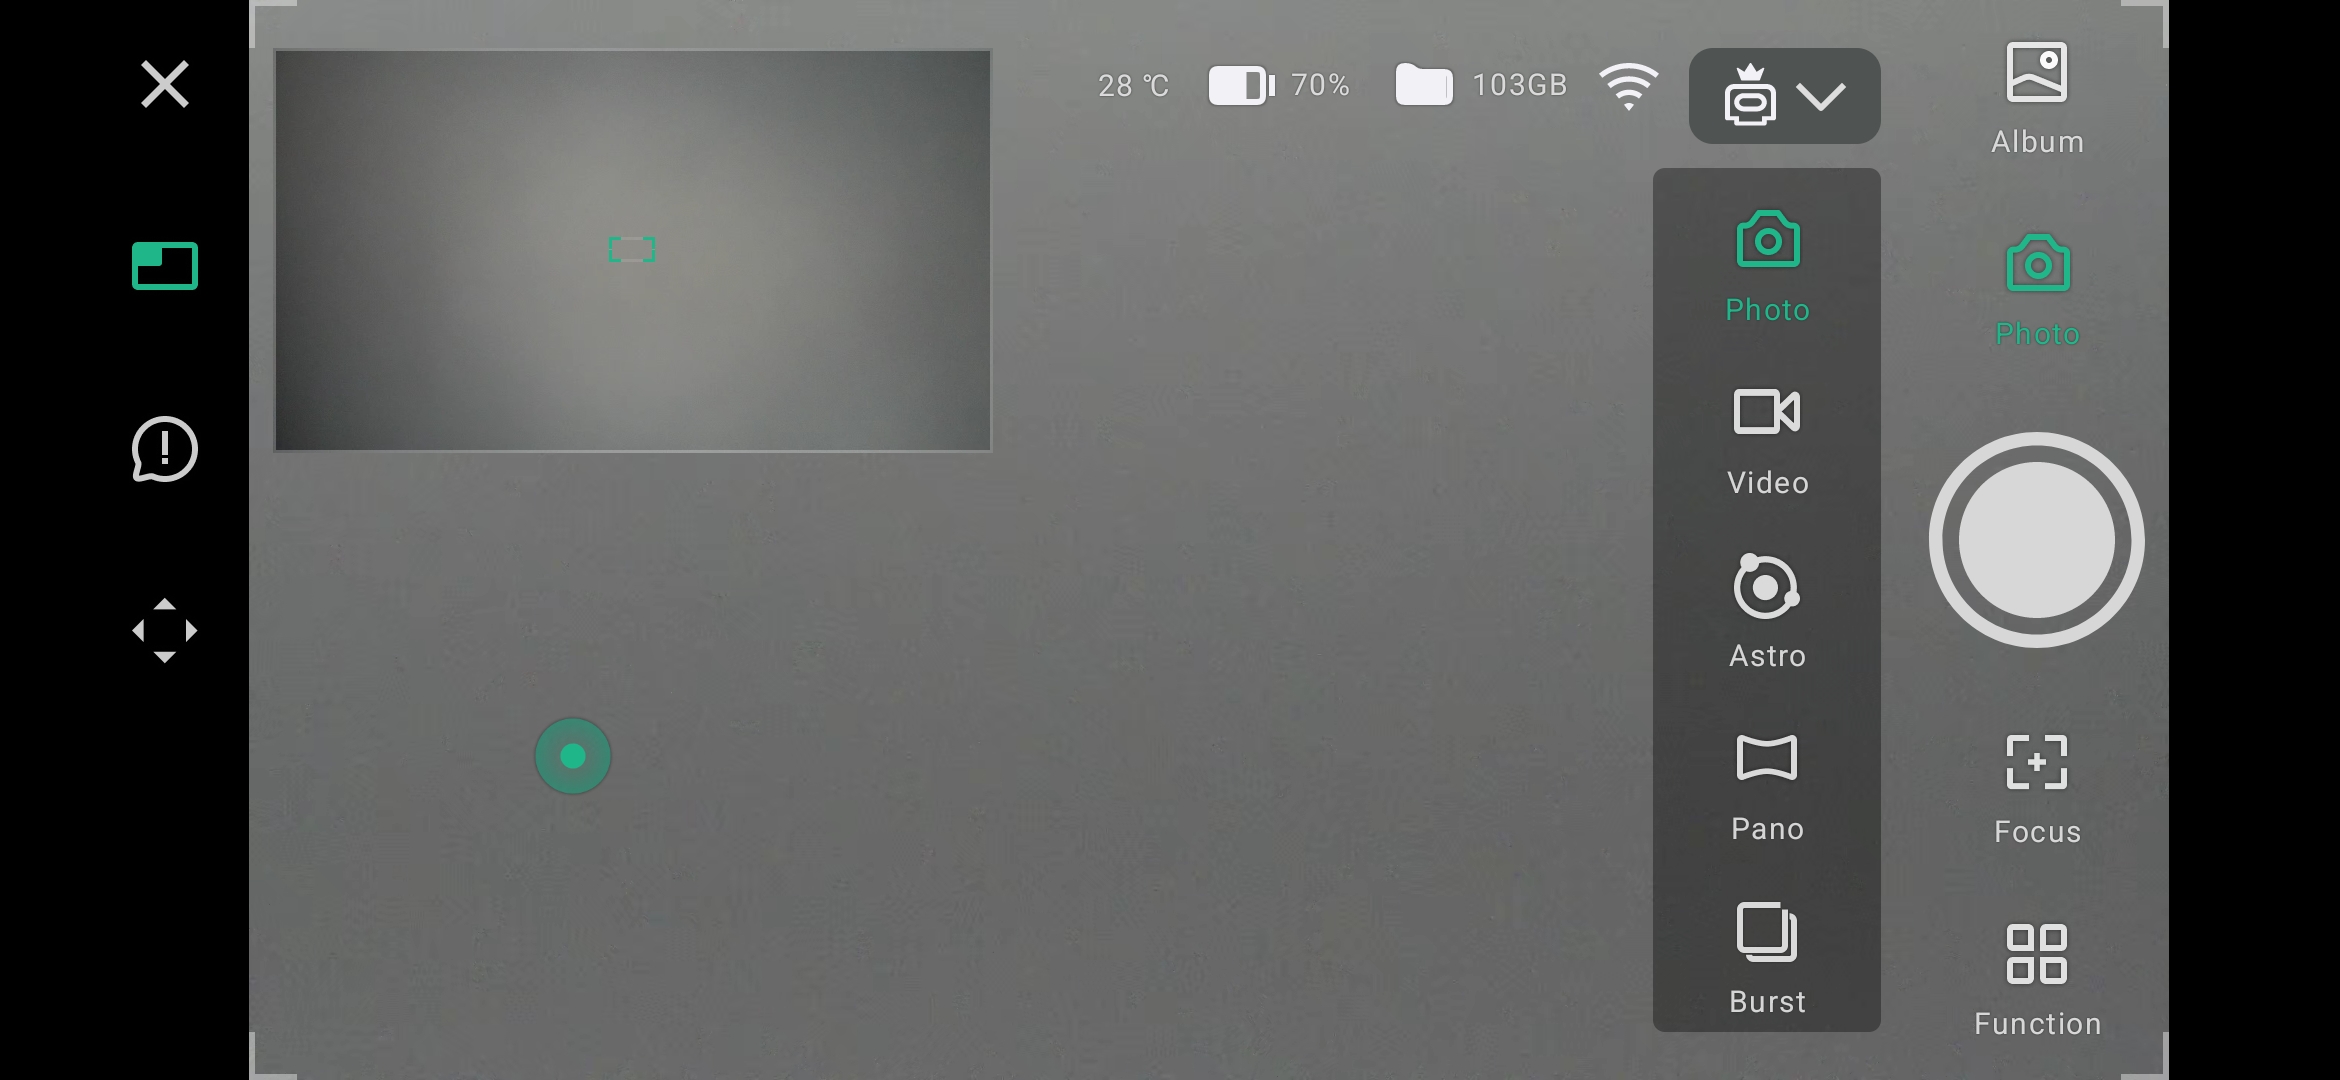
- the choice of mode between: photo, video, astro, pano and burst
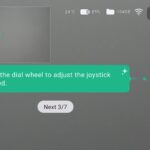
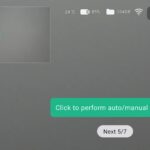
- the possibility of choosing the focus level, automatic or manual
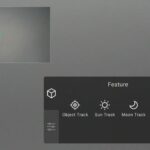
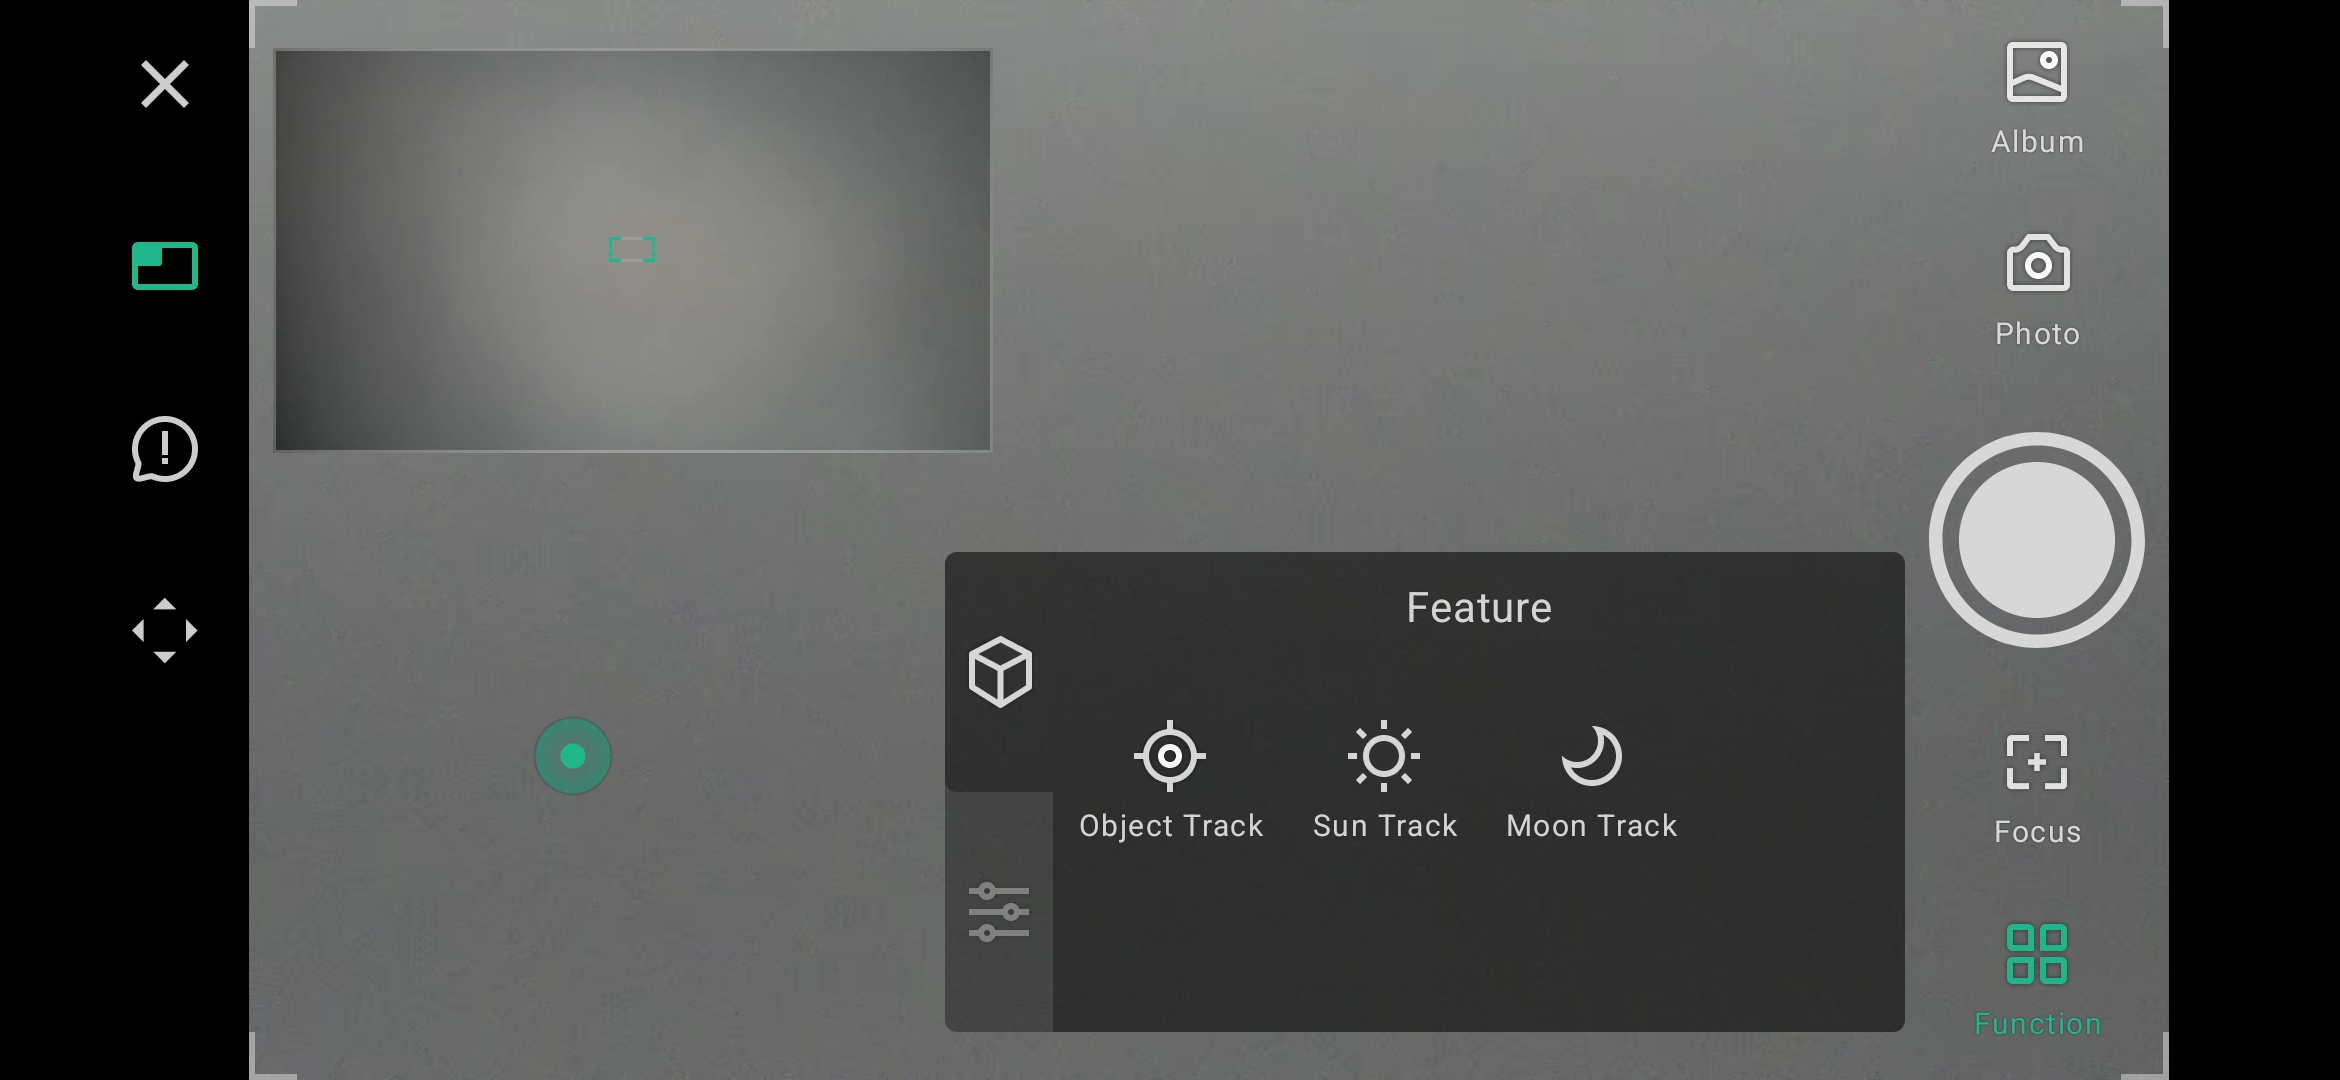
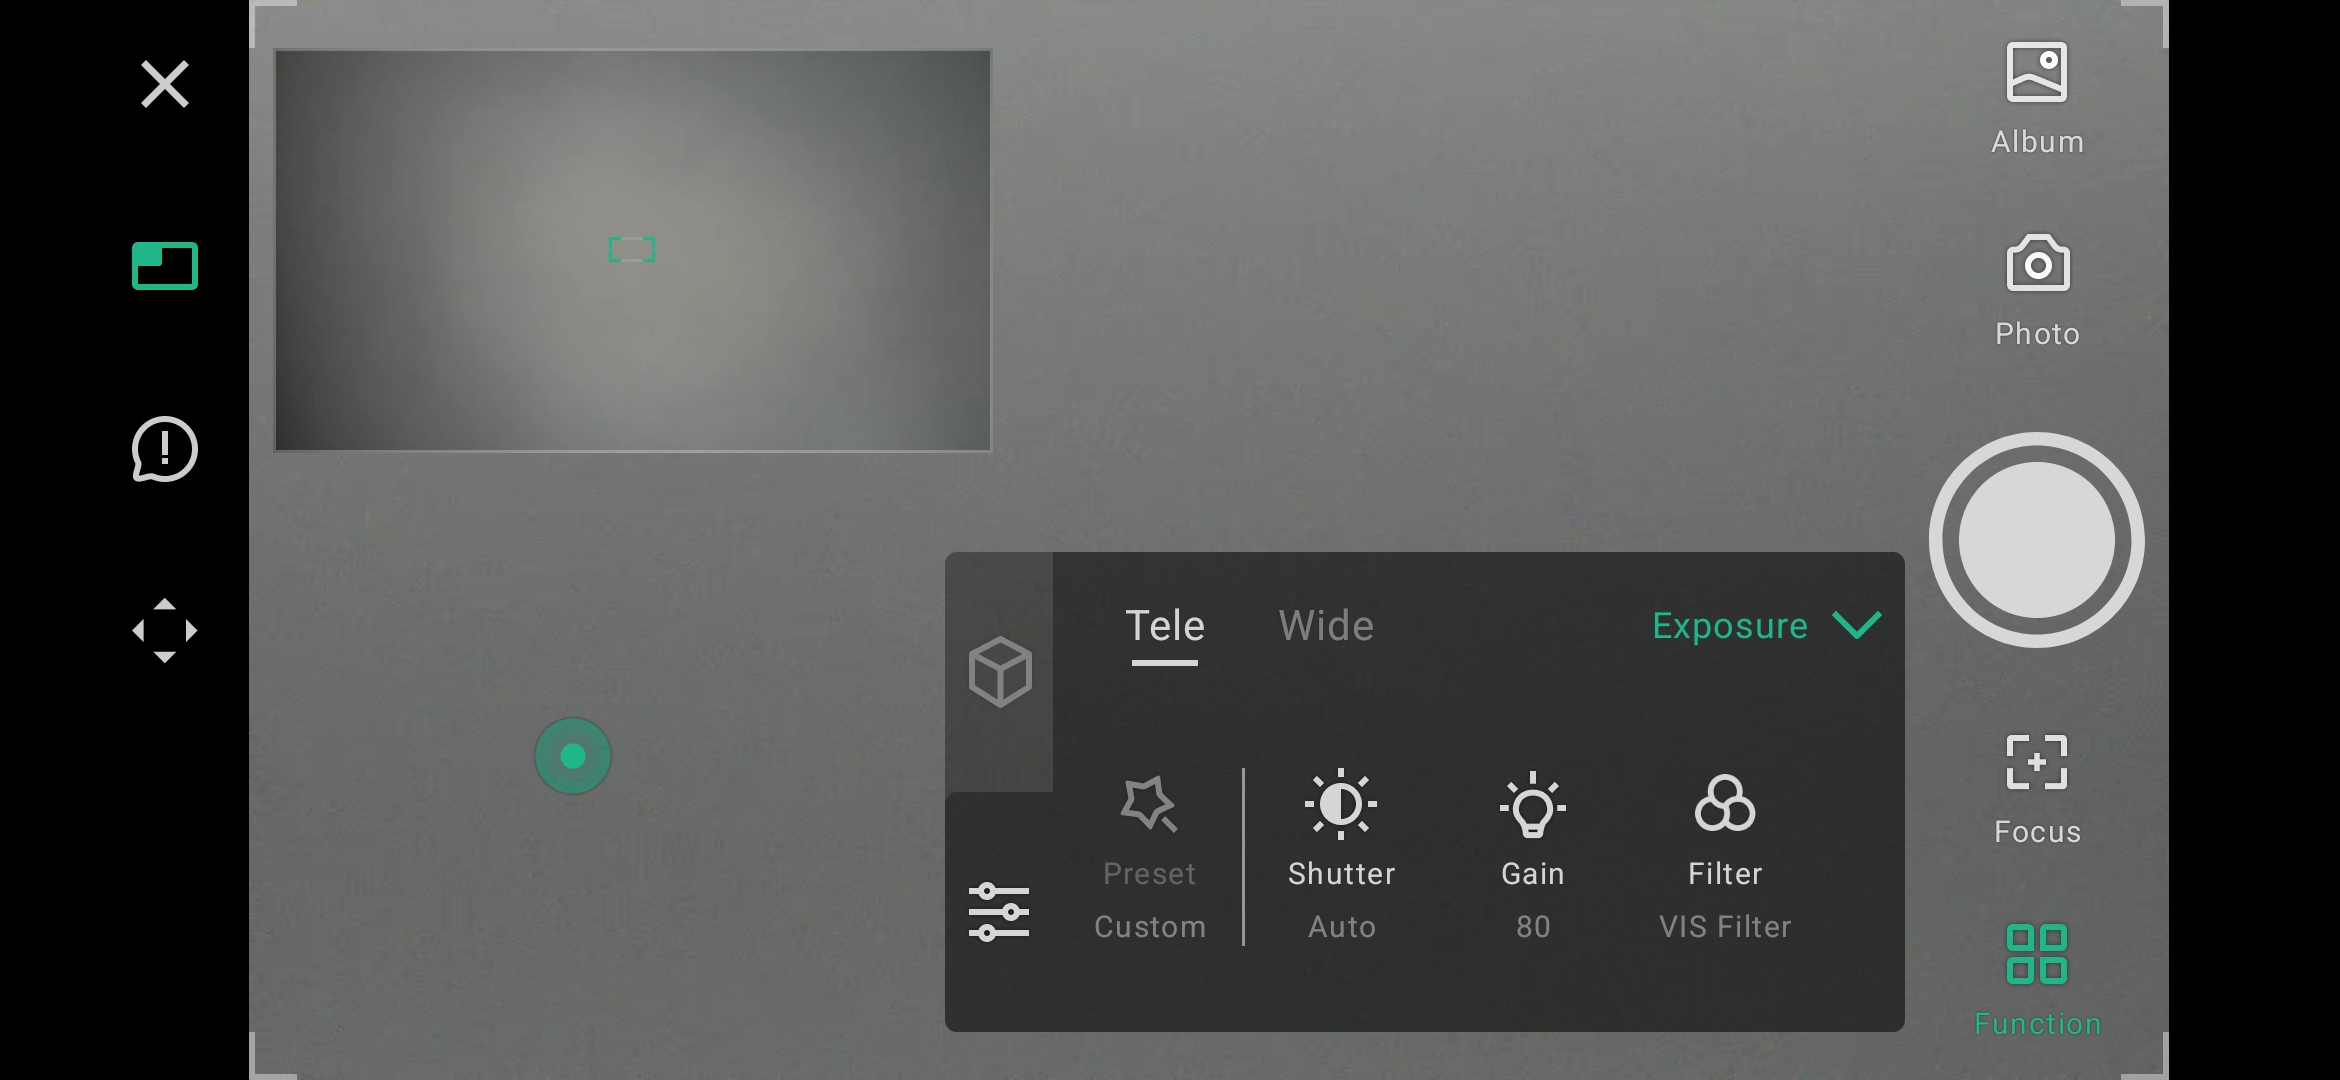
- access to several tracking functions: sun, moon, objects. In this section there is also a possibility to make manual adjustments for the exposure. I find it a shame that this type of adjustment is not more accessible.
The telescope is controlled by touching the screen, you slide your finger from the green circle to control it. The control is quite simple but I find it very sensitive and pointing an object precisely is not always very easy.
Sun
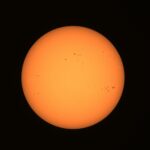
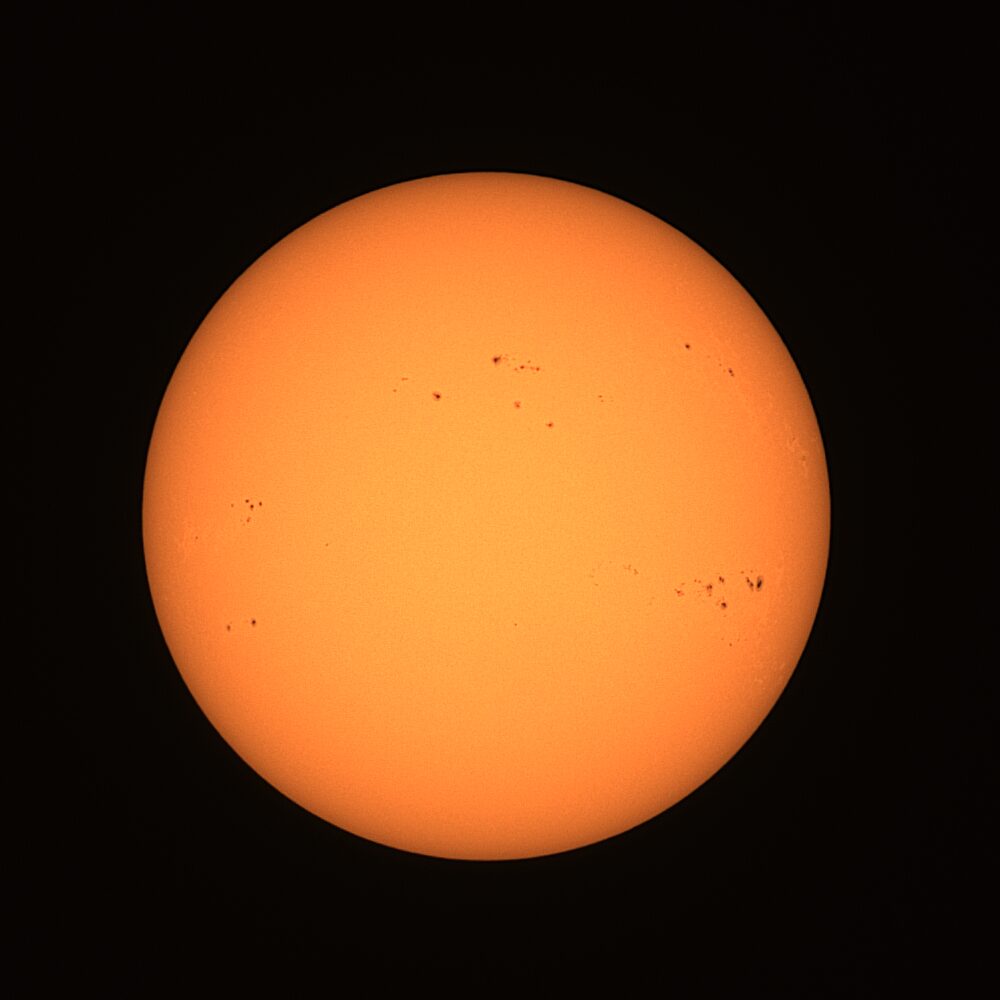
09/14/2024: first observation of the sunThe application has a sun tracking mode that compensates for the rotation of the Earth and keeps the sun in line with the telescope. This is an absolutely necessary feature because without tracking the sun will not stay in view for very long. Unfortunately, there is no sun search function, so you have to manually orient the telescope yourself so that it points towards the sun and I find that a shame. For the sun it is not too bad because it is very visible but I hope that will not be the case for celestial objects.
Once the pointing towards the sun is done, you can activate the tracking but do not forget to install the solar filter before otherwise you will burn out your telescope. The tracking works quite well, in the video below I did a tracking of more than 30 seconds and we can barely see the sun move. The telescope makes some minor corrections but overall the tracking works quite well. However, you must make sure that you have centered the sun on your screen because once tracking is engaged, the sun will stay in the position you have chosen. In the following example, the sun was not perfectly centered and it stayed where it was. There is therefore no automatic adjustment to position the sun exactly in the middle of the screen.
The photo and video mode produce a black and white image of the sun. I was a little surprised because with the Seestar S50 I got a color image right from the start. With the Dwarf 3 you have to go through the "astro" mode to get a color image of the sun.
Photo of the sun taken in normal mode (without processing)
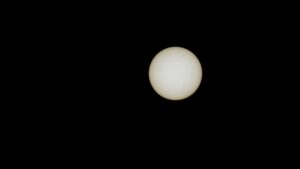 Photo of the sun taken in astro mode (without processing)
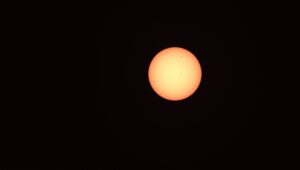
The Dwarf 3 produces a JPG image and another in PNG format with a resolution of 3856x2180 pixels. The file size will depend on the exposure time. Using the "astro" mode will also produce .fits files for each captured image, this will allow you to do "stacking" with specialized software.
Video of the sun taken in video mode (without processing)
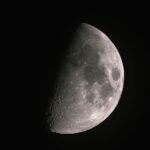
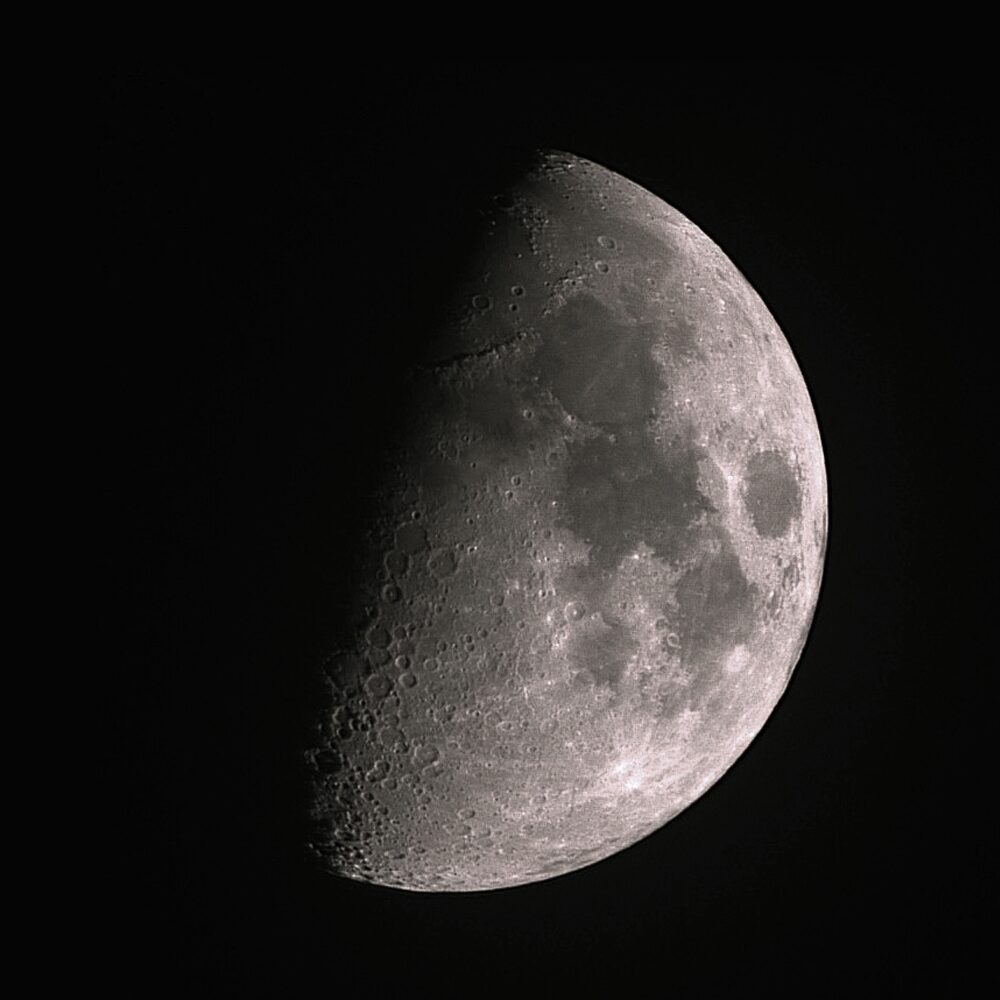
Moon

The Moon is an easy subject like the Sun because it is easy to spot and even if there is a little cloud cover, it is still visible. I took this photo in conditions that were not ideal because it was a bit cloudy and the sky in Belgium is not the best for sky observation. So the telescope can do better than that and with a little processing, I am sure we can do even better. With the same photo, I get this by increasing the sharpness a little and decreasing the saturation:
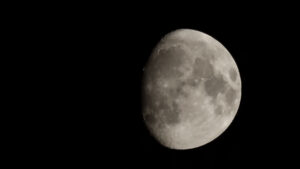
I also made a video but I realized later that I had forgotten to activate the tracking but in the end it does not matter. This will show you that without tracking it would be impossible to follow the moon and for those who have never used a telescope, this will allow you to see the effect of the rotation of the Earth which is not visible to the naked eye. The moon is an easy subject, it will probably be your first target with this type of telescope and if it is your first telescope you will certainly enjoy seeing it so close for the first time.
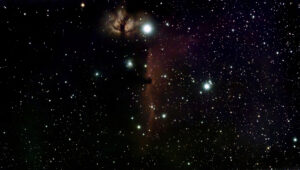
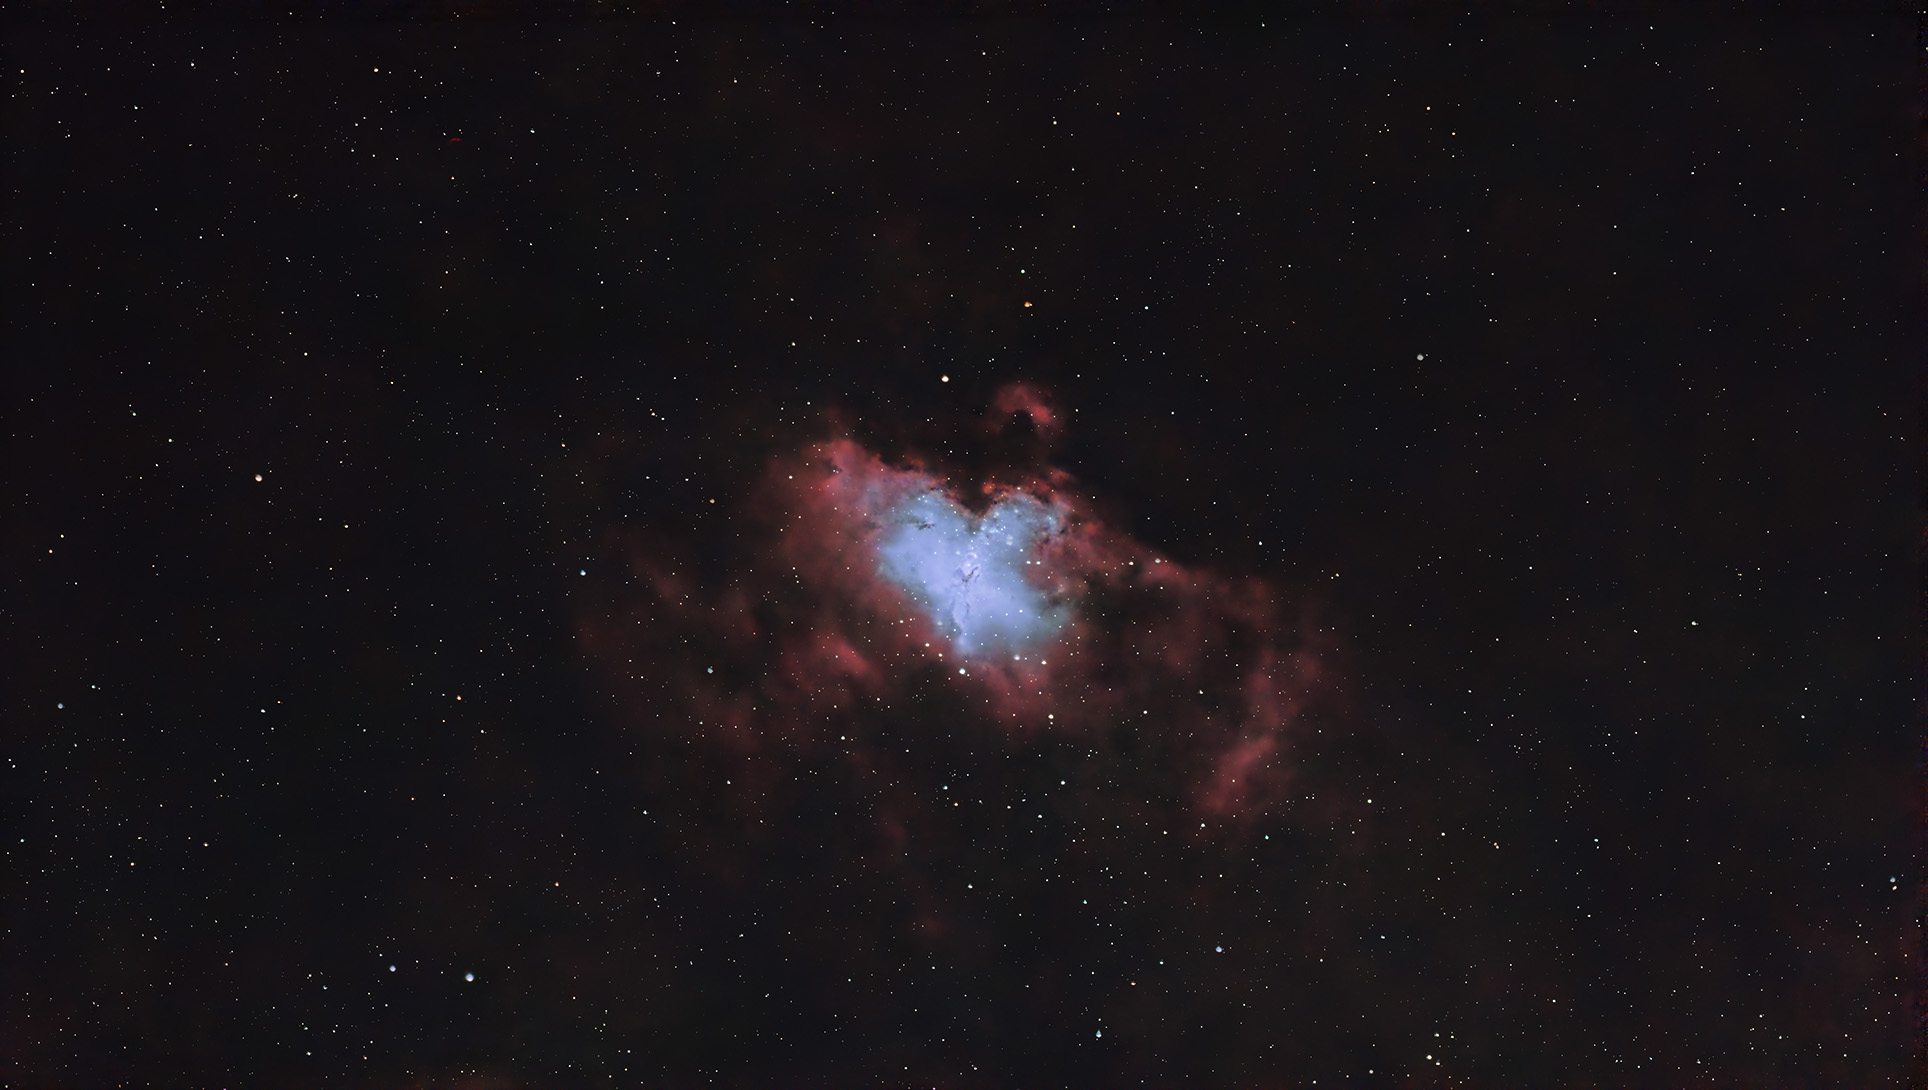
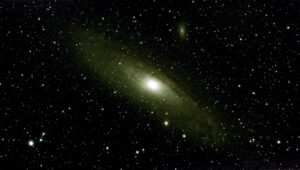
Deep sky
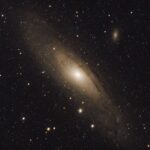
To observe the deep sky you need good conditions and at the moment the moon is very bright and therefore disrupts the observation of the deep sky and to this must be added a sky too cloudy. I watch for the slightest clearing every night to make an observation but so far I have had no luck.09/29/2024: I see stars for the first time despite the fog, I try my luck and aim for M31. The Atlas of the application allows you to choose the object to observe, it is possible to choose the observable objects but I find that the interface in the application is not very clear. I choose to point M31 automatically and the telescope goes into calibration position. This is where the Dwarf 2 crashed most of the time, no problem with the Dwarf 3.
The telescope automatically points to M31, I see a small dot on the screen and I start recording. After a few seconds of waiting, M31 is clearly visible on my screen, I start recording and stacking.
Here is what it looks like in raw and unprocessed form:
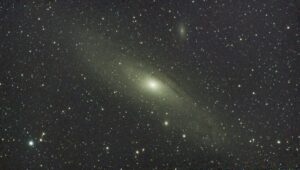
We are far from the photos taken by Hubble obviously but I find that the result is rather good for a polluted sky and a light haze.
With a bit of noise cleaning, it looks like this:
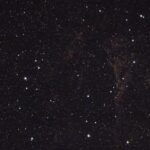
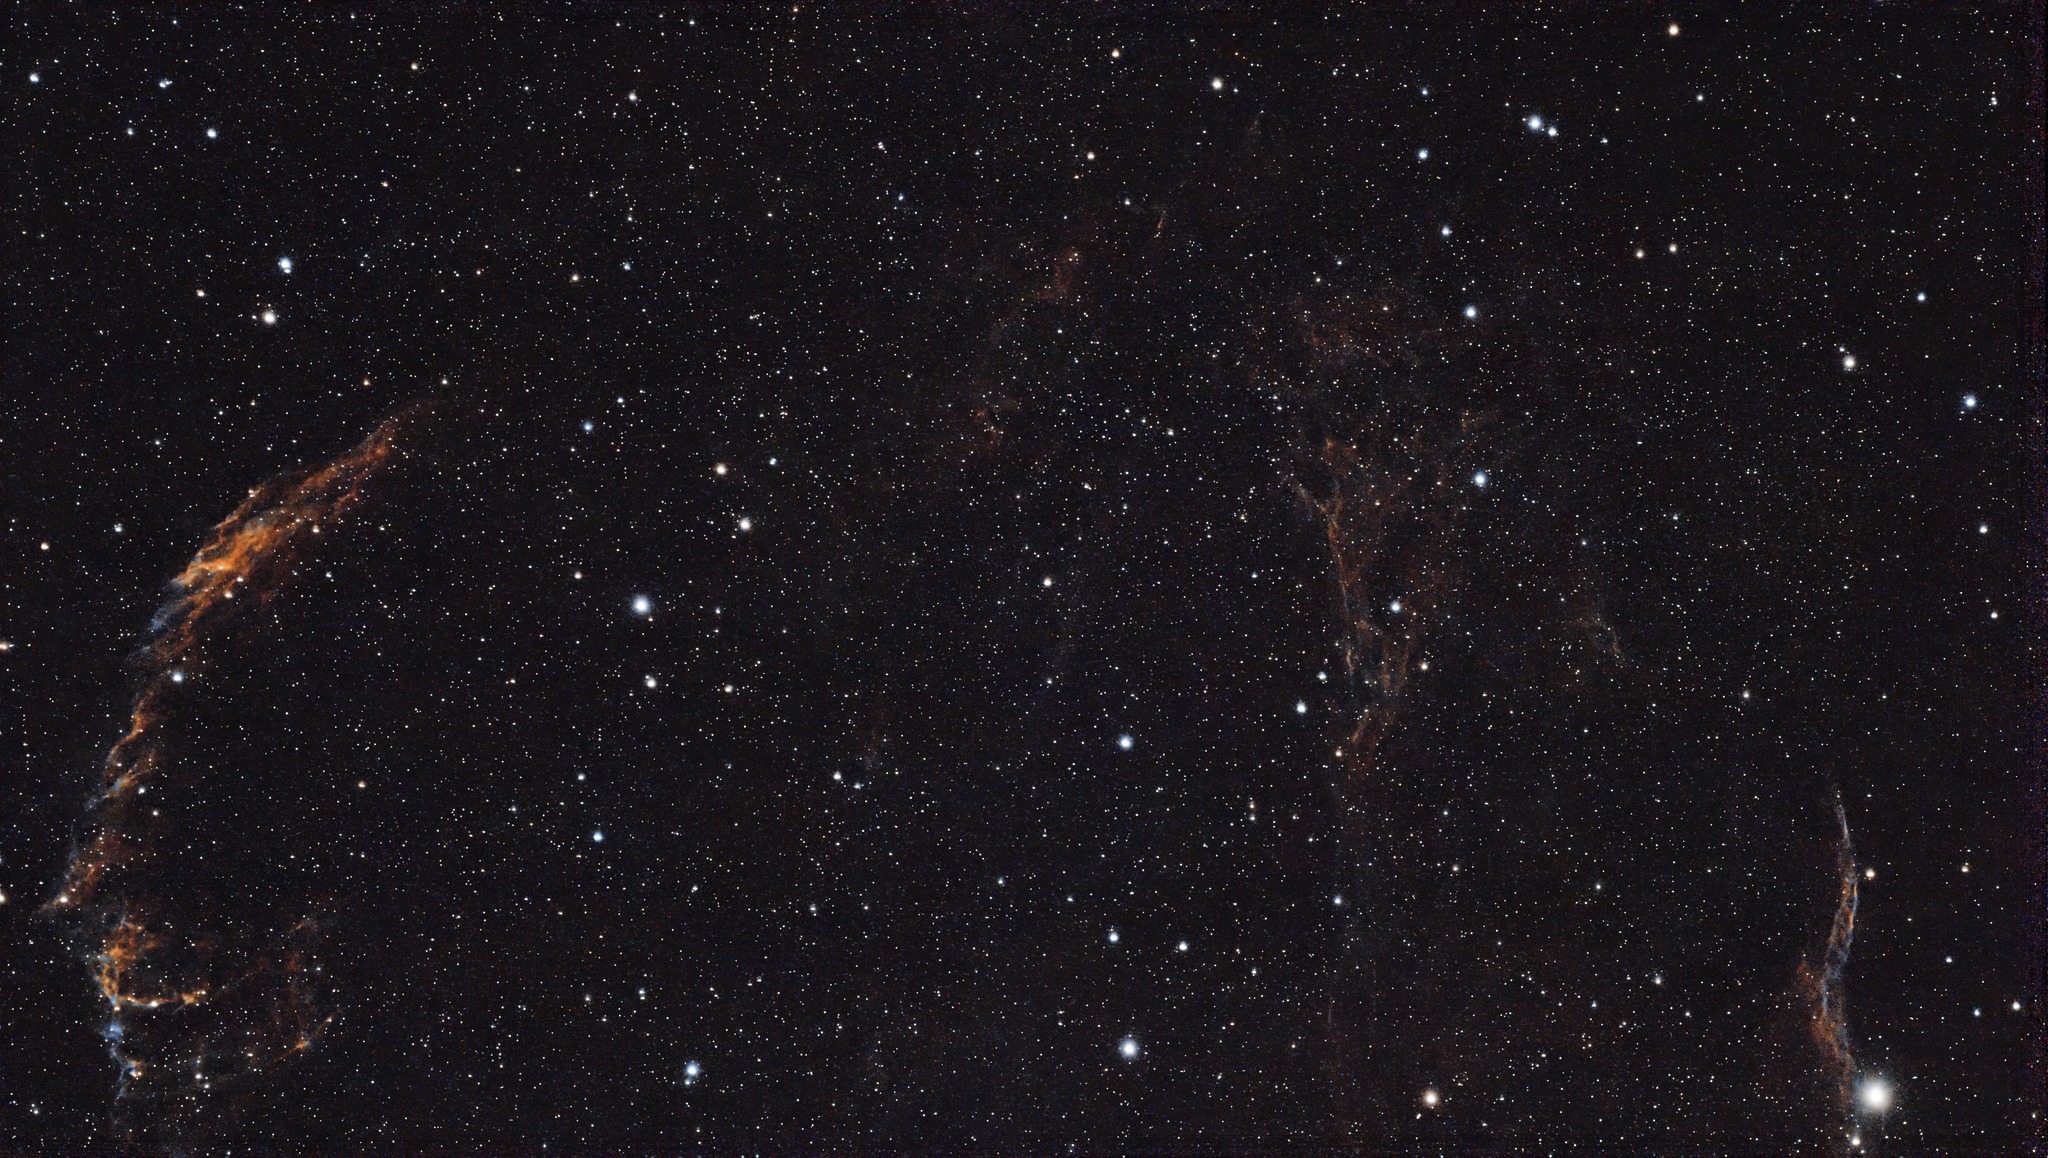
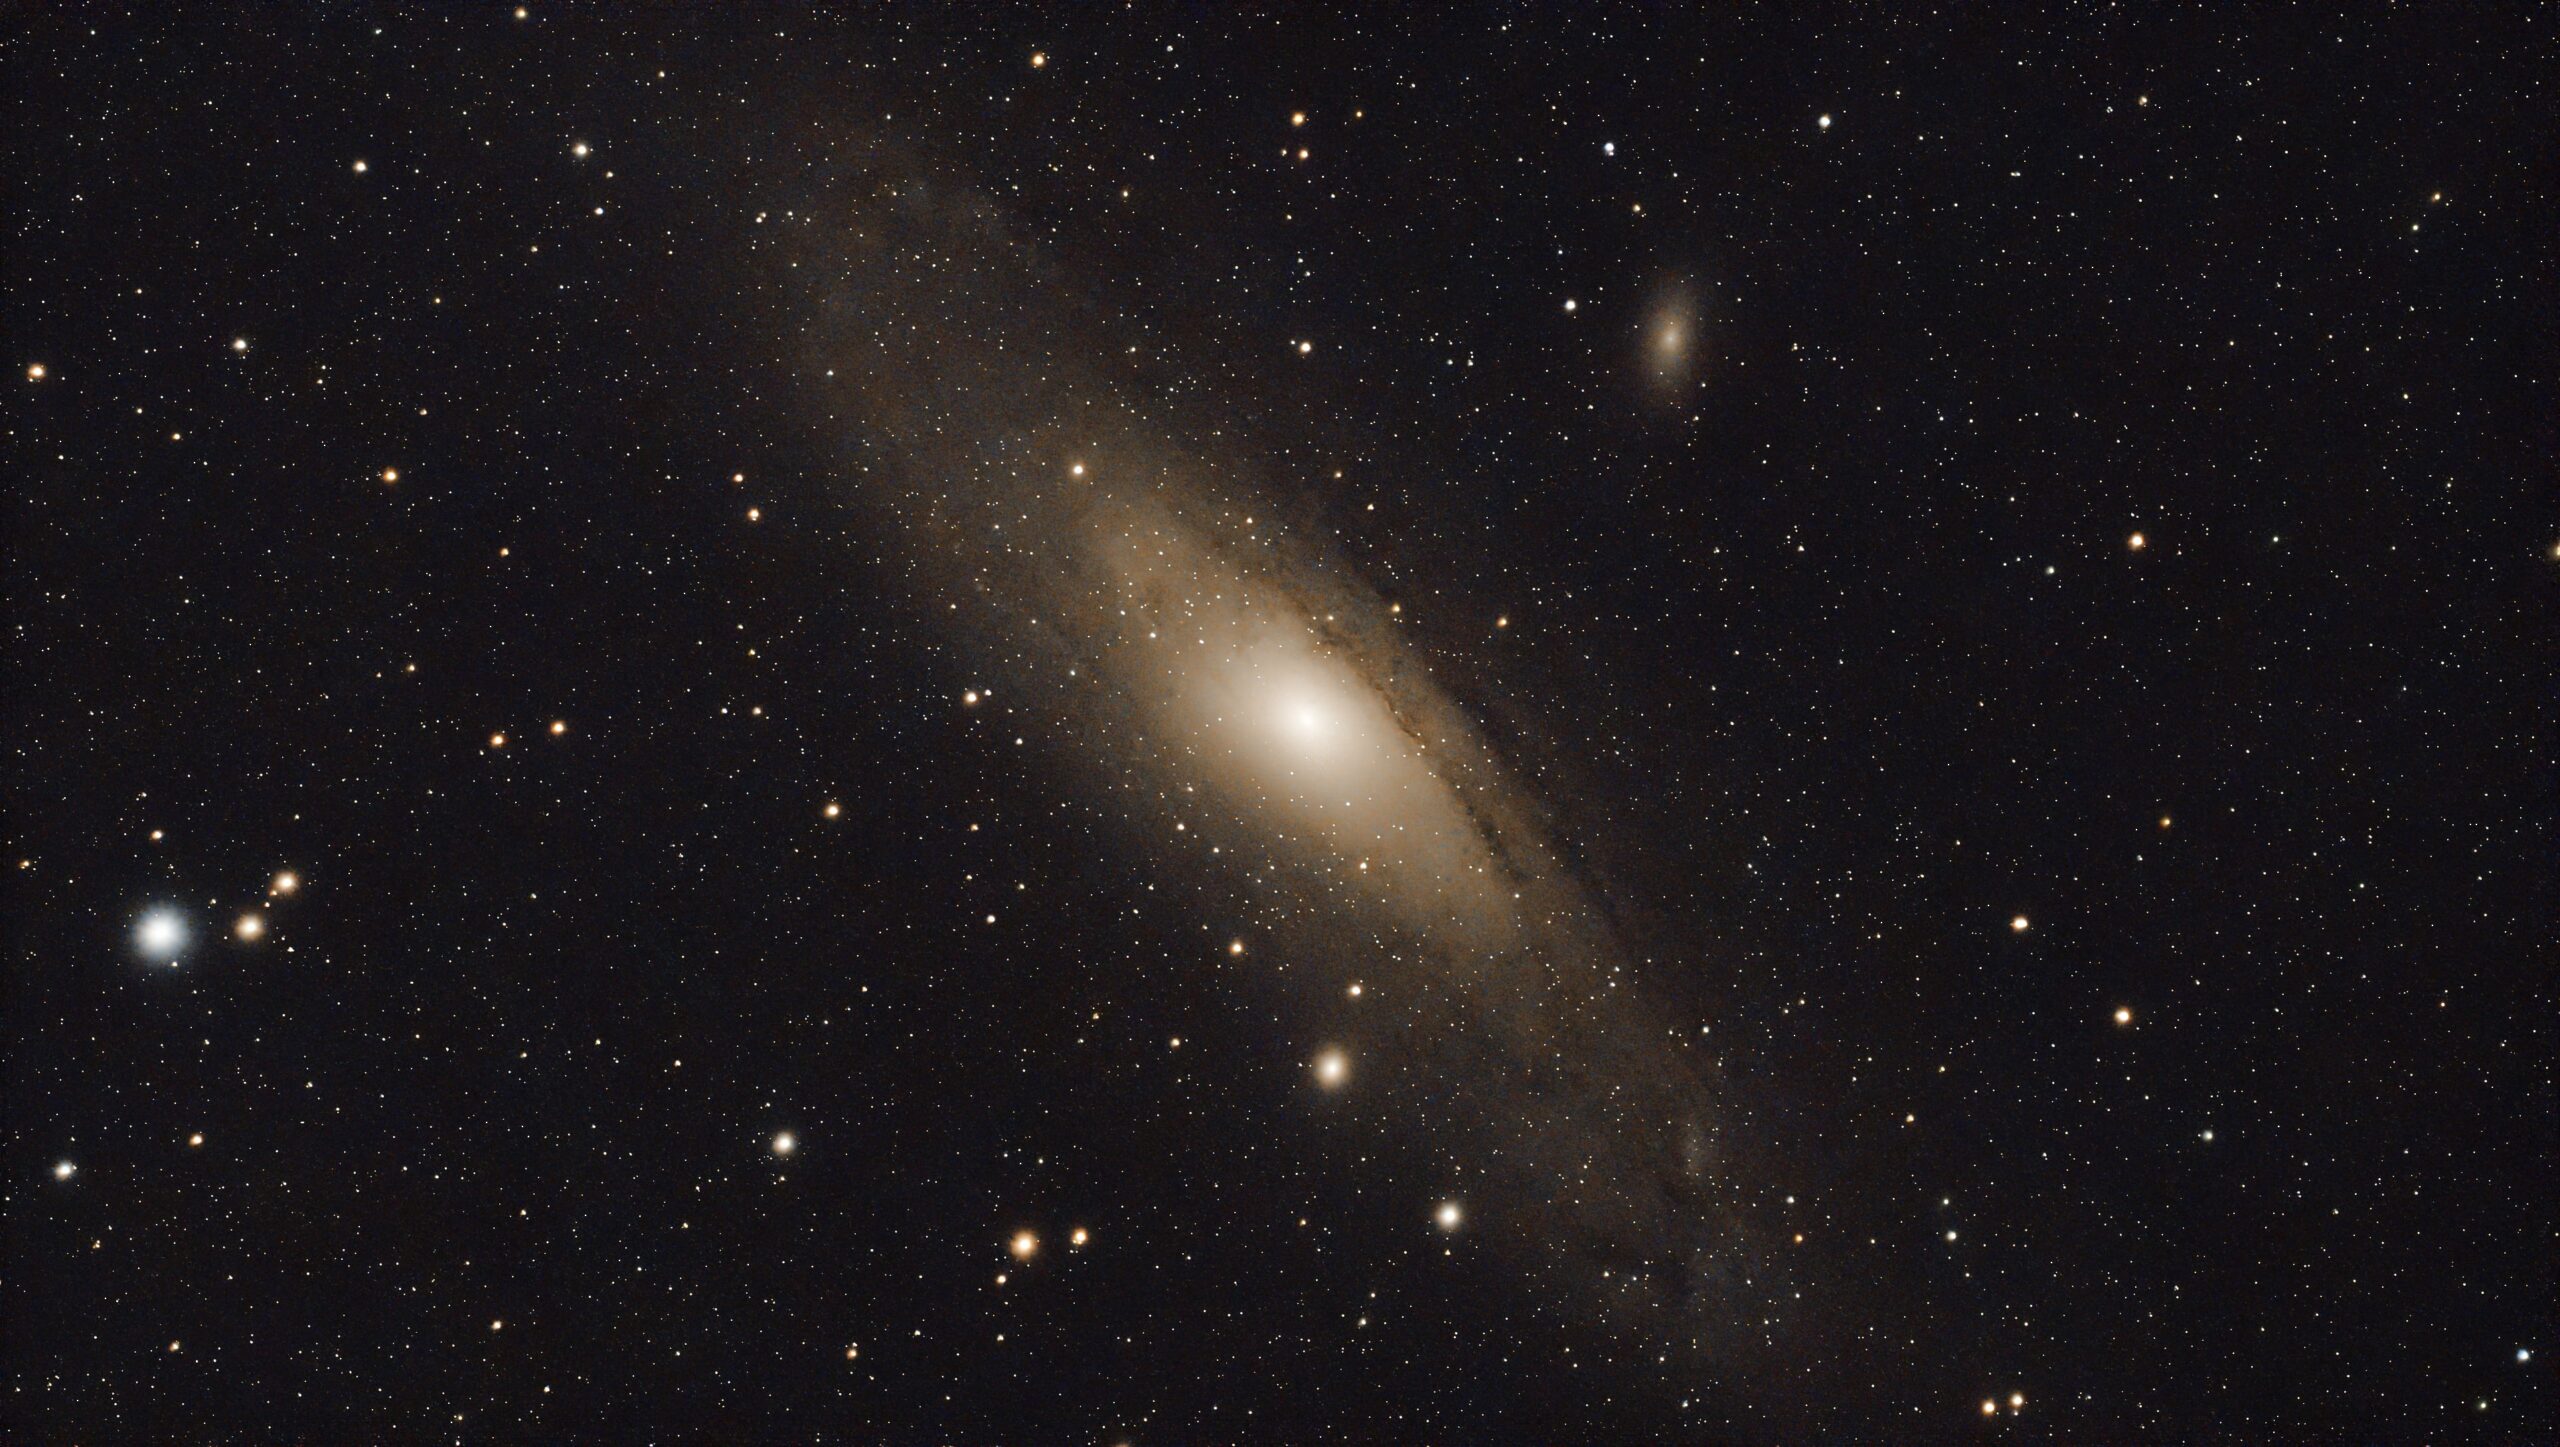
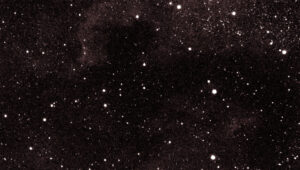
C33
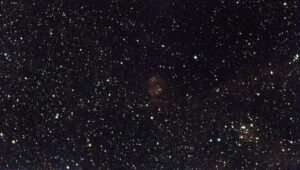
IC1795
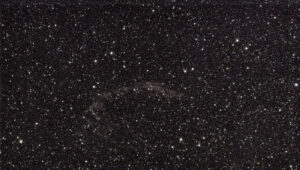
Pelican Nebula
Planets
I have received many questions regarding planetary observation. Yes you will be able to observe the planets with this telescope but that is not its primary function. You need a longer focal length to get a larger image of the planets. I am still waiting for a clear sky and for Jupiter to be in the sky because it is the easiest planet to observe. I expect to be able to observe Jupiter and some of its moons as well as Saturn and its rings but the image will be very small.UFO/Bird Detection
With the latest firmware version, a new feature has appeared. It is now possible to put the telescope in observation position to detect birds during the day and UFOs at night. The UFO detection mode is based on the detection of luminous points that move in the sky, so they are not necessarily flying saucers, most of the time the telescope should detect planes.09/29/2024: I tried UFO detection but since it was 2am, the telescope did not detect any planes or other suspicious objects, the aliens were probably sleeping too.
Battery
The battery is one of the improvements compared to the previous model, the capacity has almost doubled. On the observations that I was able to make, I had a consumption of about 20 to 30% of battery per hour in astro mode with tracking. You should therefore in theory be able to take many photos / videos before having to recharge the telescope. The Dwarf 3 can also be recharged by the USB port in case you do not think you have enough battery, it will continue to charge while you use it.Opinion/conclusion
Testing a telescope requires patience because no matter the telescope used, the right conditions must be met to be able to observe the sky in good conditions. In two months, I had the opportunity to make about ten outings and the conditions were never ideal. Despite this, it allowed me to evaluate the qualities and defects of this telescope. I will add photos and videos over time based on my observations of the sky.The Dwarf 3 brings quite a few improvements over the previous model. From a purely practical point of view, there were two things that had annoyed me a little with the previous model. First, there was the procedure to calibrate the telescope which often ended in error (especially at the beginning with its "plate solving failed") and the application really needed improvements. These two points have been corrected. The calibration is automatic and I have not had any calibration problems so far. The application has also been greatly improved, some points could still be improved but it is already a big step in the right direction.
Beyond the practical part, the Dwarf 3 has other qualities compared to the previous model and in particular on the optical part. It is able to recover more detail on dark areas and this is particularly useful regardless of the quality of the sky. If I take for example a galaxy like M31, I could barely see the arms of the galaxy with the Dwarf 2 but now the galaxy is clearly visible. The optical equipment is better, the image processing is also better. You can then have fun with the files produced to improve the result with software like Siril, Fits liberator or Asistudio. Failing to transform your photos into works of art, these software will allow you to accentuate the dark areas and better control digital noise.
This new telescope is easier to use than the previous one and if you have never done astrophotography, you will have no trouble getting started. Unless you have a very clear sky, you will not be able to get shots like those of Hubble or James Webb but this small telescope is capable of capturing enough details to impress your loved ones. The tracking is impeccable and since it can be controlled from your smartphone, you do not have to stay next to it in the cold. You can control it from your home and you can even share the experience between several users.
If I had to list a few points of improvement I would start with the possibility of putting the telescope back in the closed position when you stop observing or when the battery is almost empty. This would avoid transporting the telescope with the optics exposed to the outside. Putting the telescope back in the closed position is not complicated but it always takes a little time especially if you are not directly next to the telescope. What could also be improved is the rotation axis, it is not possible to do a complete rotation and because of that, you always have an inaccessible area for observations. You can always move the telescope manually but without knowing in advance what you are going to observe, I find it a shame that this is not possible.
Although the application has been greatly improved, I find that the ergonomics are still a little complex for certain types of use. It will take you a little time to tame it especially if it is your first telescope of this type.
Dwarflabs has managed to improve its product to make it more accessible and more efficient than the previous model without increasing the price. If you have always dreamed of observing the stars without having to bother with a big telescope with all the complexity of the adjustment, the Dwarf 3 represents an excellent gateway to the stars. You just have to be aware that the quality of the sky is almost more important than the quality of the telescope but fortunately, this Dwarf 3 is very portable, you can take it everywhere with you.

Commentaires (42)