I buy several products a year on crowdfunding sites like Kickstarter or Indiegogo, this always carries a risk but with a little common sense, you reduce the risk. This time I'm going to focus on a digital telescope that can be used to take pictures of the sky at night as well as to take panoramic photos or film animals from a distance. The concept is not new but what encouraged me to buy this product is the price because digital telescopes are usually much more expensive.
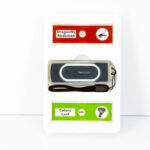
The Dwarf II is produced by the company Tinyscope.com which has already marketed several products of this type, this does not give a guarantee of success but we can consider that the risk is lower than with a company that has never produced anything.
Link to the official site: Dwarf II Telescope
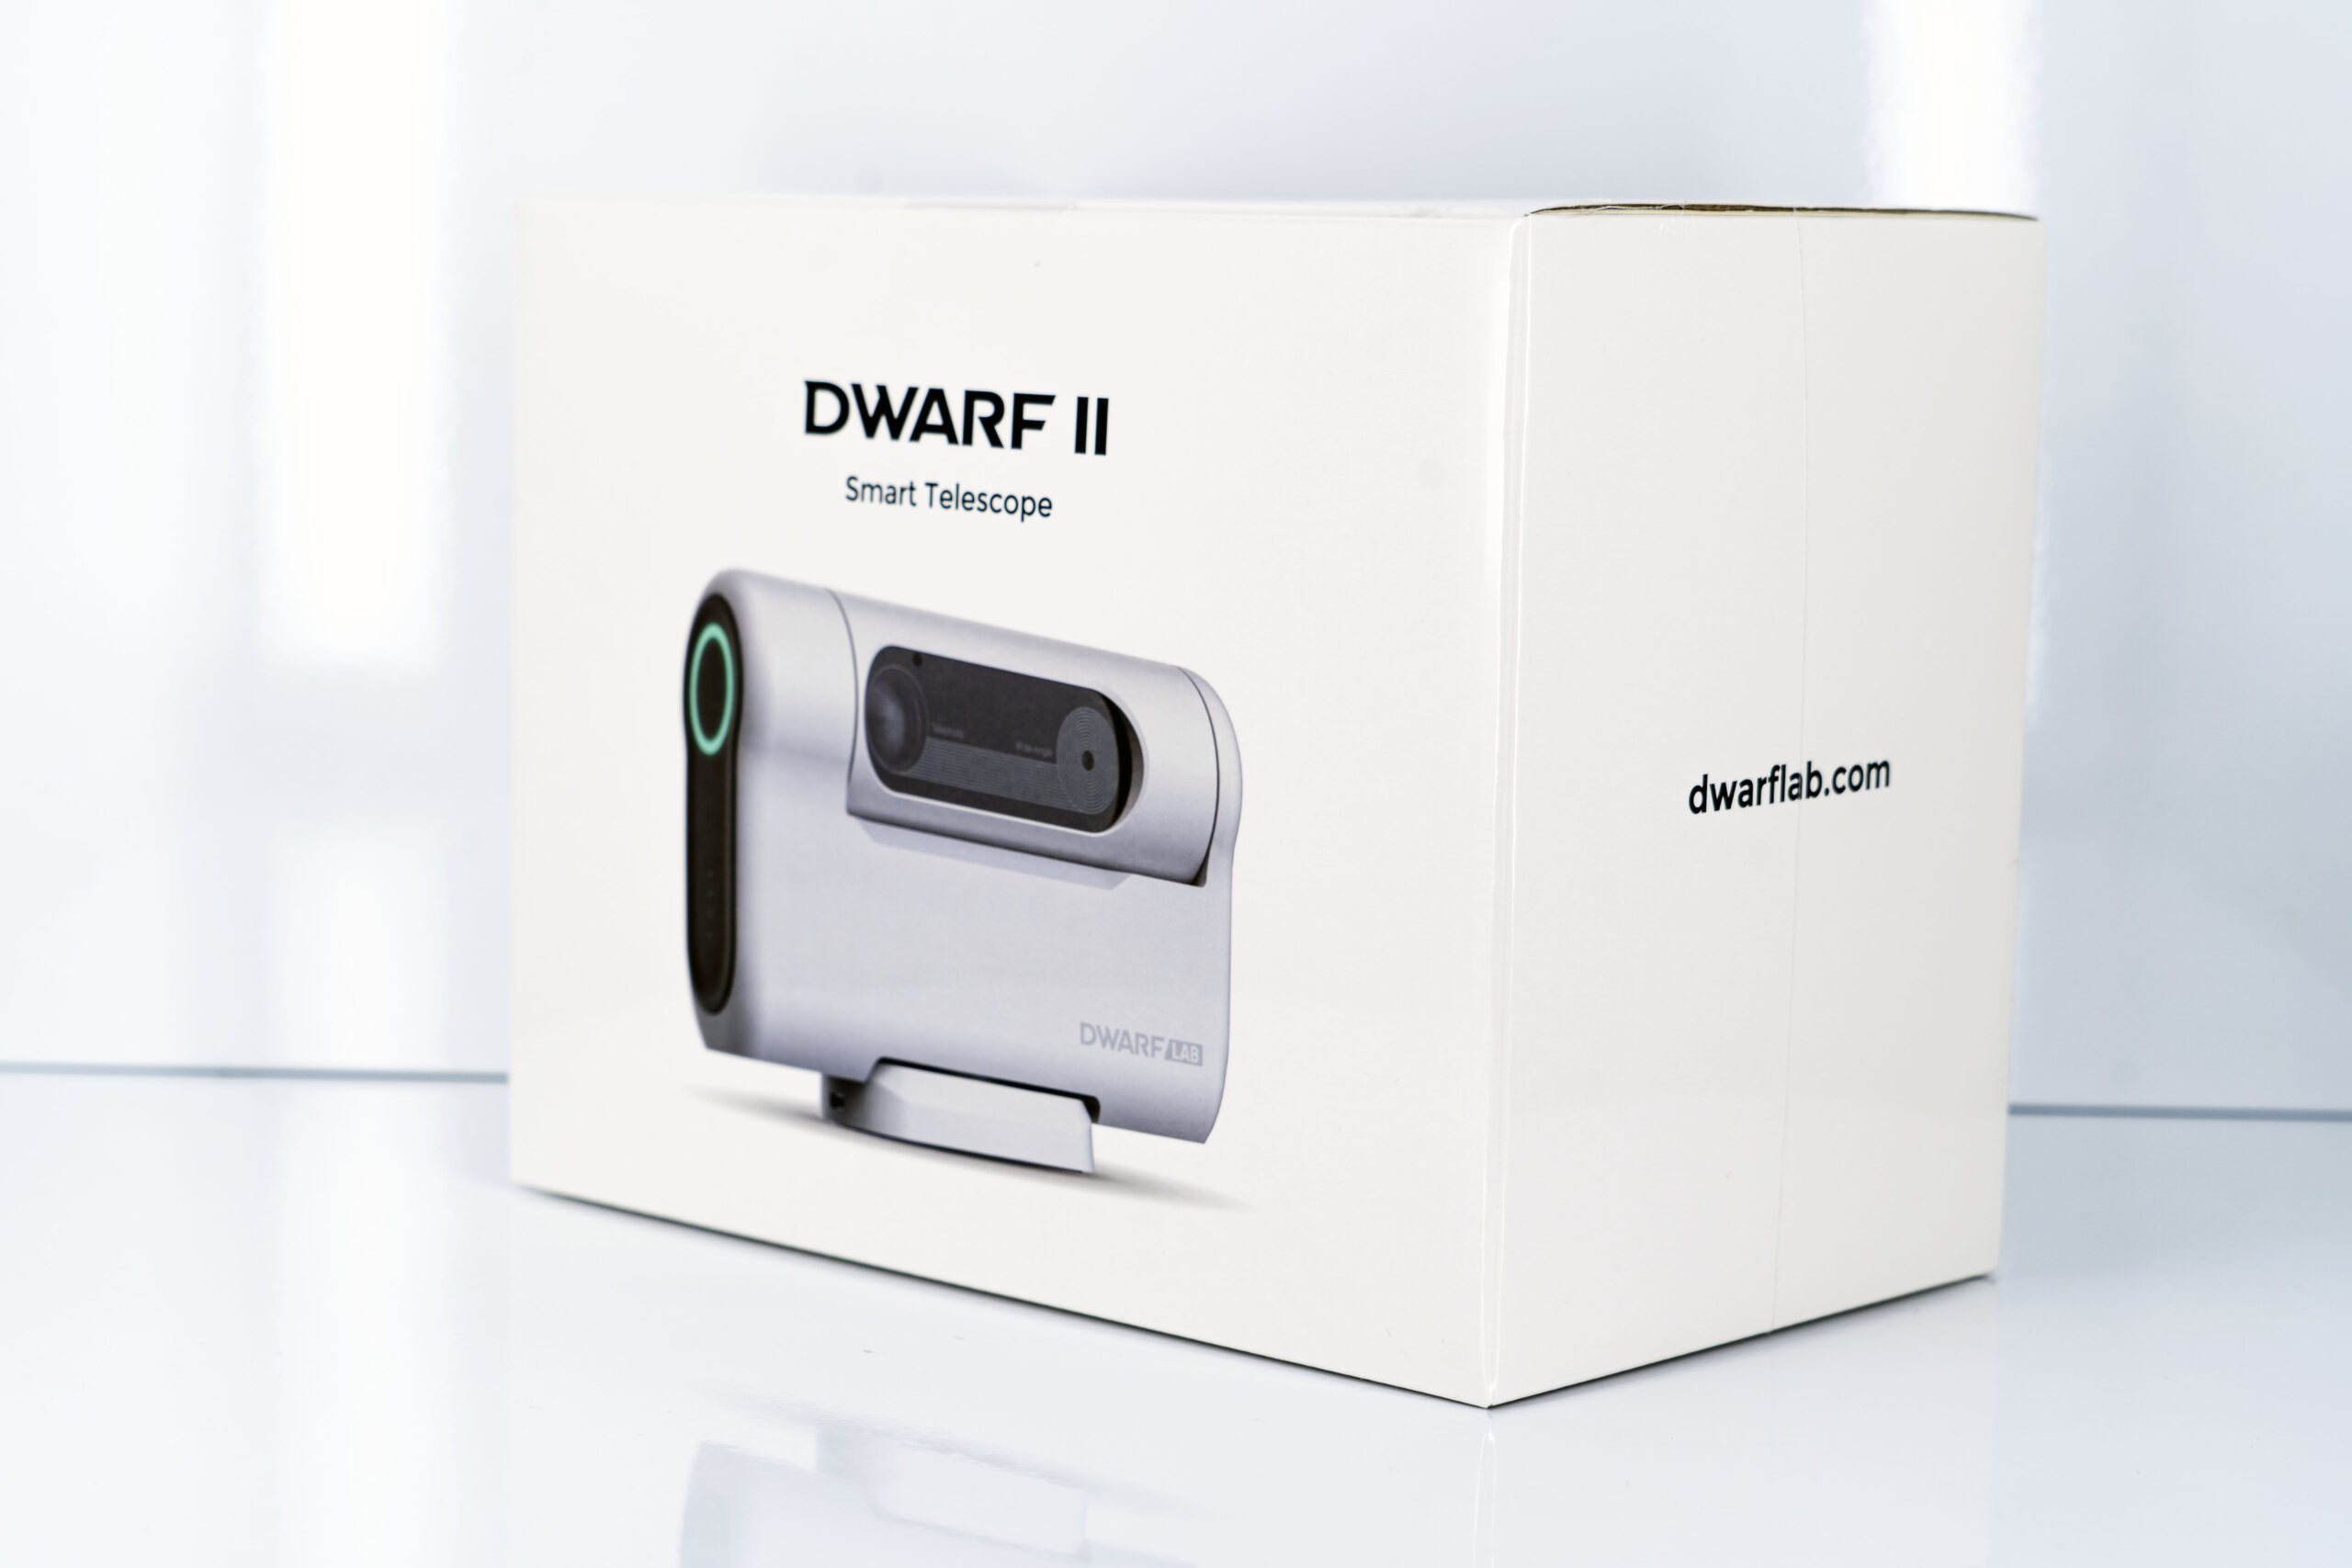
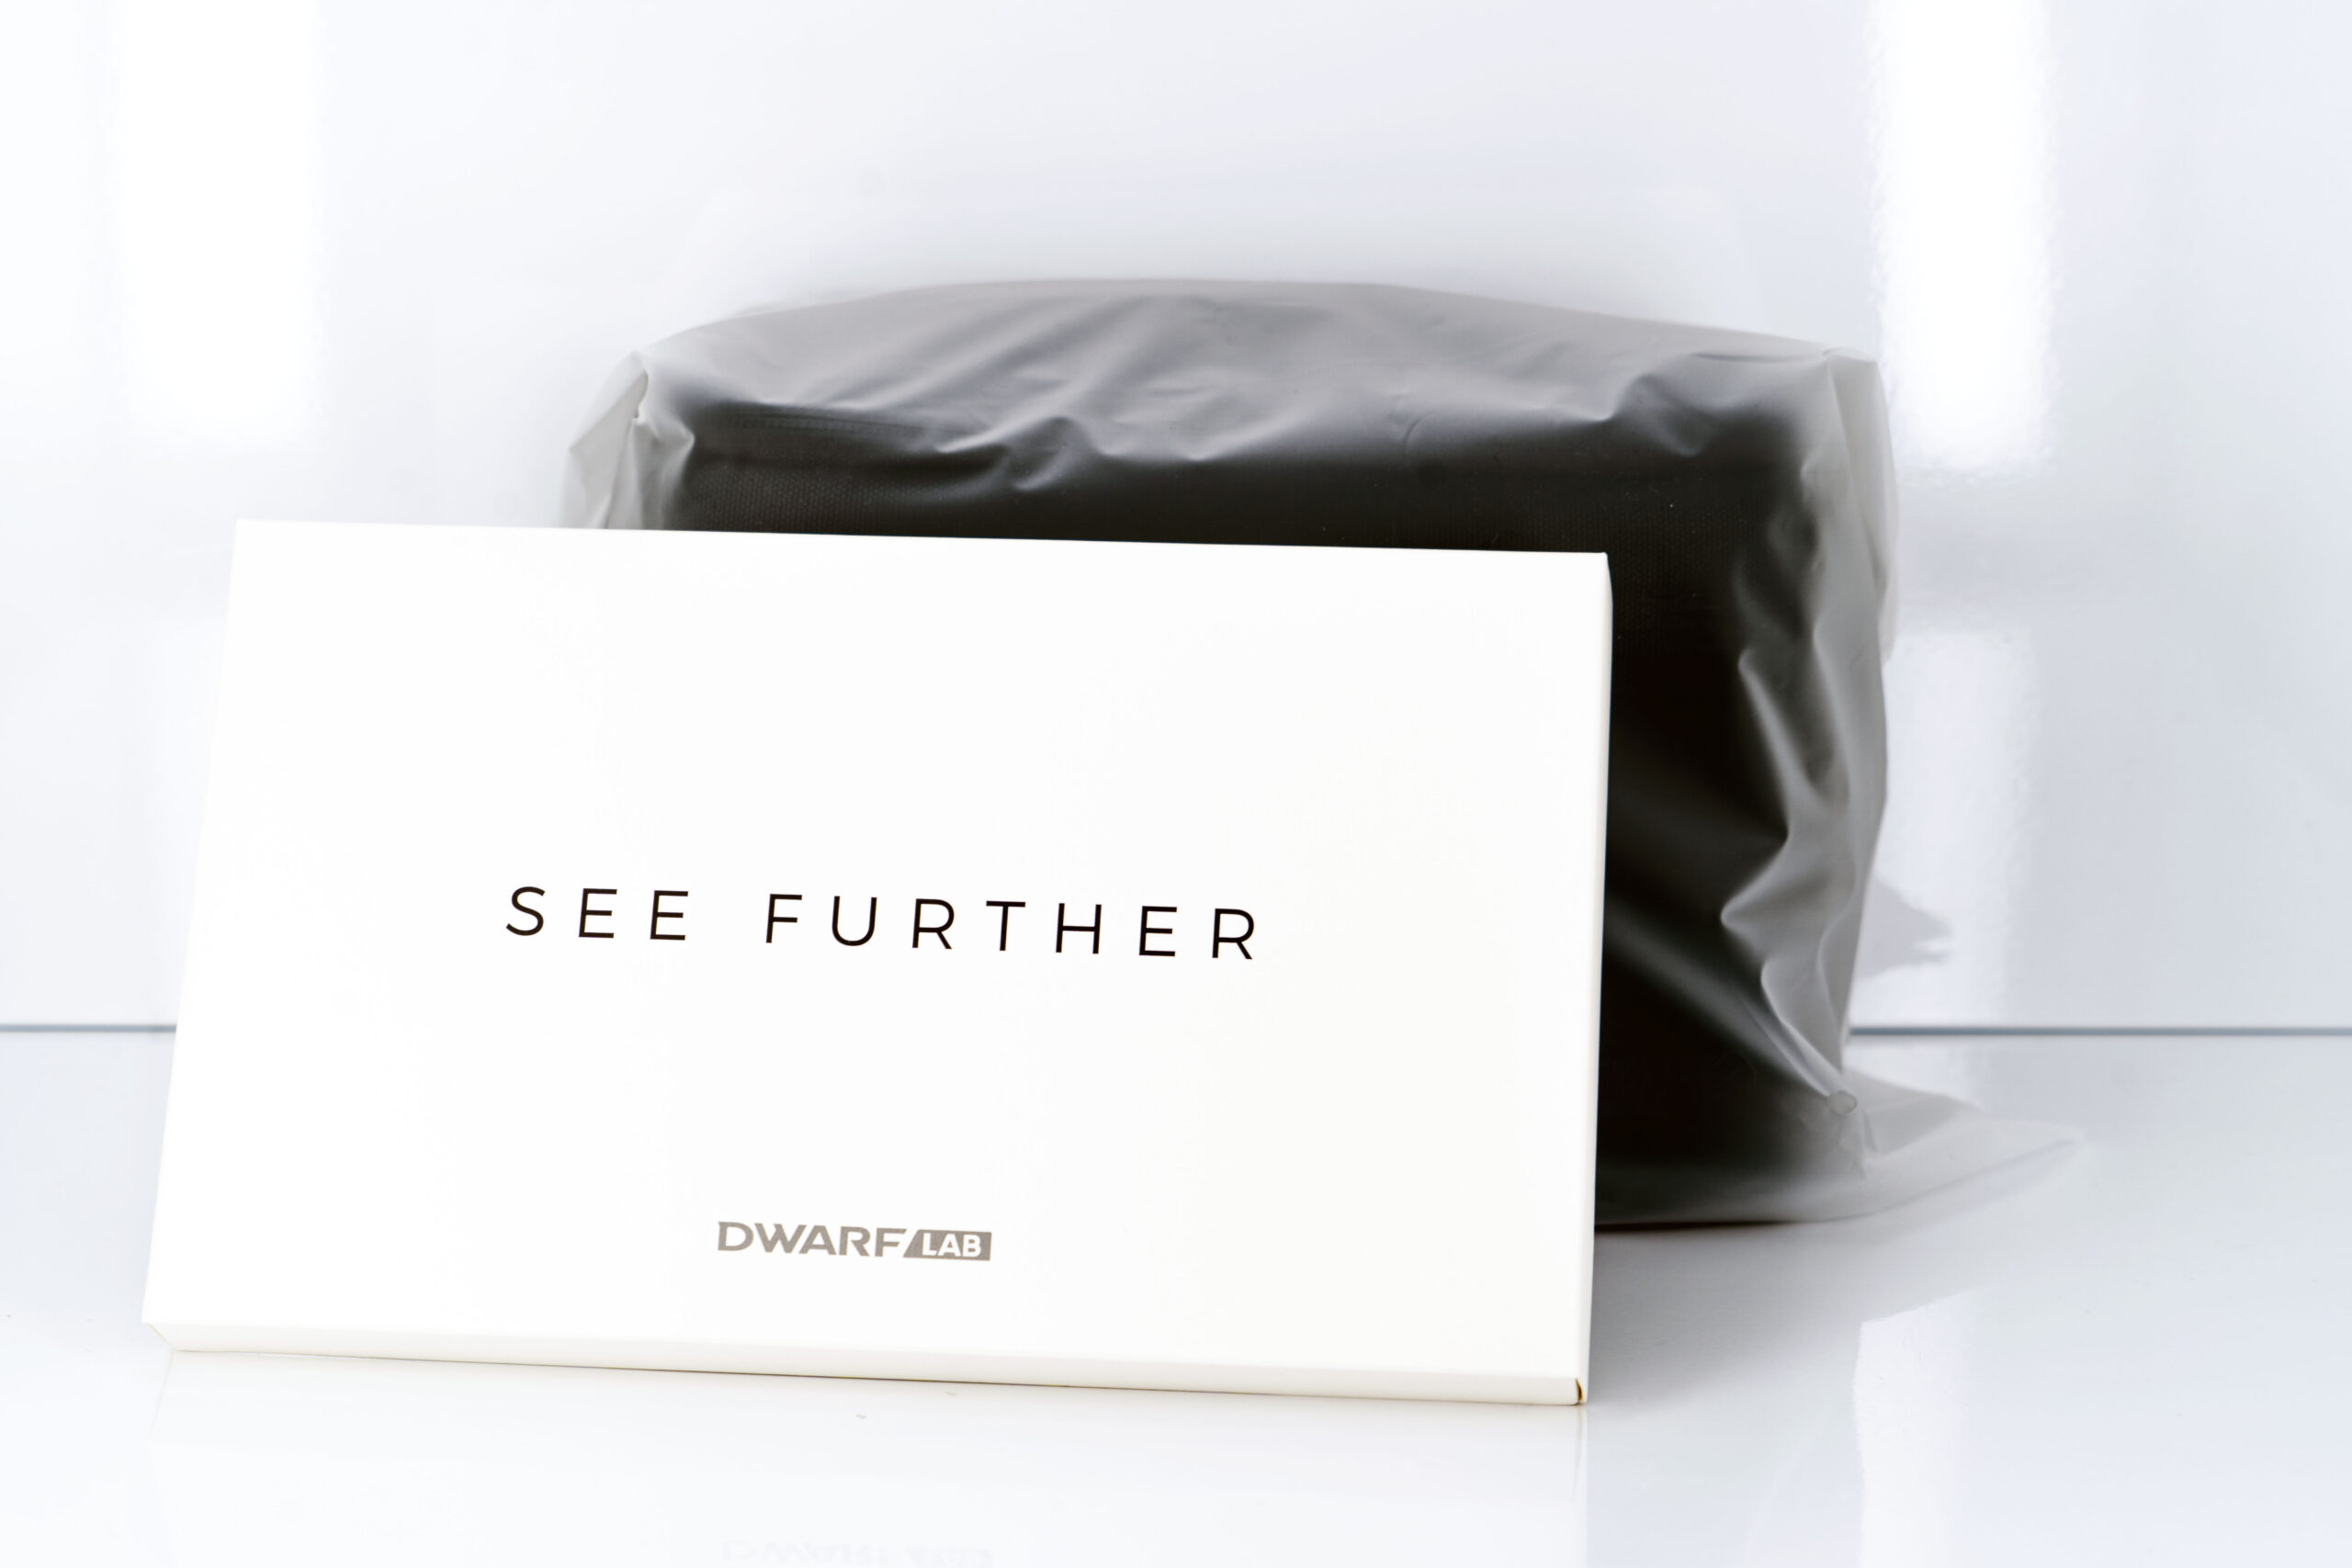
Update March 2023: I finally received the Dwarf II, 8 months after the originally scheduled date. Was it worth the wait? That's what I'm going to explain in this article that I'll update according to my discoveries (and the weather).
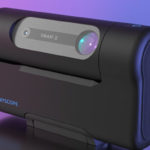
Dwarf II, what is it?
The Dwarf II is a digital telescope and contrary to what one might imagine, this telescope can also be used in daylight and even if it has an optical zoom, it is not designed to take detailed photos of the deep sky.
With the Dwarf II, you can:
- take photos of the sky at night with tracking and image recomposition. This allows you to take 50-minute photos to reveal galaxies without having to worry about tracking or recomposing the final image
- take panoramic photos of up to a billion pixels for ultra-detailed photos
- make videos with tracking such as automatically tracking birds (provided they don't move too fast)
The Dwarf II has two lenses, one wide angle and one zoom.
The Dwarf II is mounted on two mobile axes that allow to follow objects for video in daylight or compensate for the rotation of the earth for night photos. For night photos, the telescope uses an algorithm to track celestial objects and rework the photos. The telescope is able to take photos with a very long exposure, it can also recompose these photos to obtain a photo that will reveal the deep sky objects.
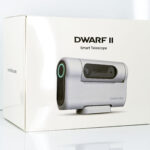
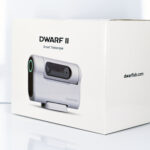
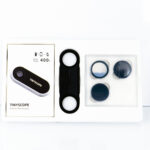
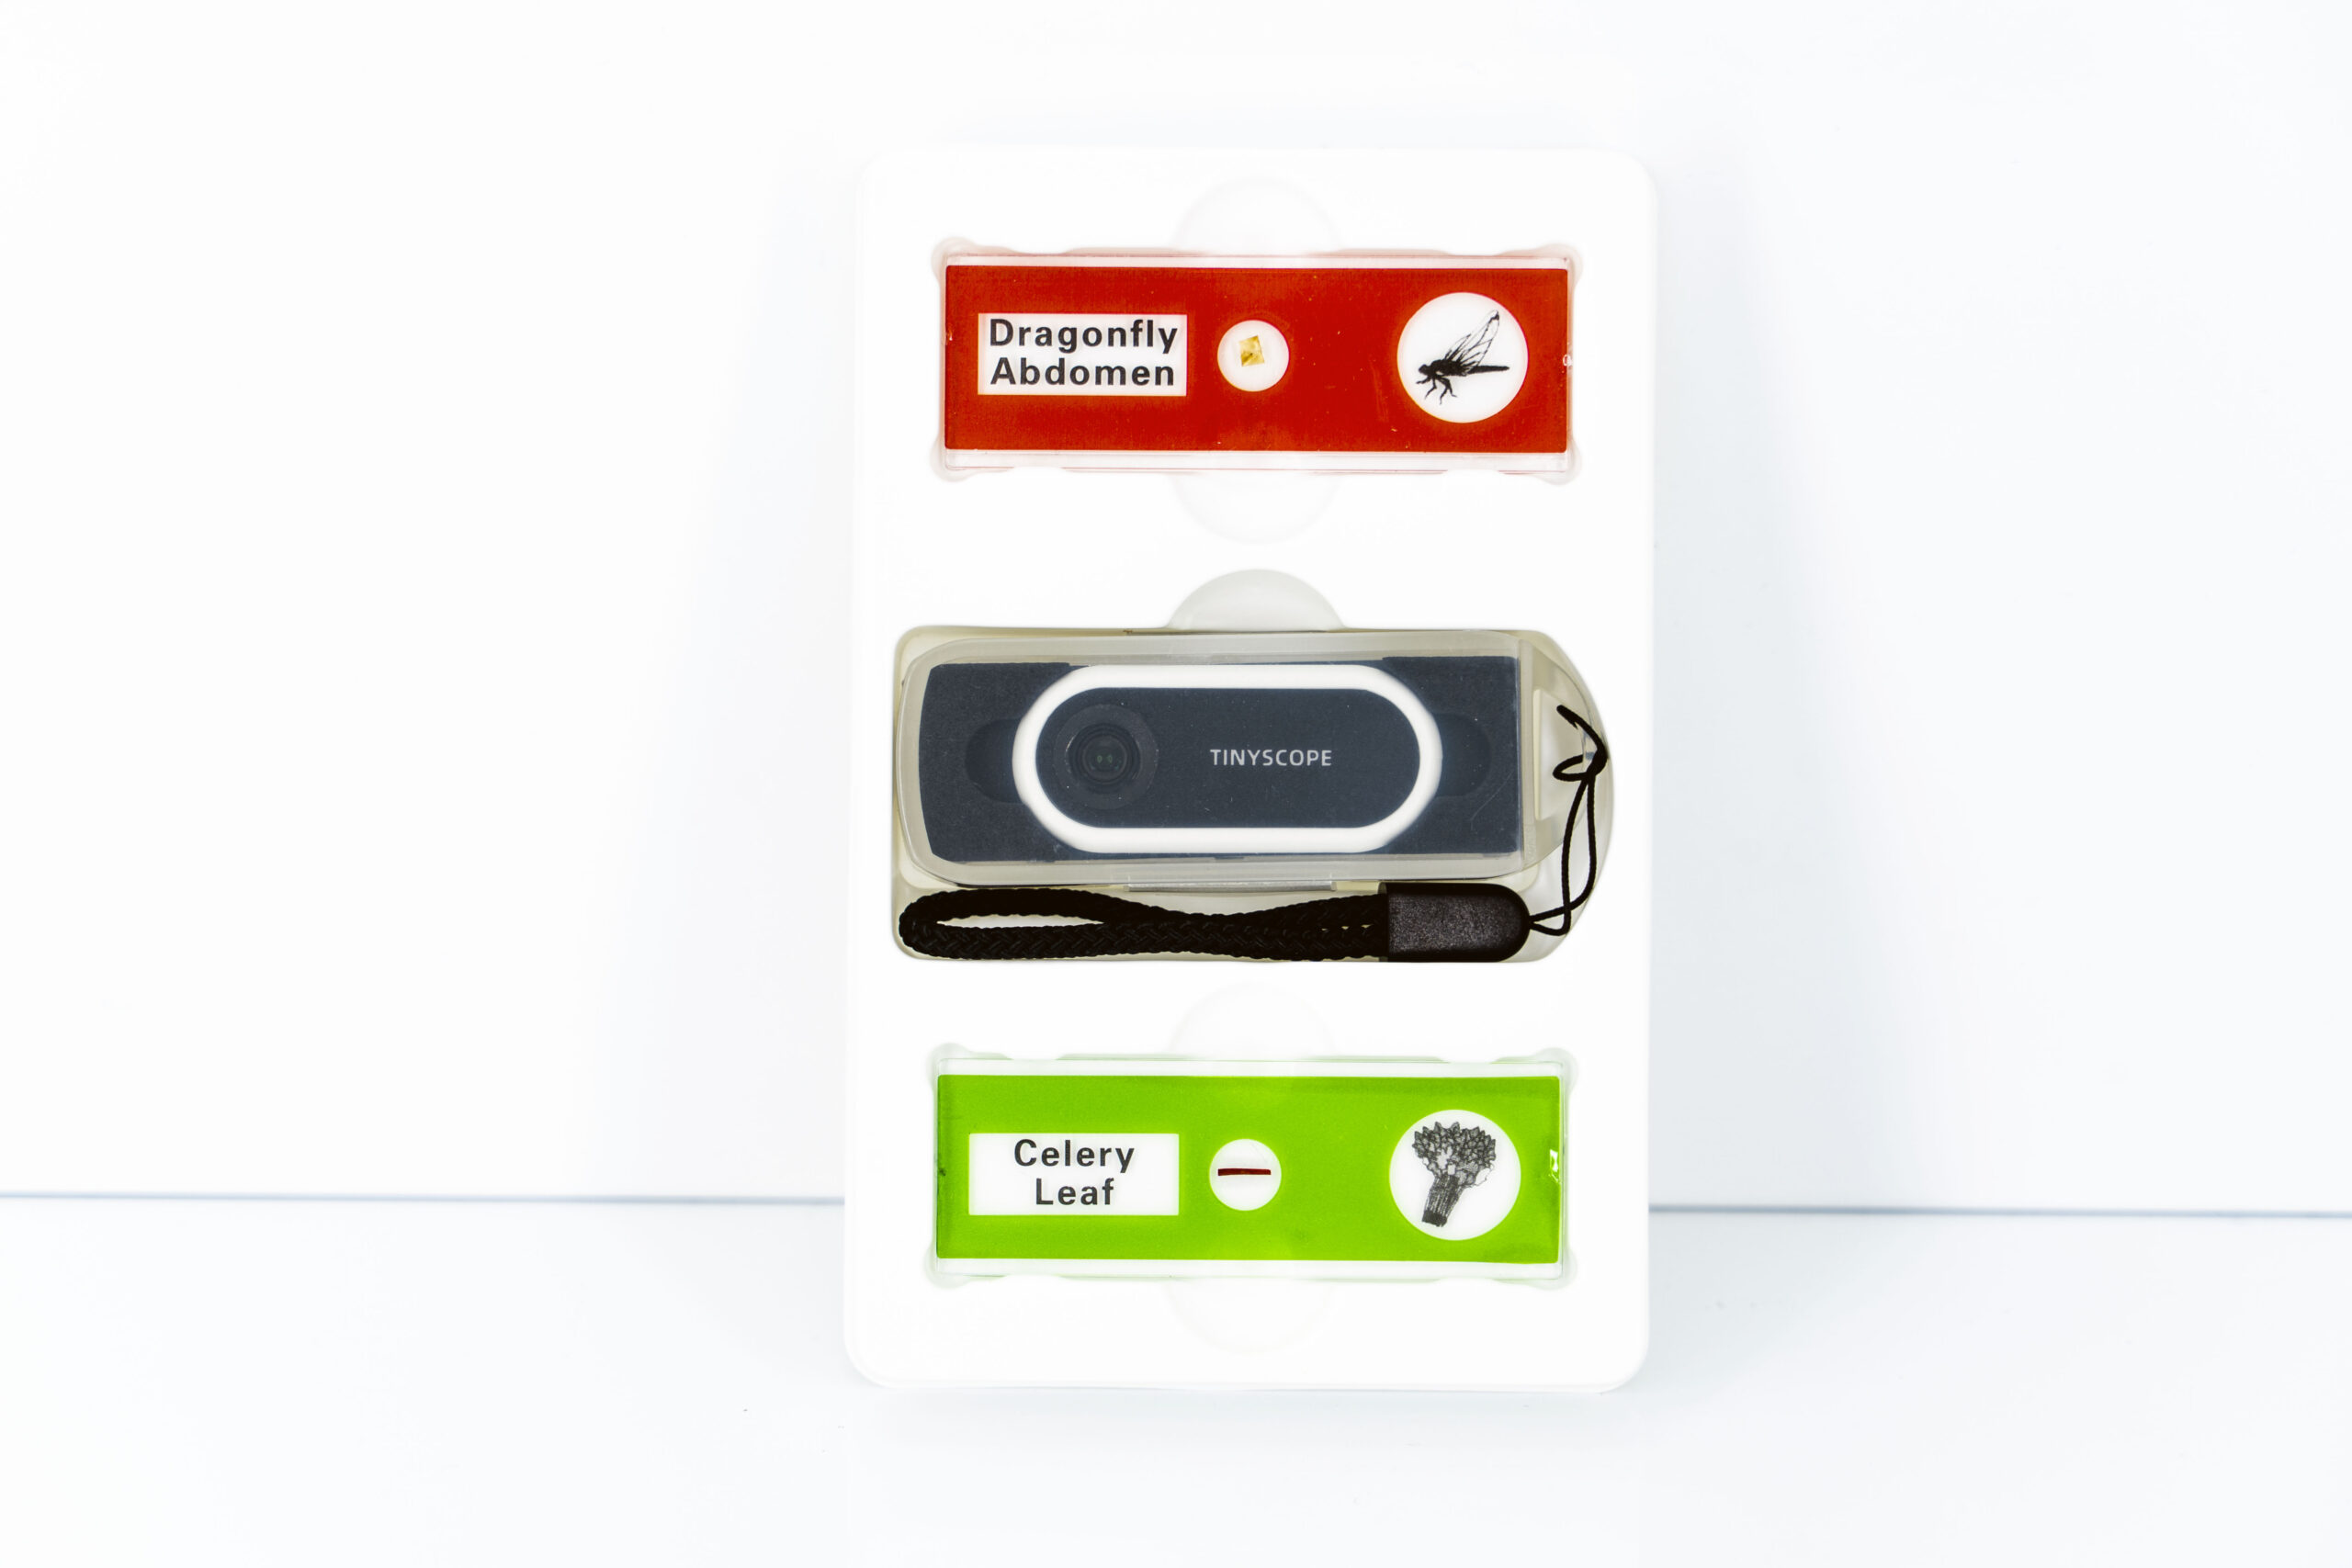
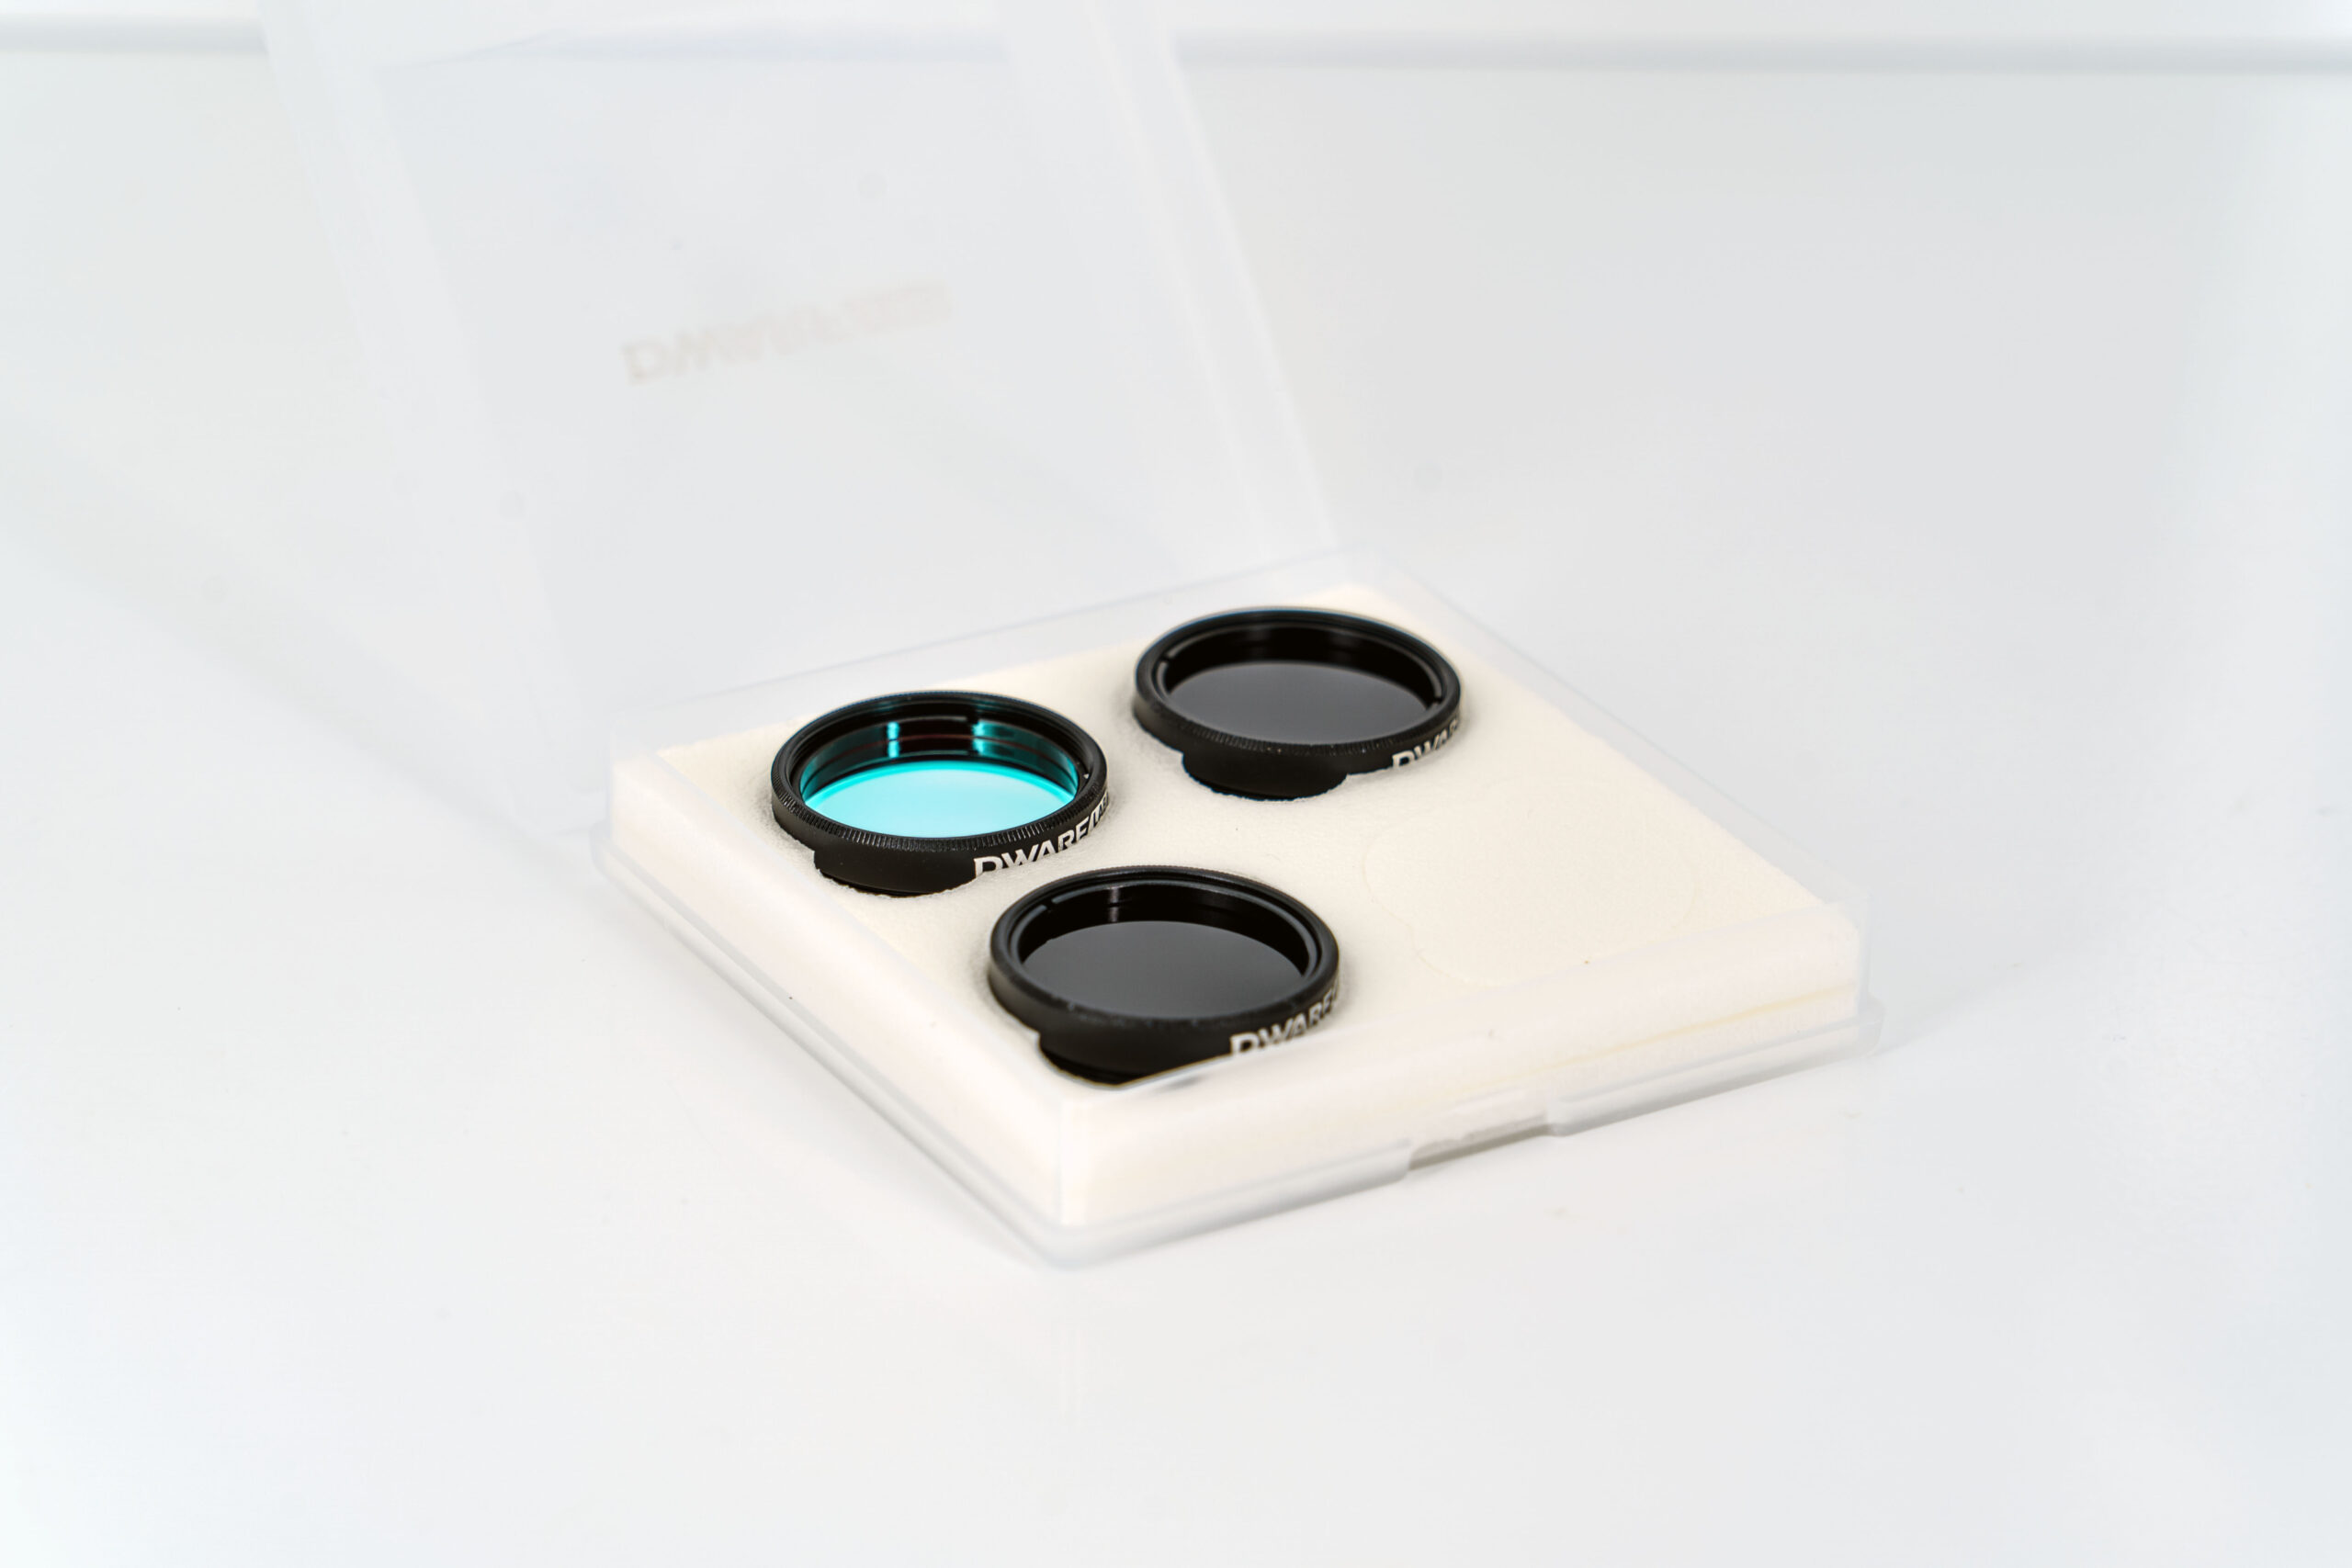
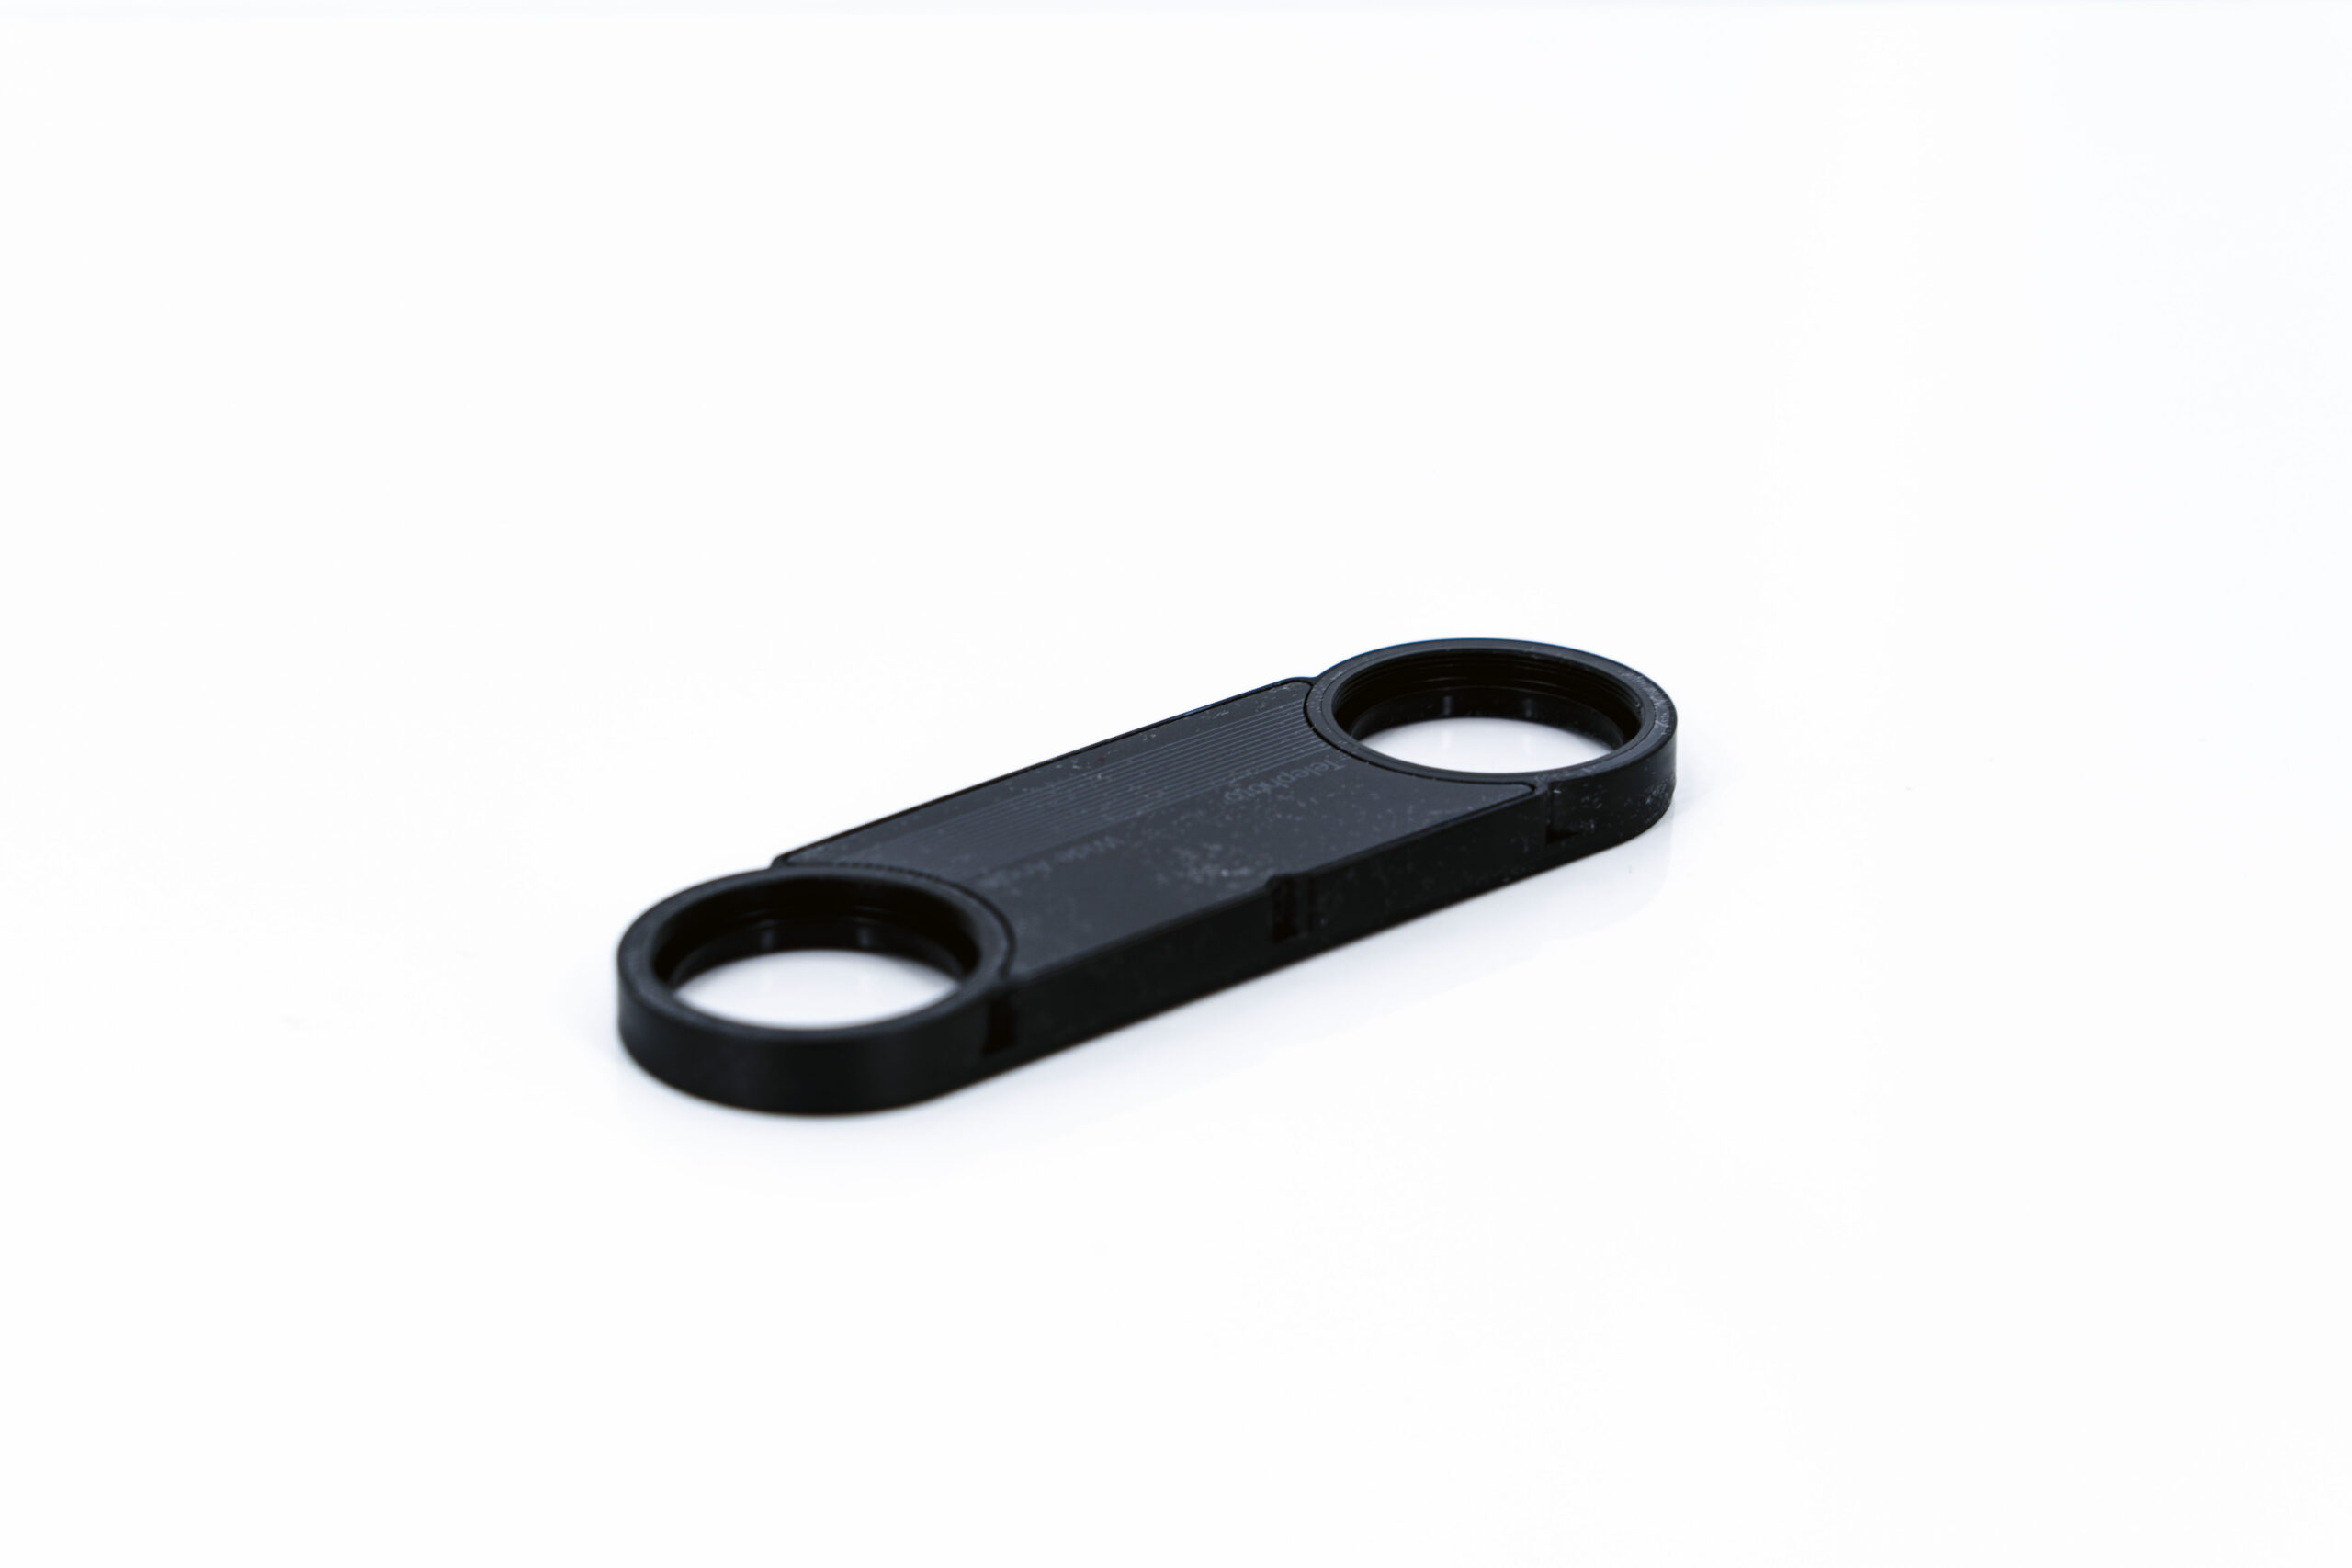
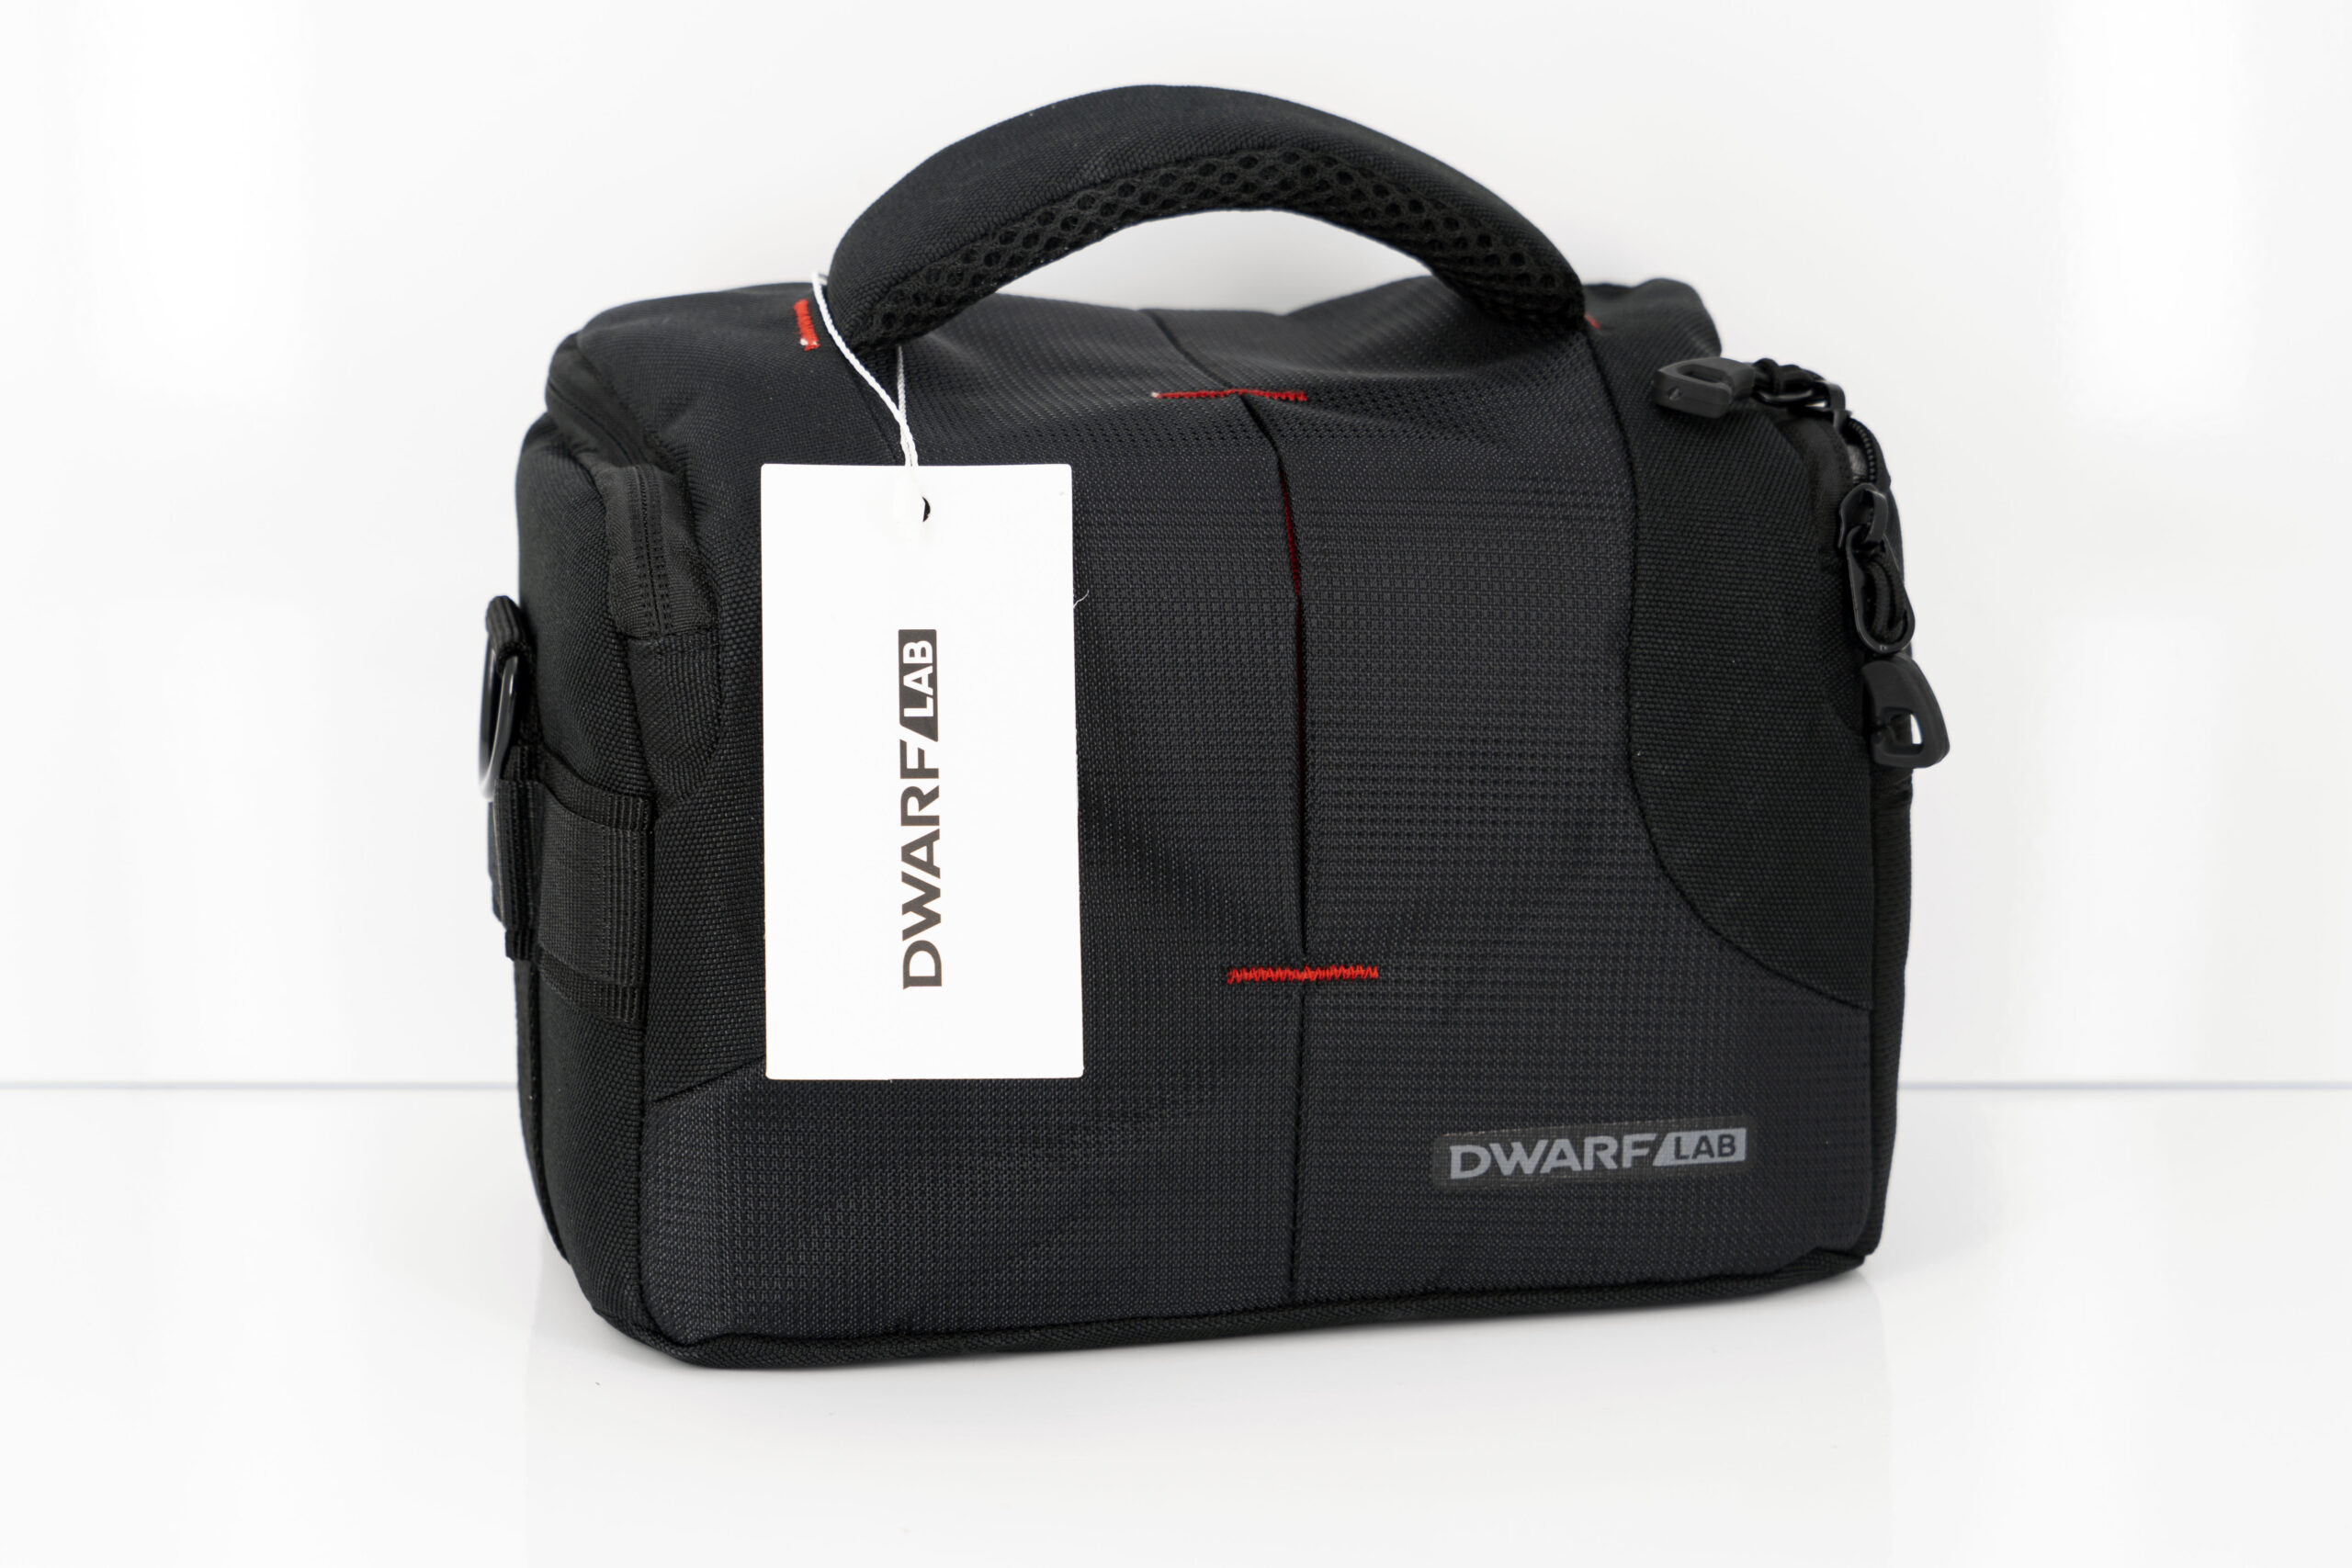
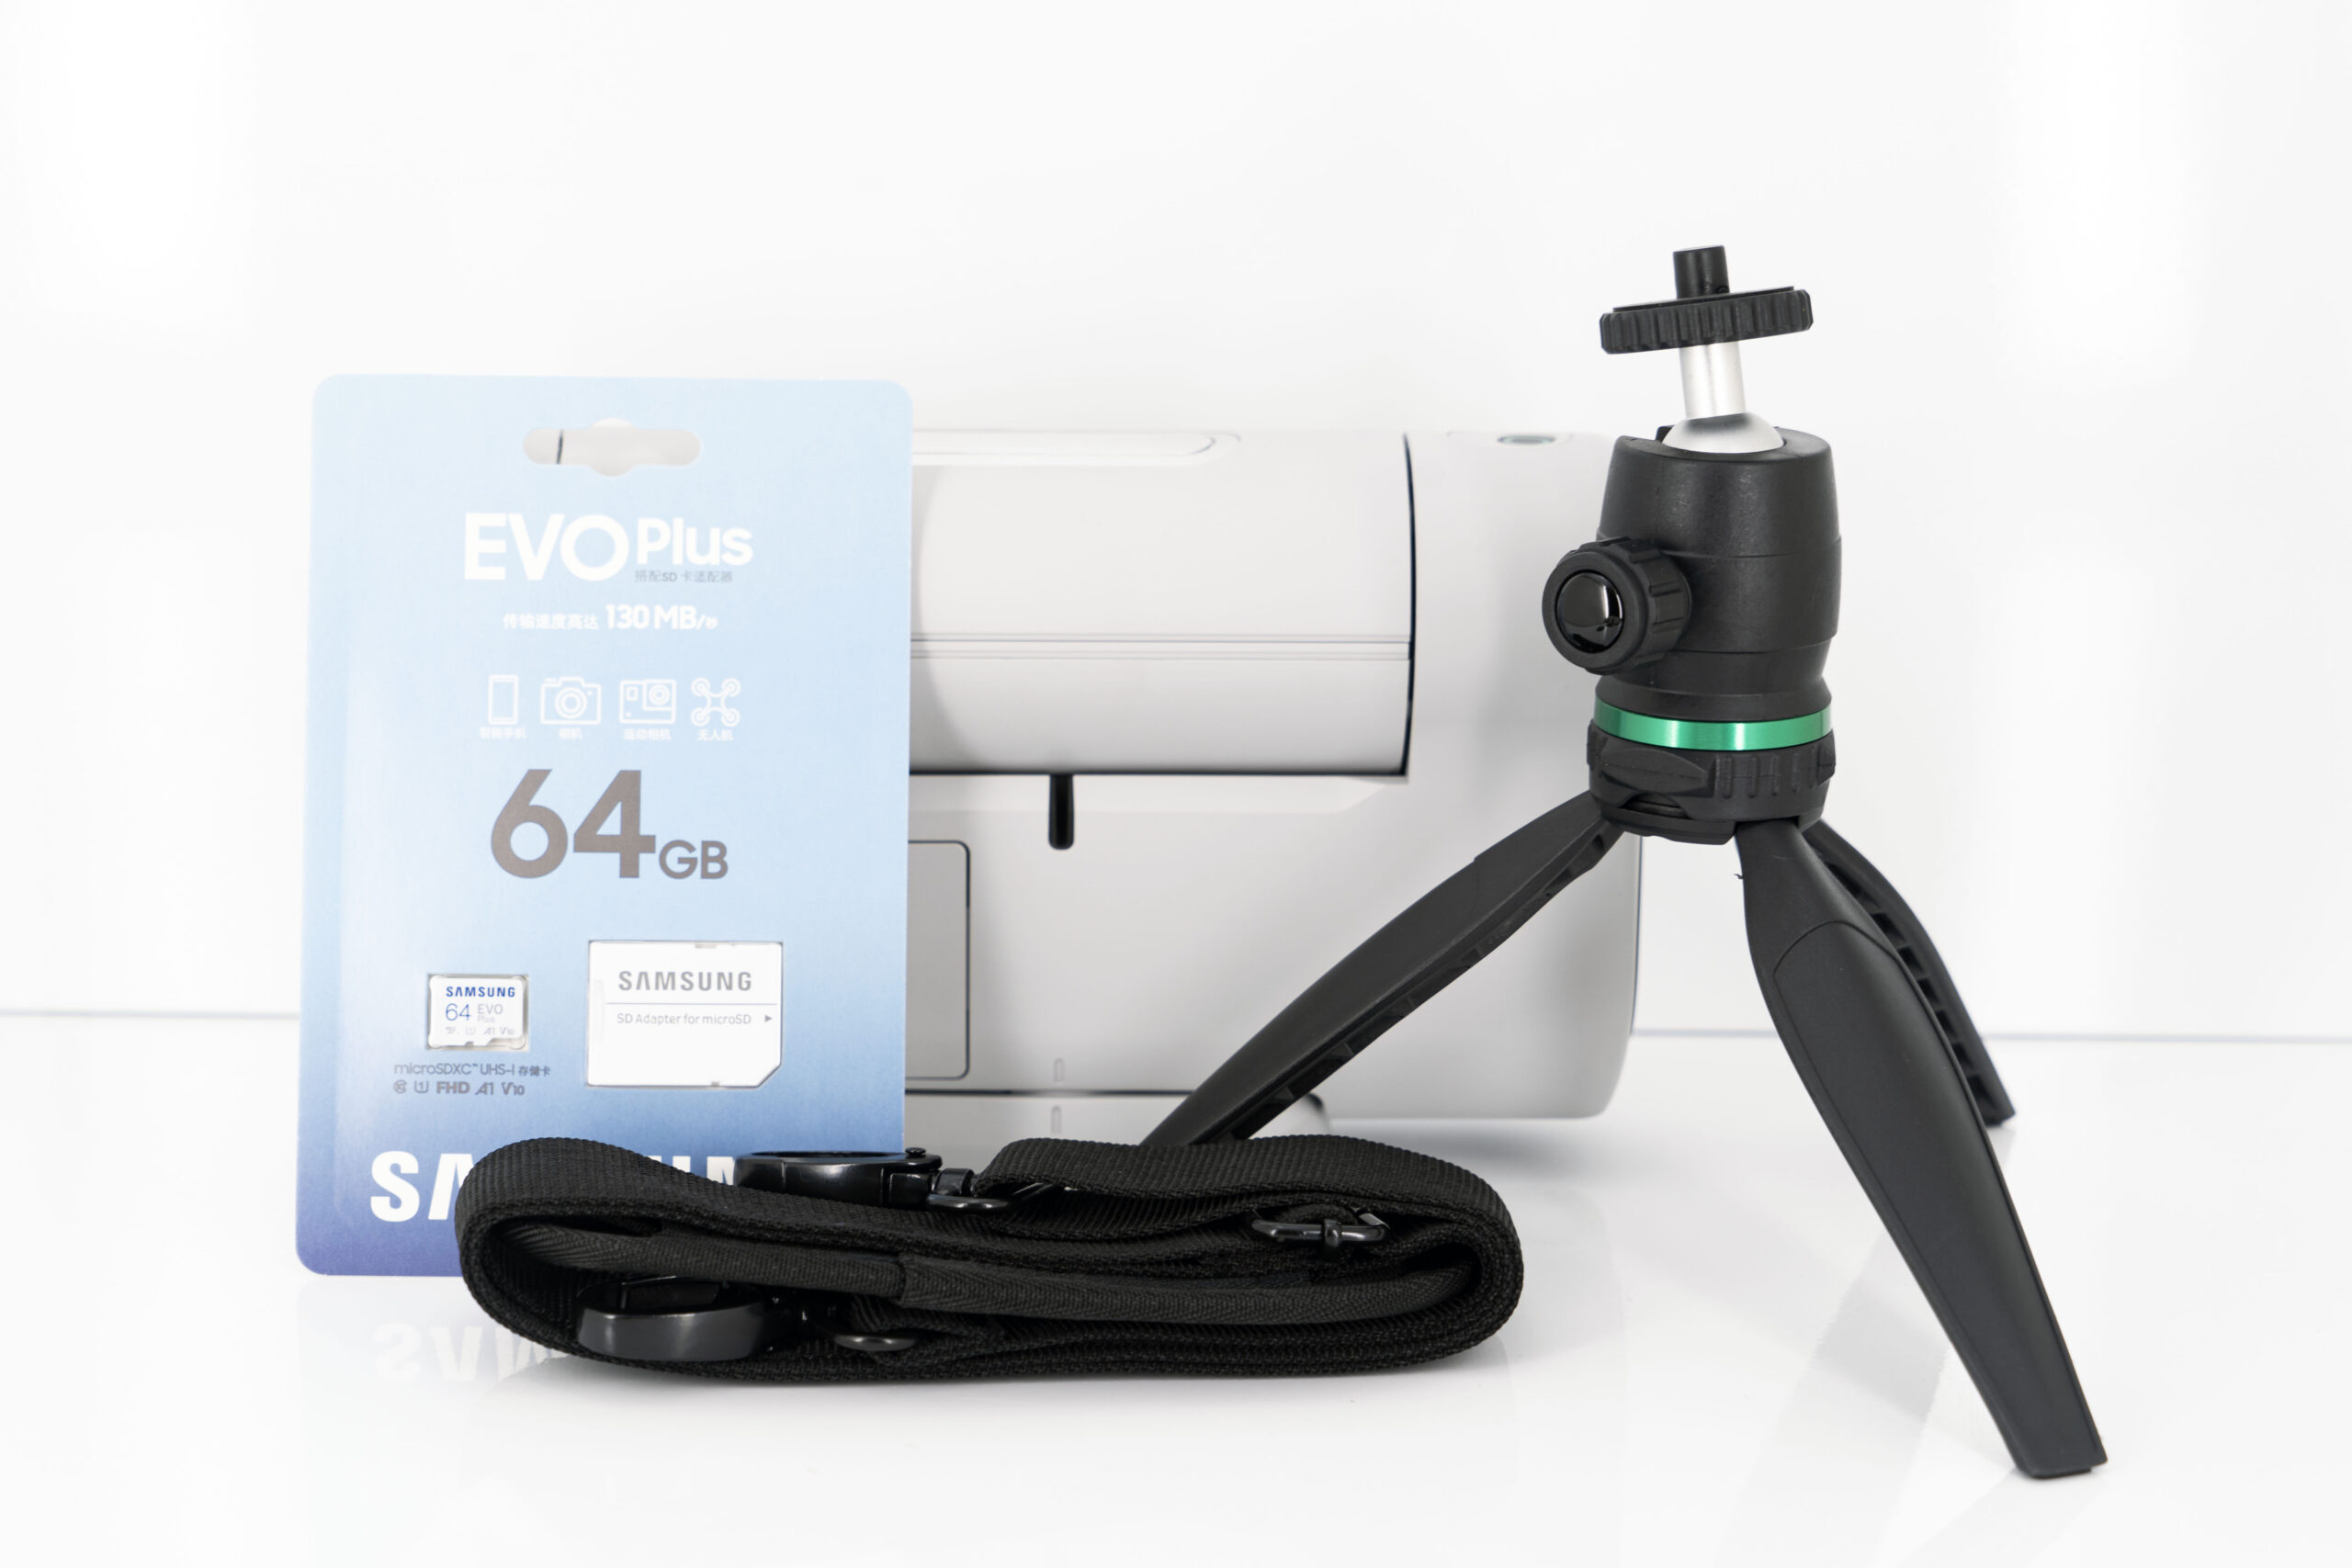
In the box

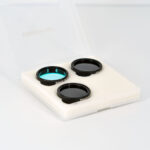
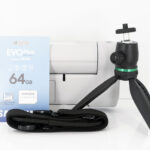
I took the basic version of the Dwarf II which includes the telescope, a carrying case, a tripod and three magnetic filters (2xND and UHD).


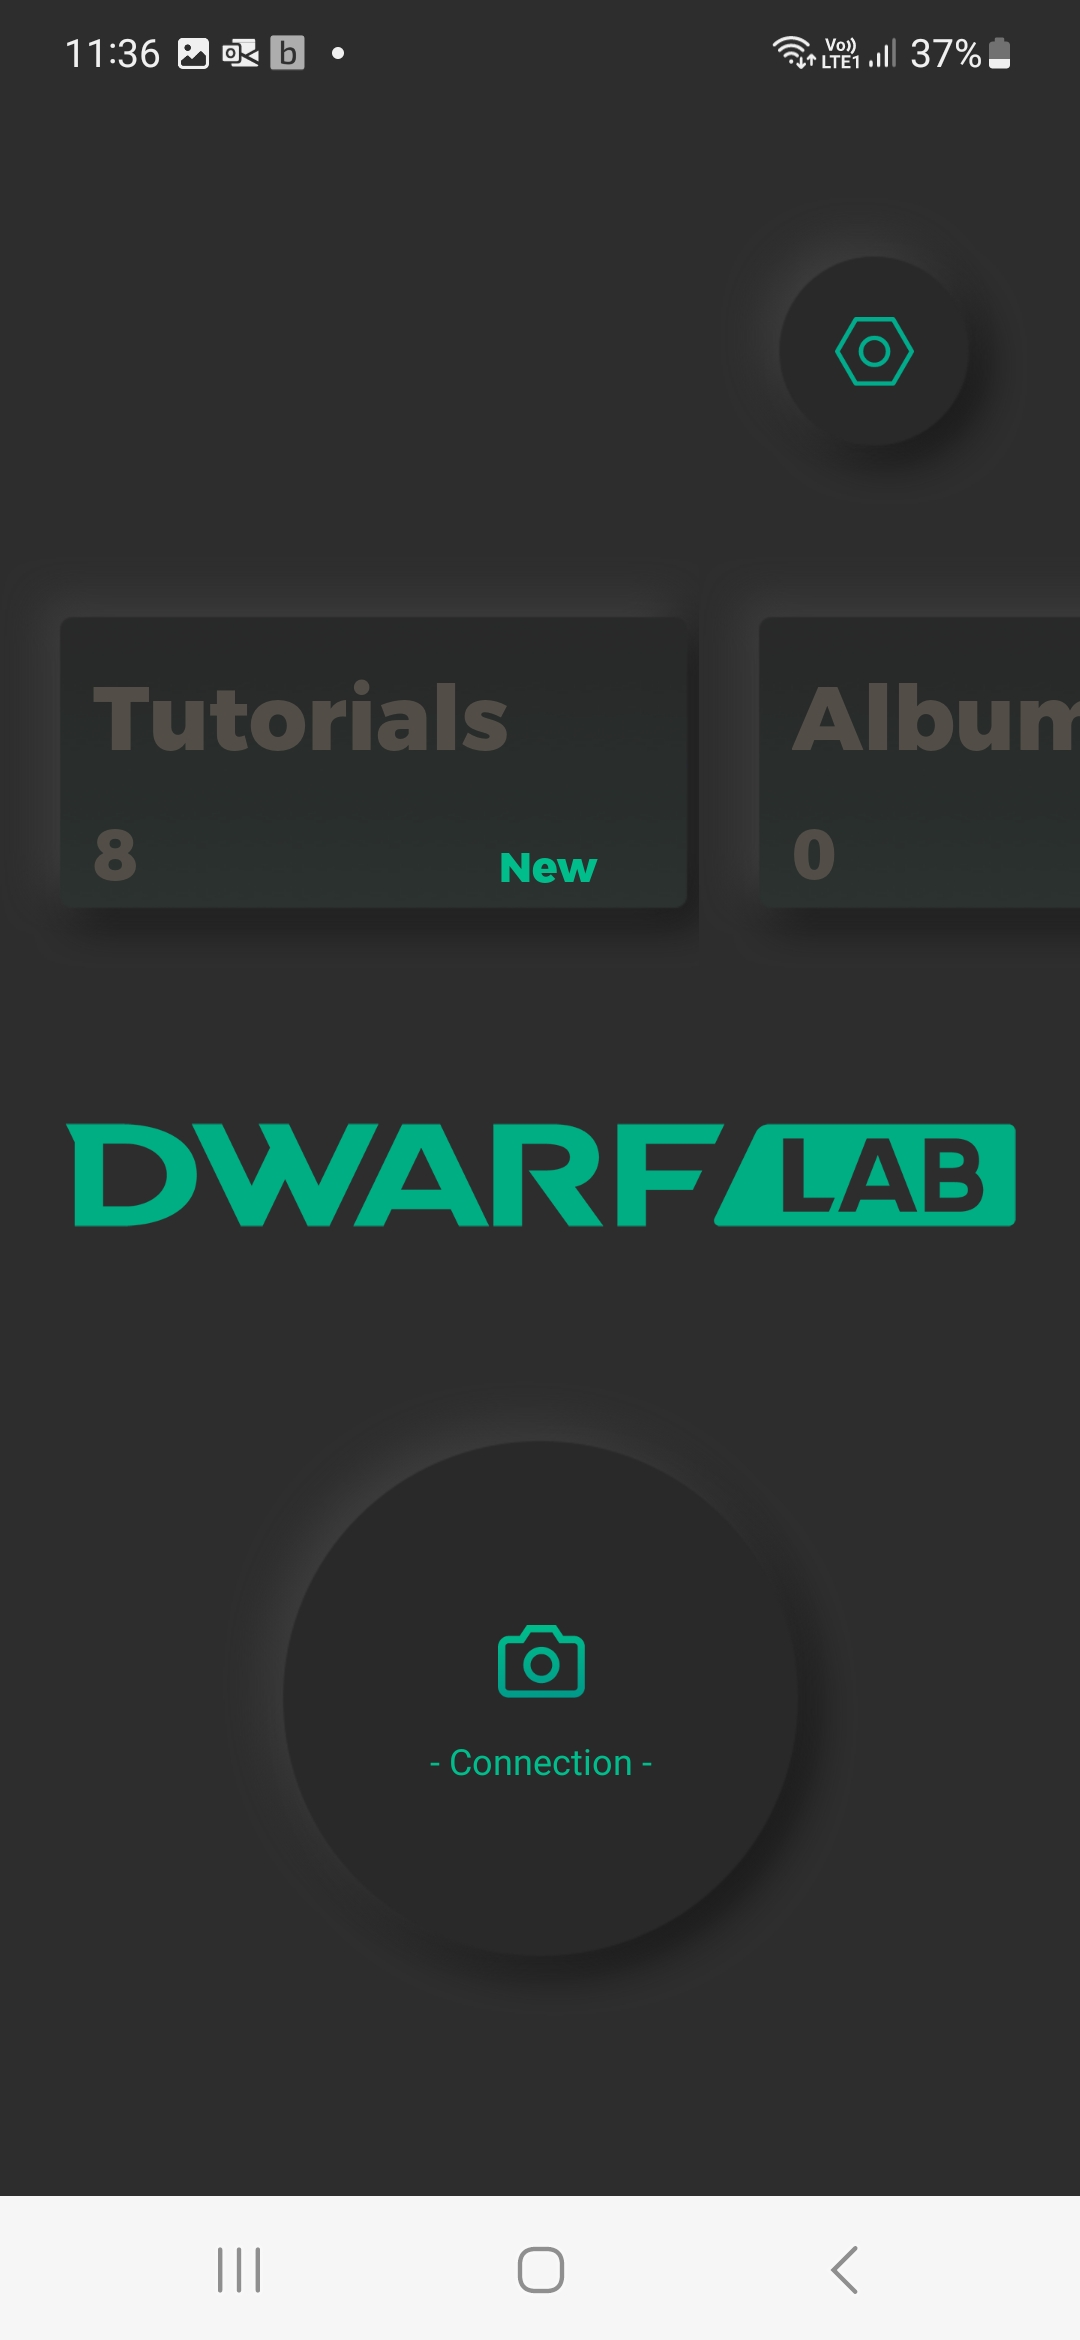
Application
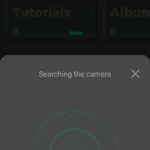
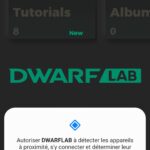
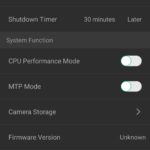
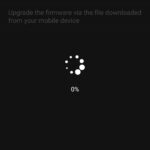
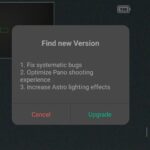
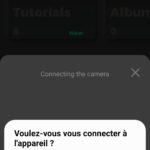
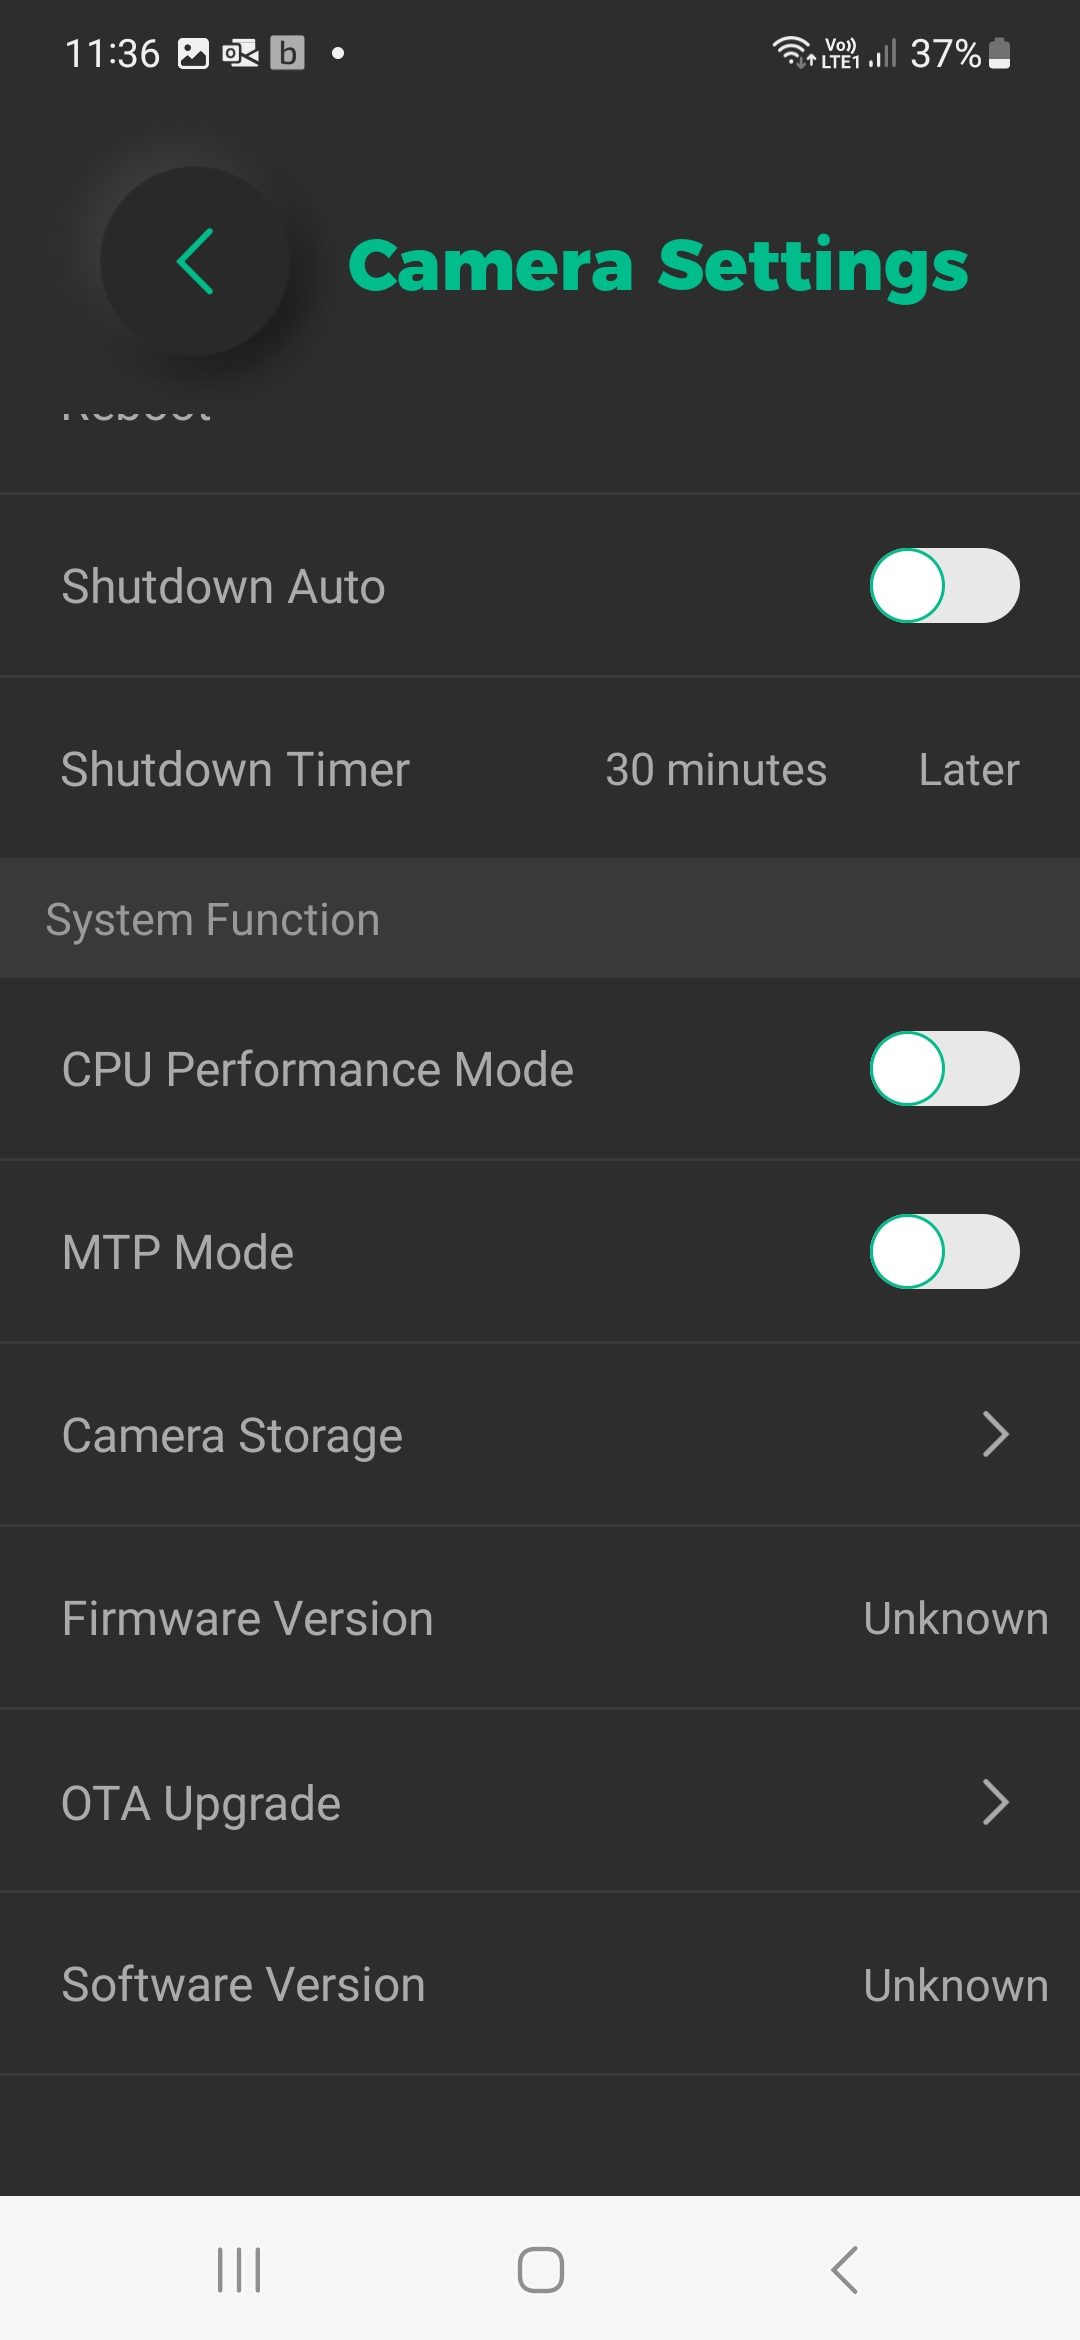
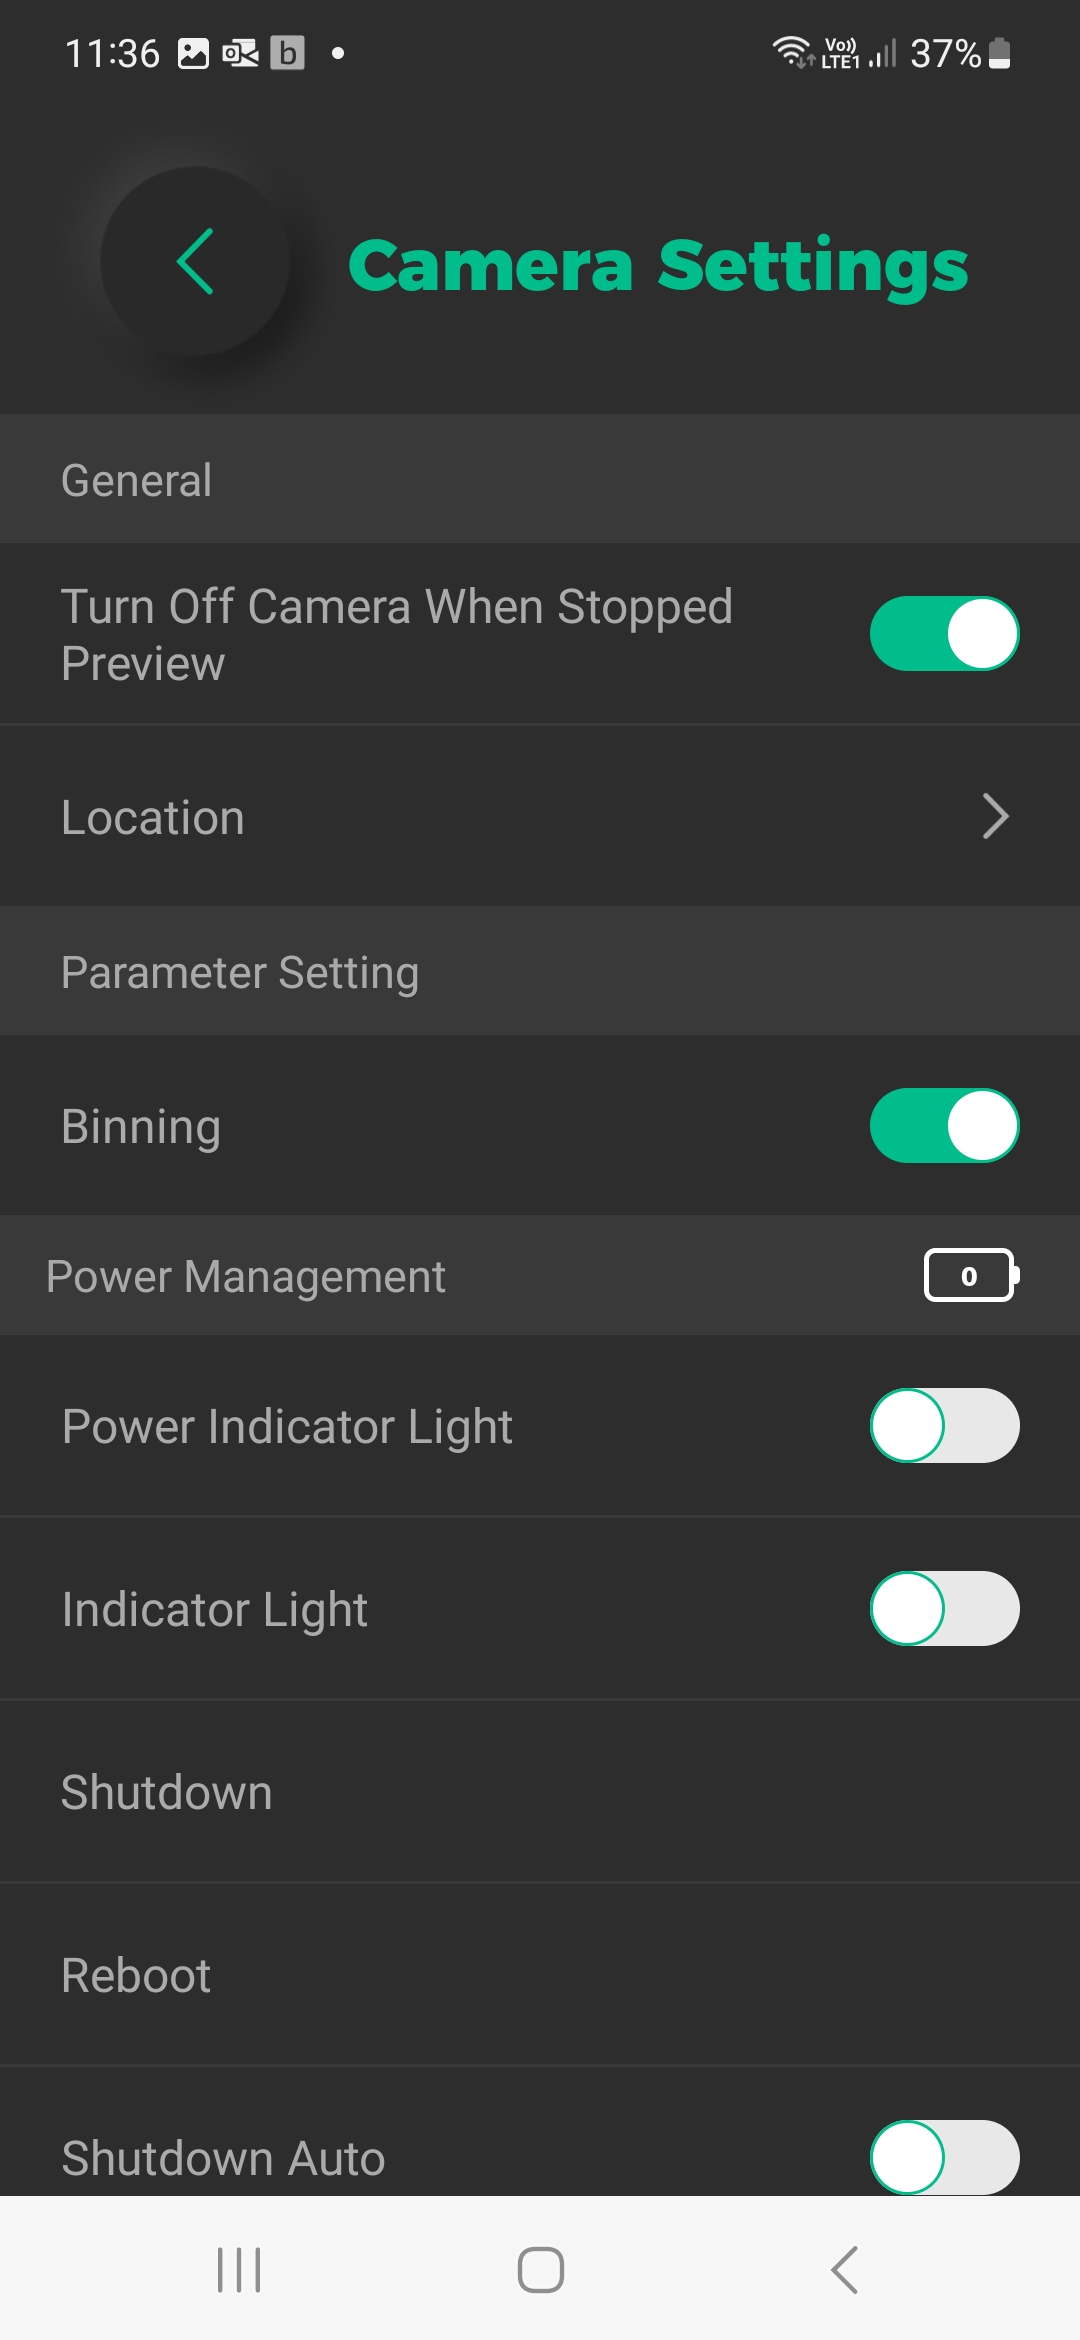
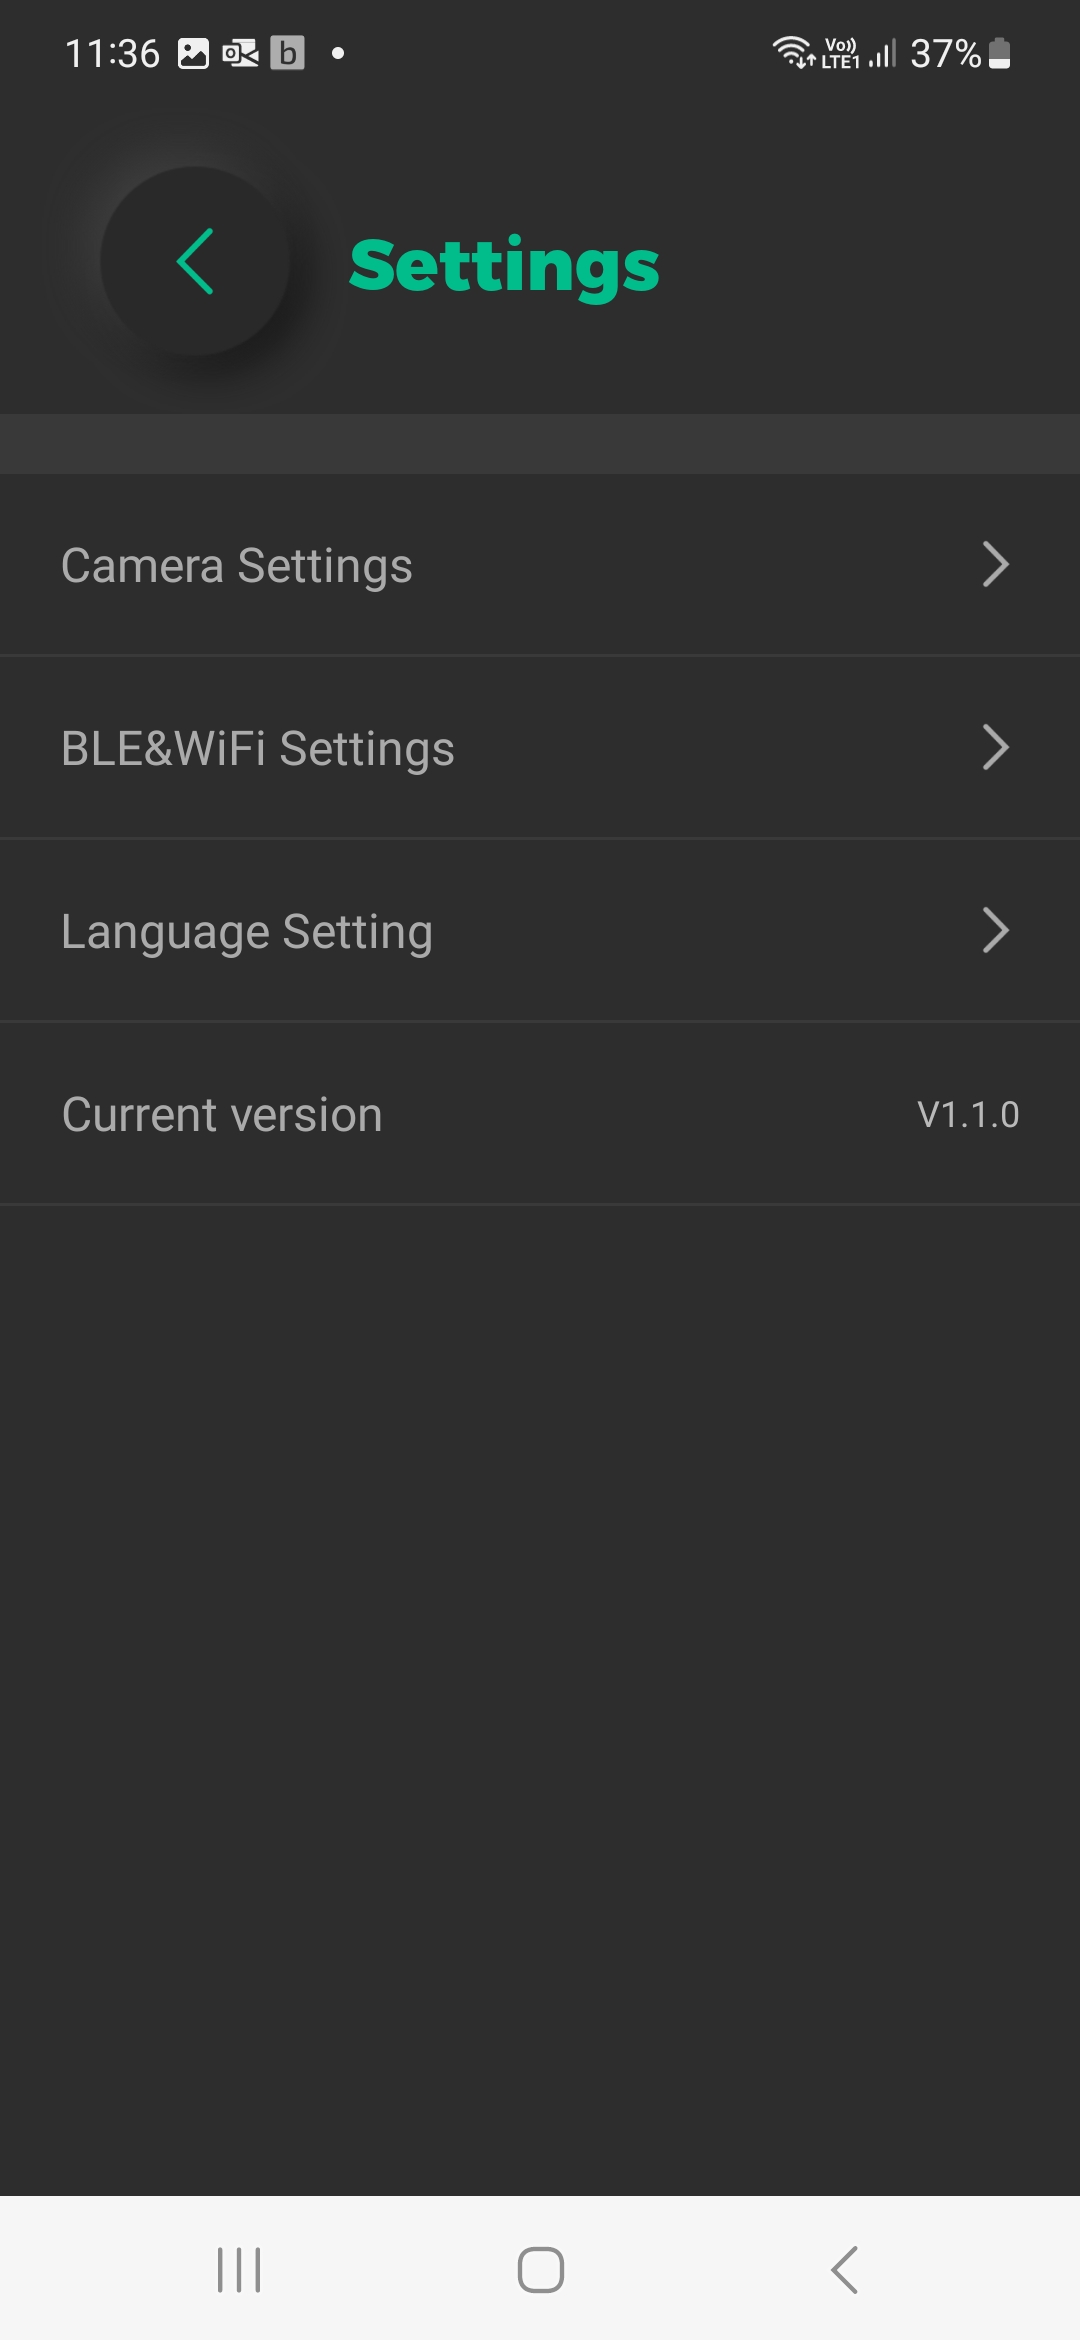
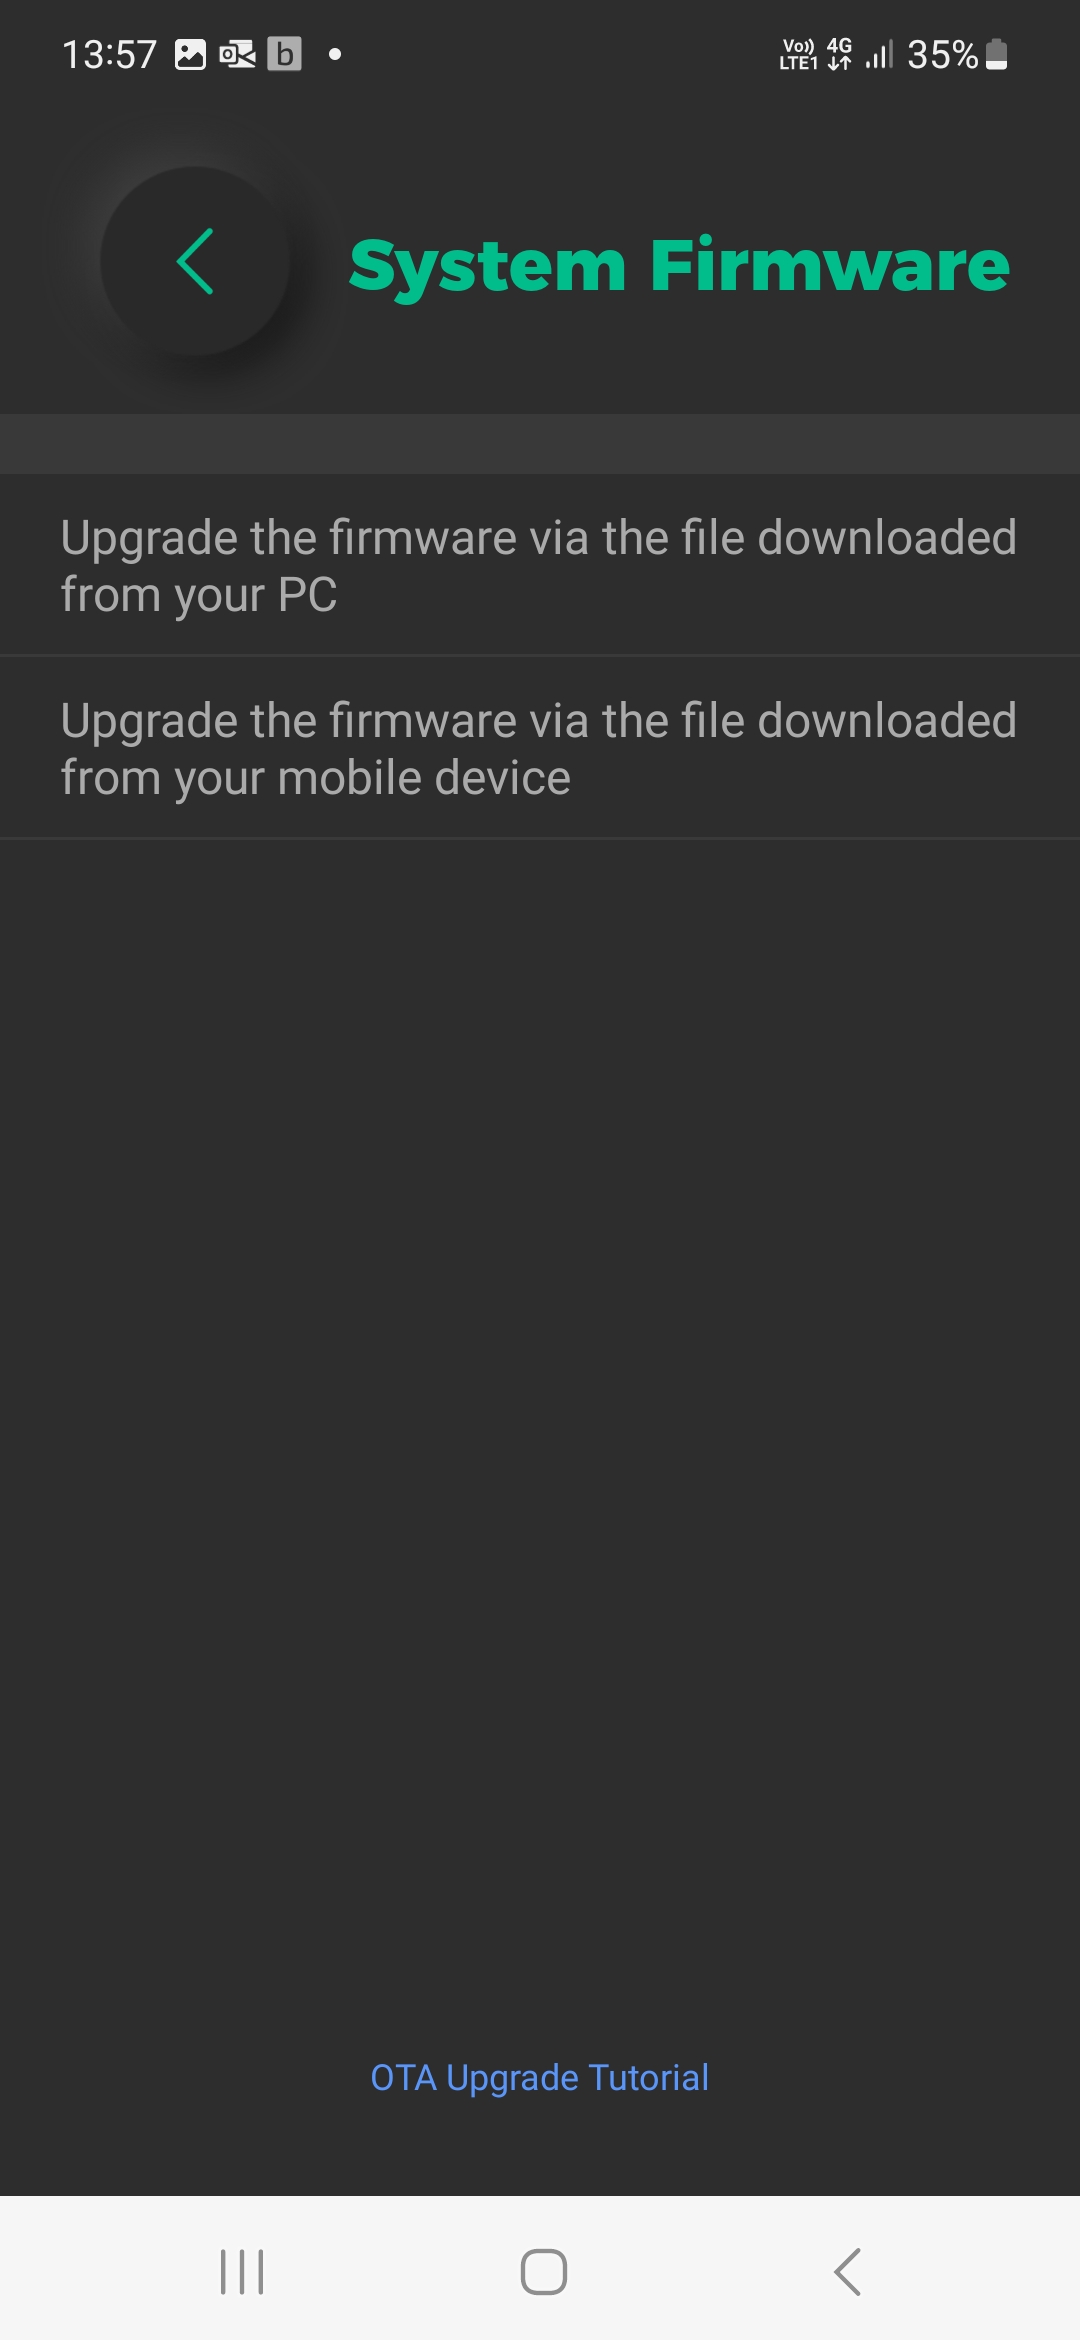
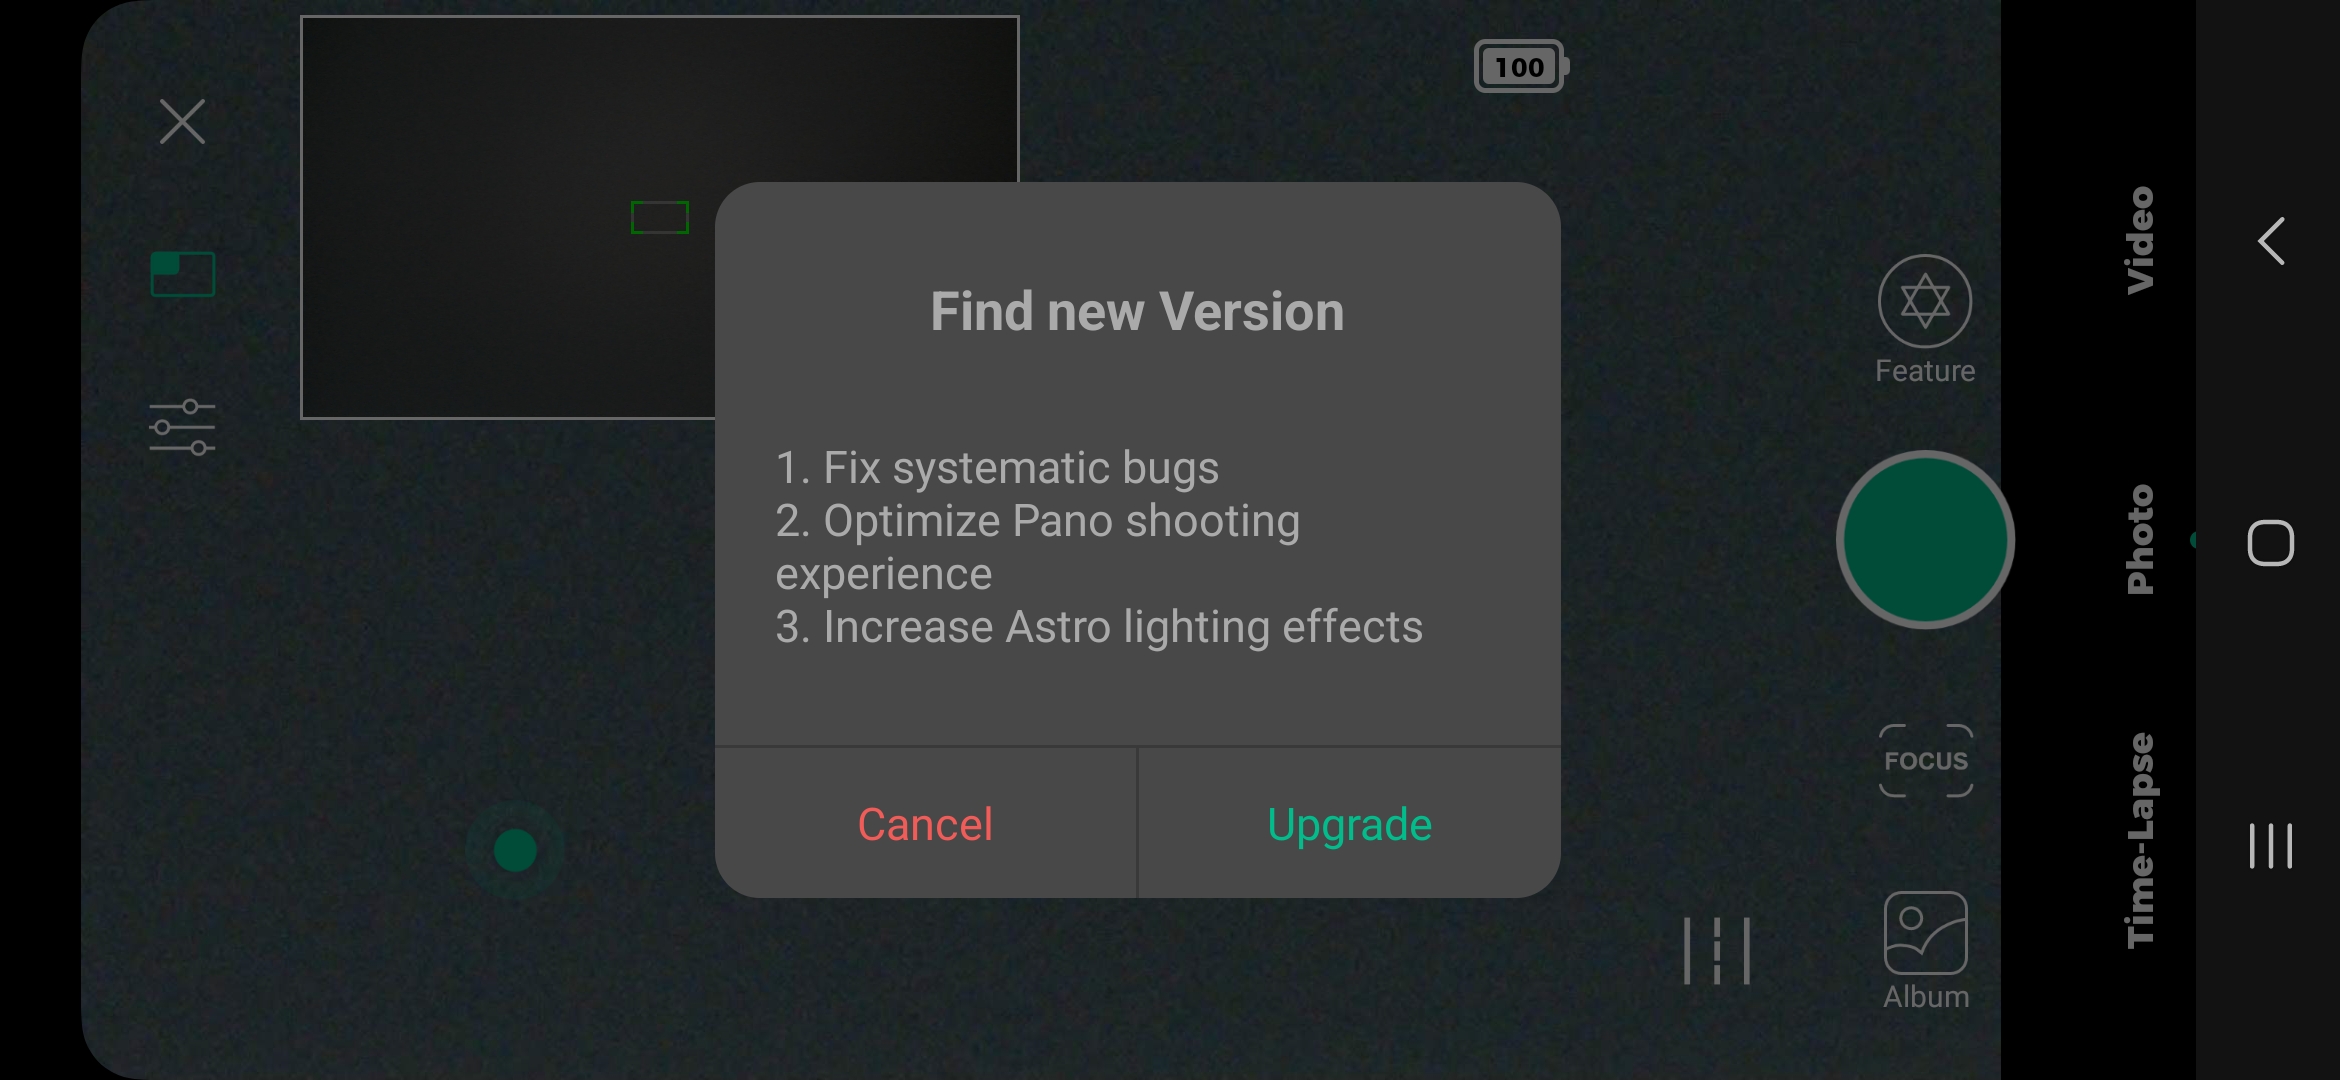
The telescope can be controlled by the Dwarl Lab app available for Android and iOs. When you first start the phone, you will need to do an update and unfortunately this update cannot be done with the app, you need to transfer an update file from the Dwarl Lab website to the memory card and then from the app you need to do the update. I think that the following updates can be done with the application without having to go through the copy of a file.The telescope is detected immediately by the application and I had no problems for the first configuration. Once the telescope is connected, you have the possibility to take pictures, make videos, take a panoramic picture, make a deep sky picture (fast version) and take a deep sky picture with a very high pause time. These are all the basic features promised by Dwarf Lab.
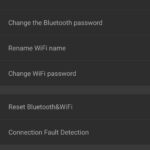
I played around with the app a bit to test the telescope but there is still some work to be done before this app can really be considered a mainstream app. It is not always very intuitive and the menus often overlap. The different menus do not have a background color and this causes a big problem of readability if the projector image is very clear. I often had this problem during my first tests where the telescope would display a white image due to overexposure or a crash and impossible to read the white text on this white image. This problem could easily be solved by adding a darker background color to create contrast.
I will try to make a video with the features of the app as soon as the weather is good again for stargazing.
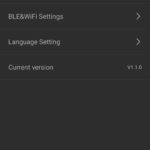
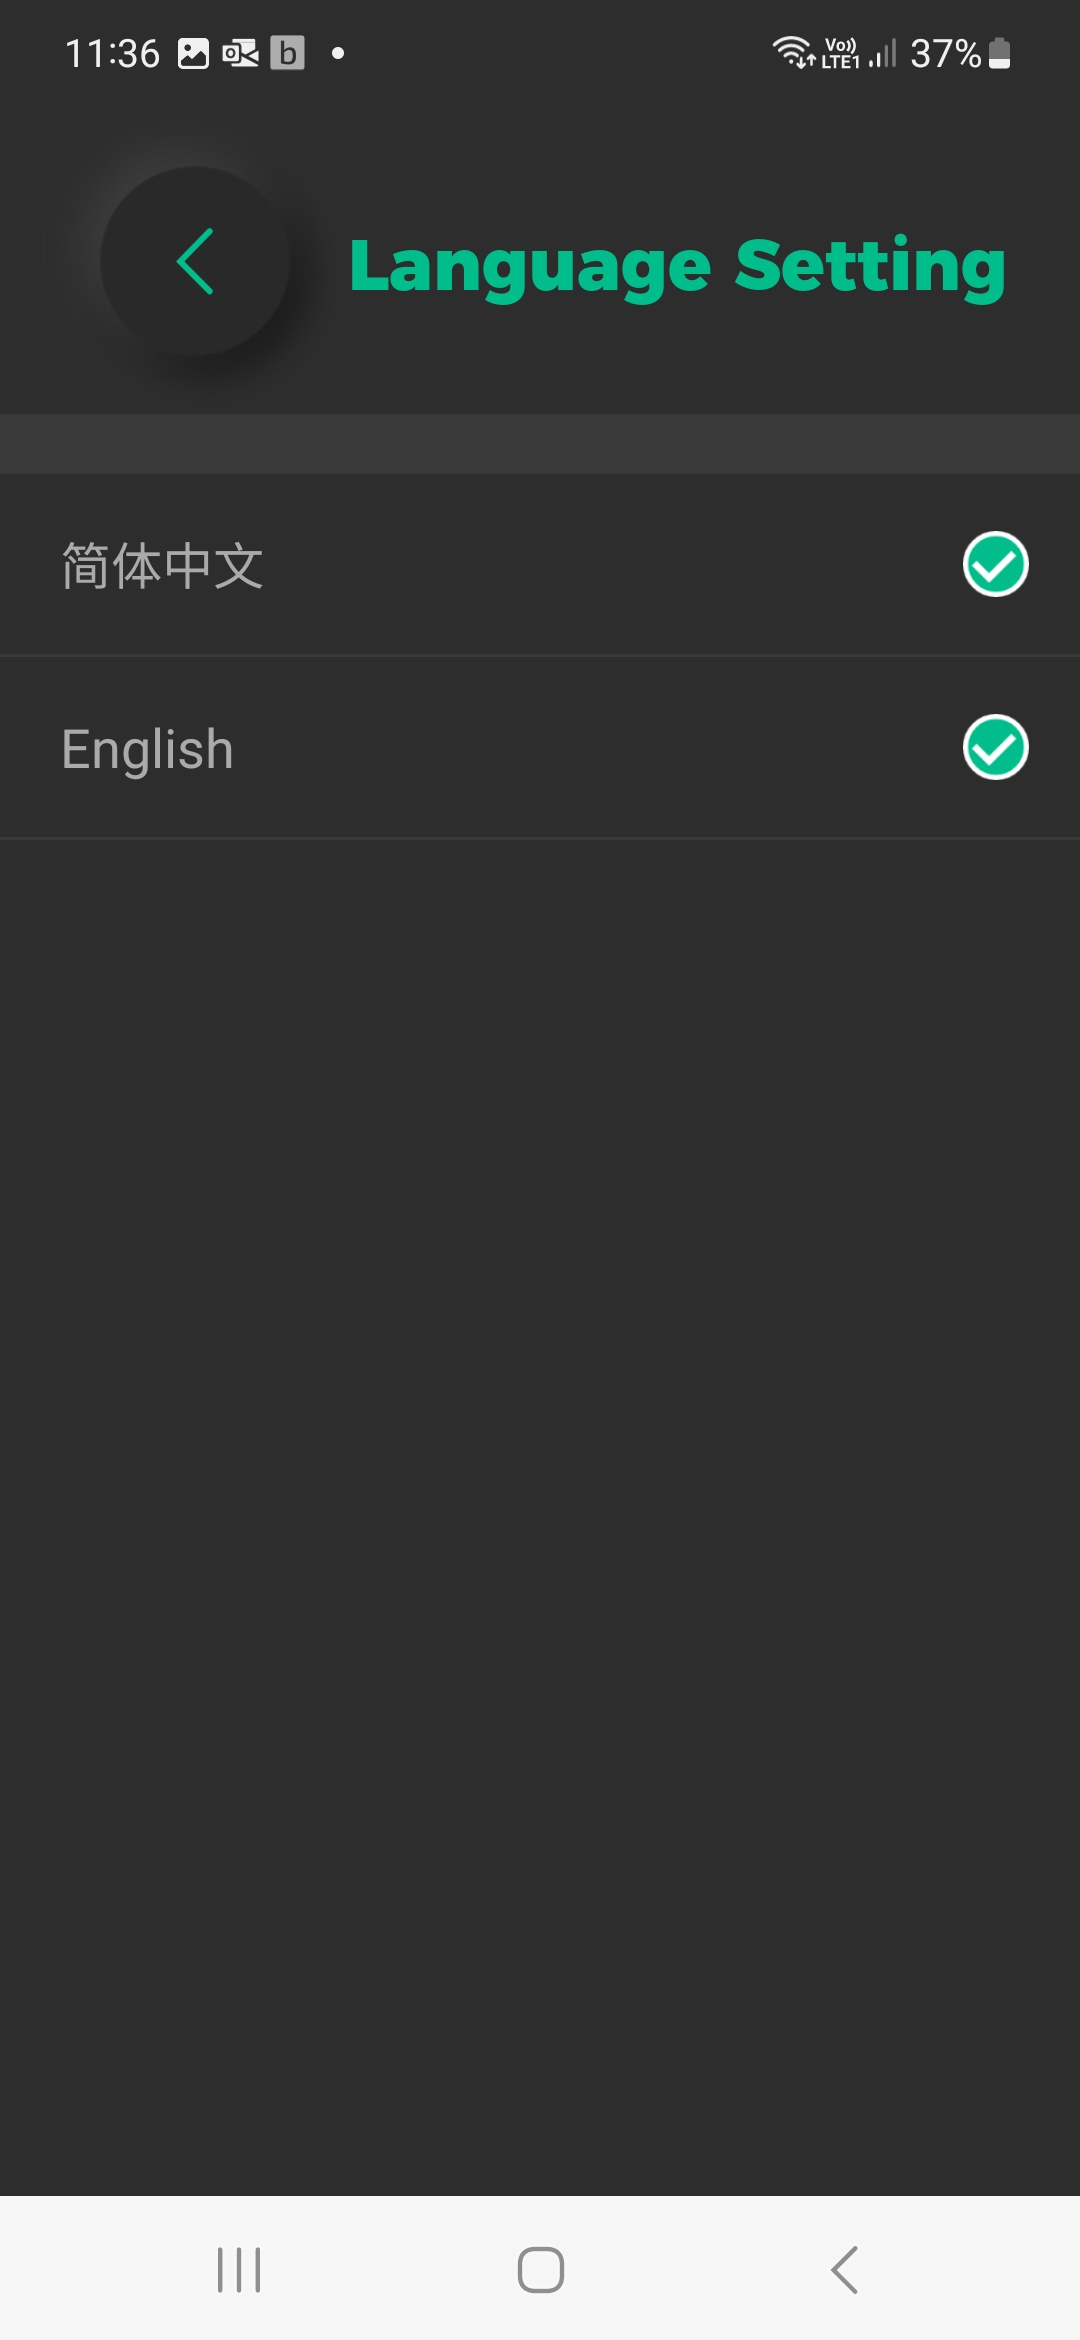
The app is only available in English and Chinese.


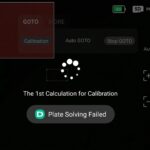

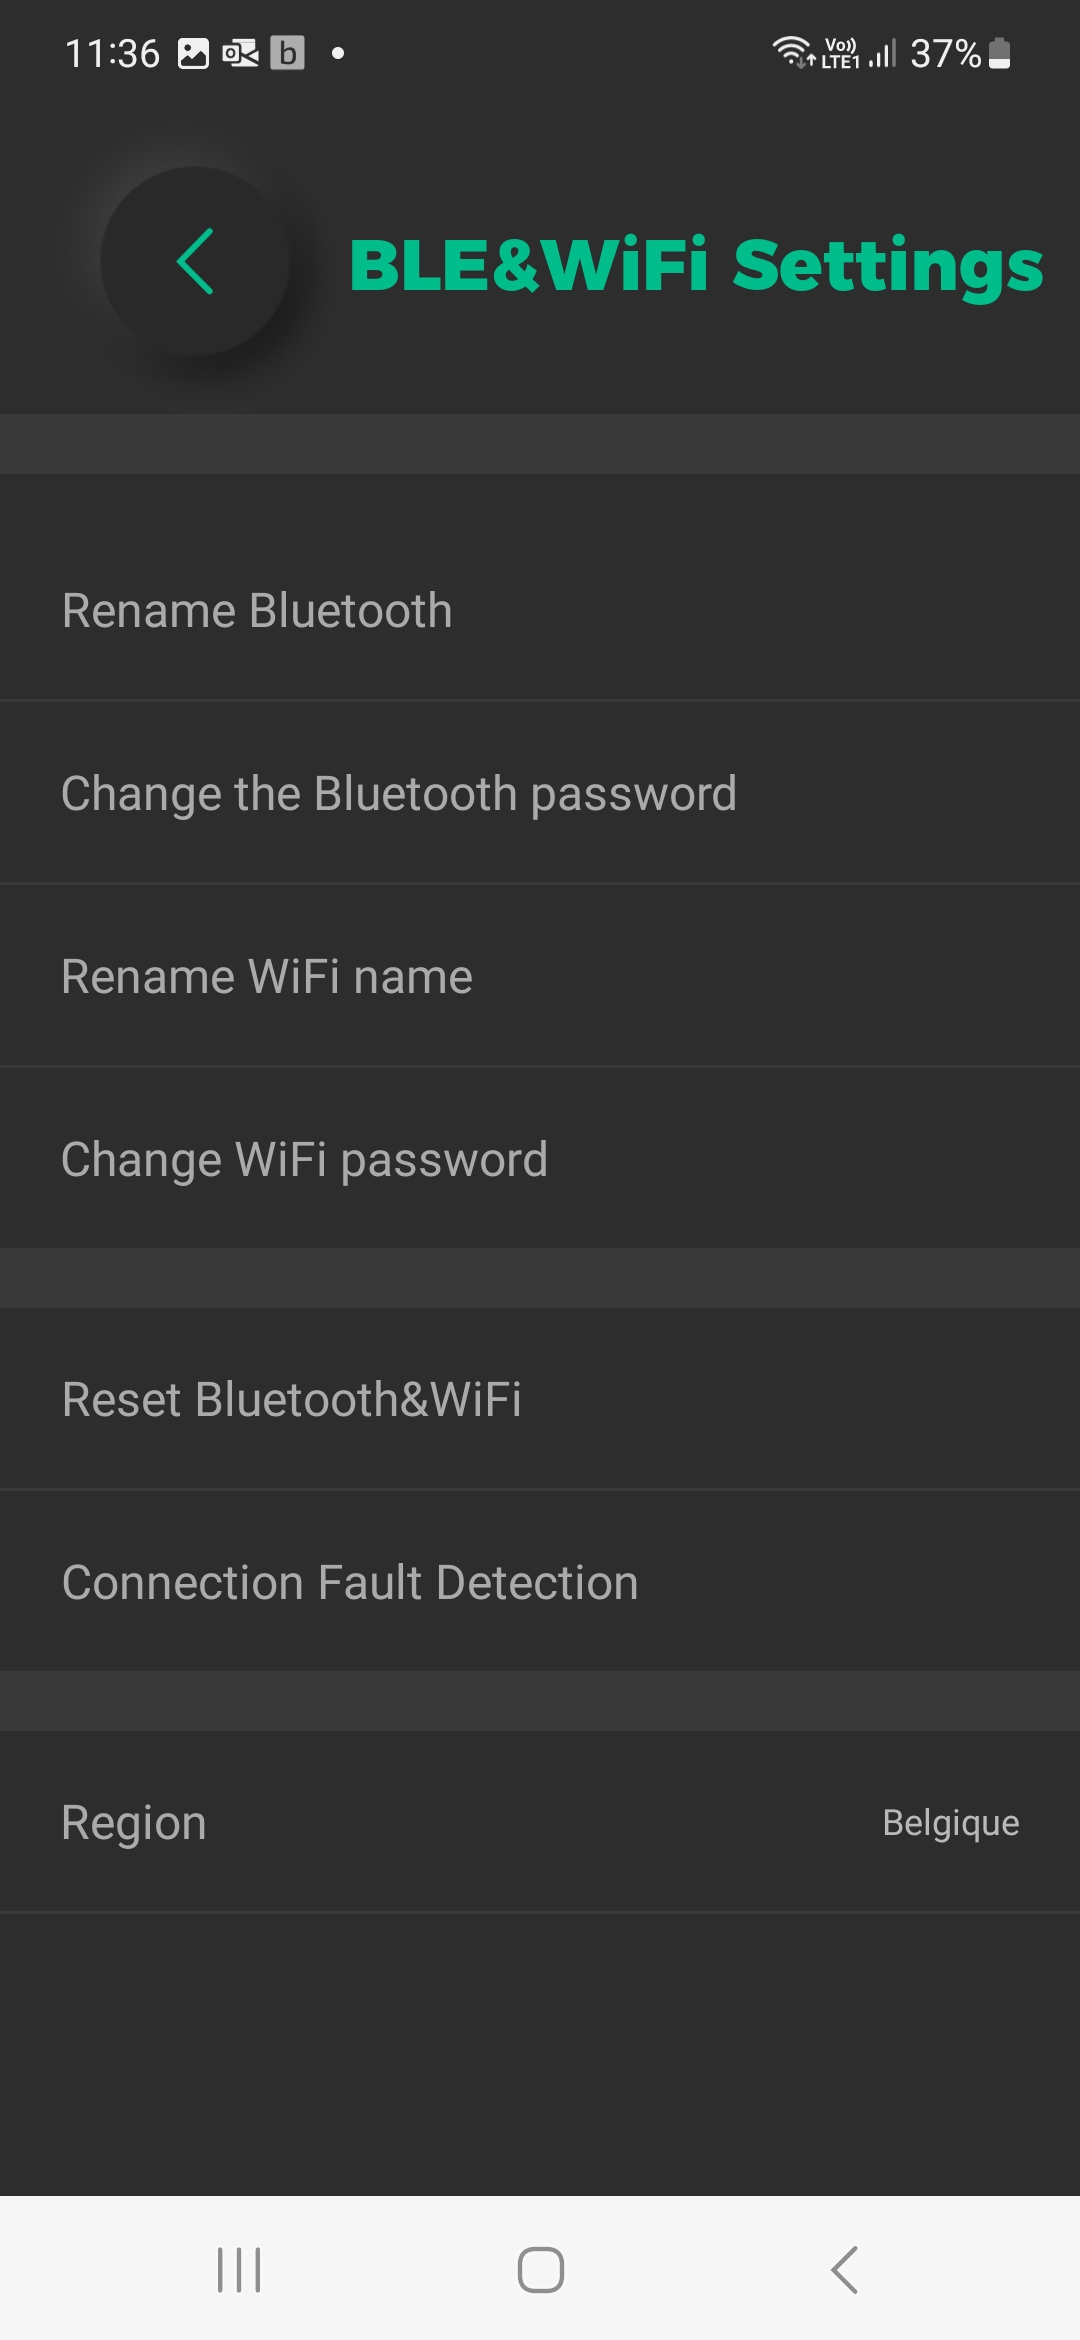
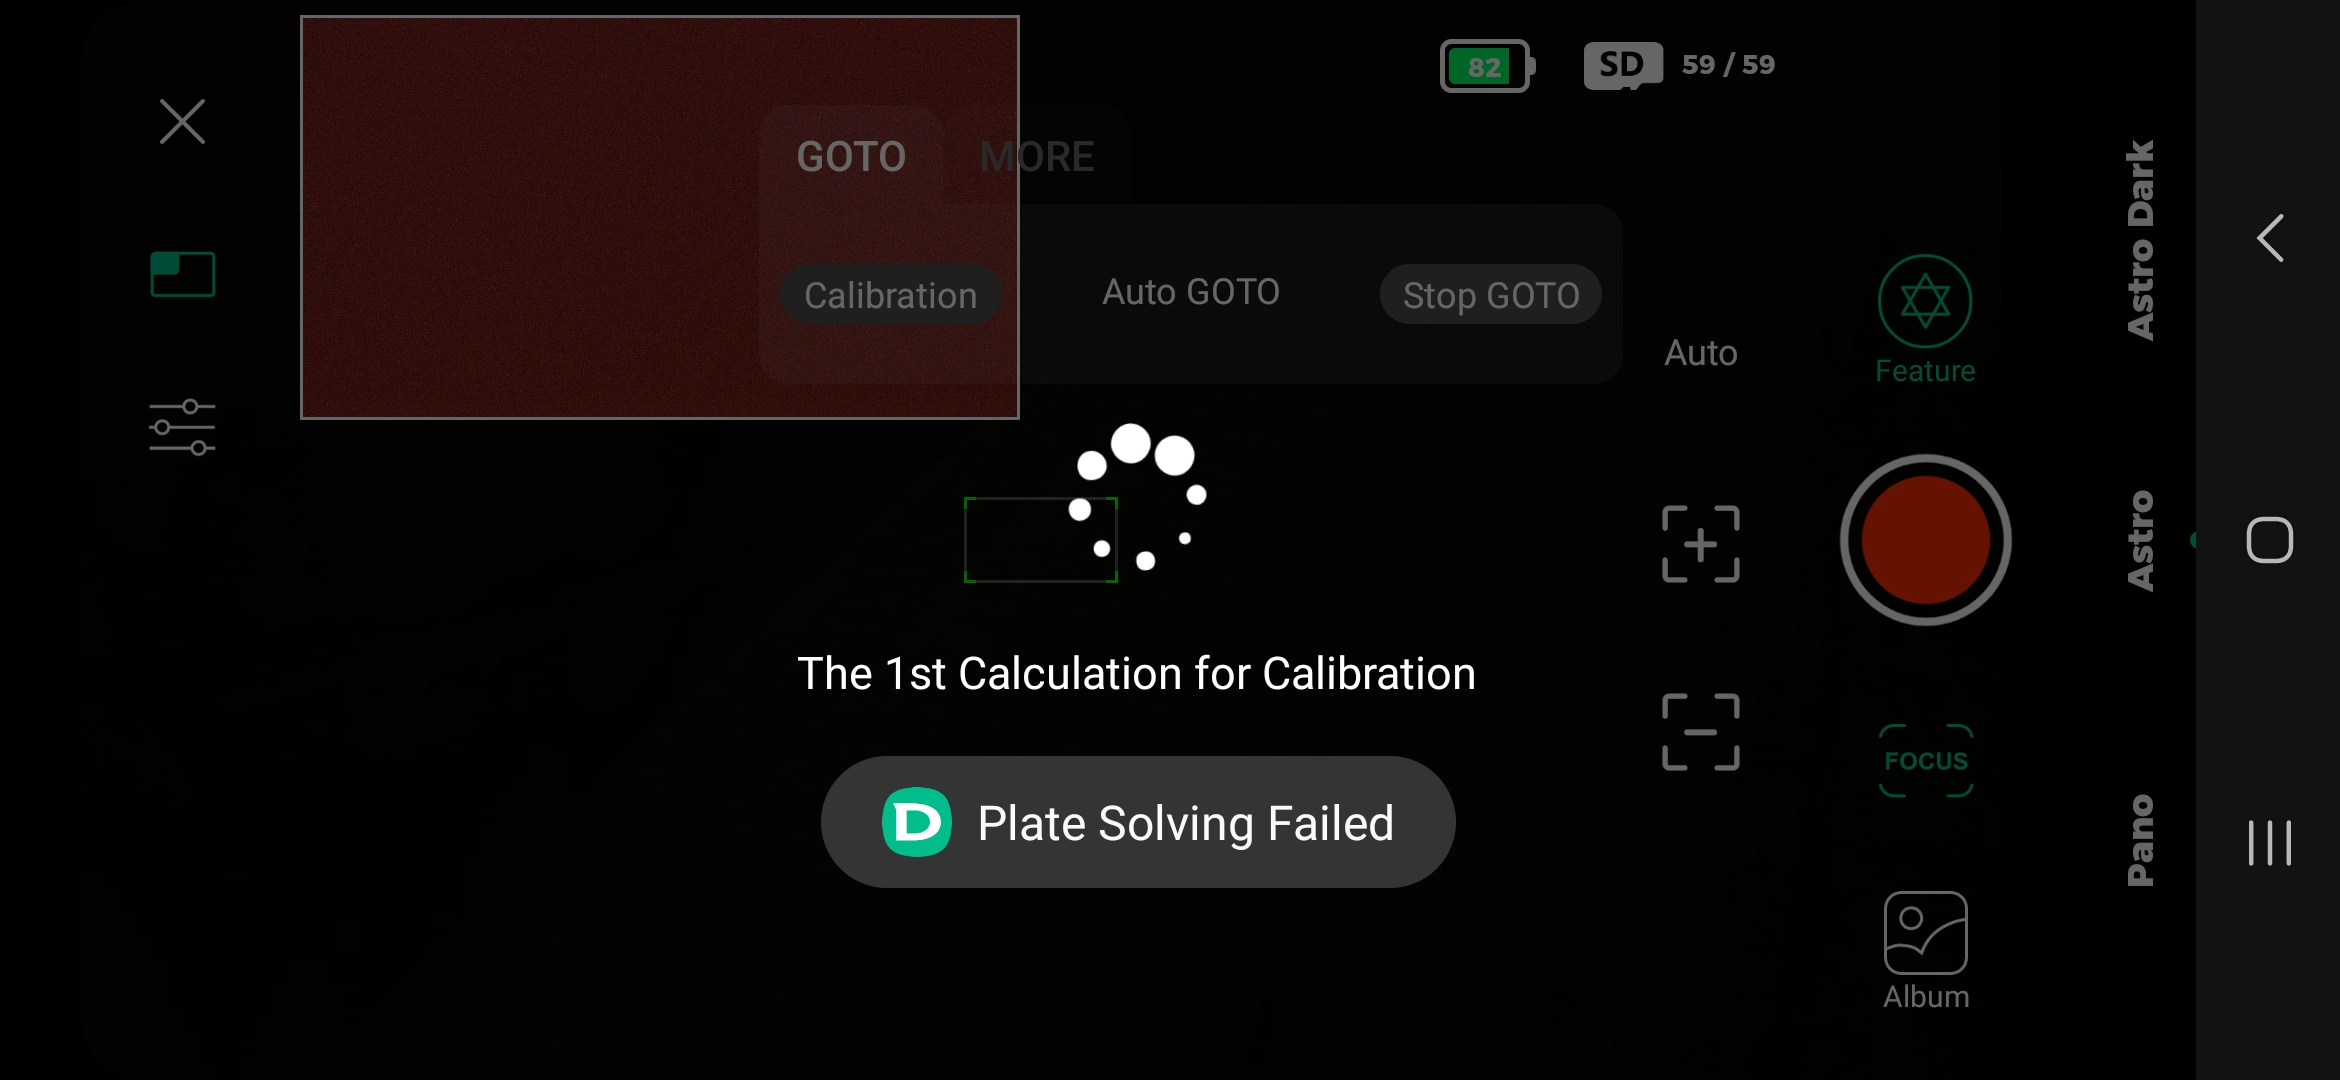
Calibration
If you want to do astrophotography, you will have to calibrate the telescope. I also have a tube telescope without electronics, calibration is one of the mandatory steps on this type of product, it's the same with the Dwarf II but fortunately it's easier. It took me several tries to understand how to do calibration because I always got the message "plate solving failed".To solve the "plate solving failed" problem, the solution is quite simple. First you have to make sure that the telescope is placed on the same line as its support but as the telescope can rotate completely on itself, I advise you to go as far as possible to the left or to the right and then come back on the main axis. This will make sure that you are in the initial position. You must then exit the optics towards the front of the telescope, making sure to have the battery behavior at the back. Once in this position, you can launch the calibration from the "feature" menu of the "astrophoto" mode. The telescope will then rotate completely on itself to find its position and pass the calibration stage.
The calibration allows you to guide the telescope automatically to the object of your choice in the sky. The application has about fifty objects in its catalog and after calibration you just have to choose the object, the telescope will take care of the rest.
Photography
Astrophotography
The Moon is probably the easiest object to spot and photograph, so that's where I started my test. You don't need a calibration for the moon because you can find it yourself by orienting the telescope correctly. Once positioned on the moon, you can activate the tracking and the telescope will follow the movement of the moon in the sky. The tracking works quite well.The moon is a very bright object, so you need to correct the photo settings by choosing a fast shutter speed, zero gain and turning off the IR filter. With this type of setting, you get this kind of picture:
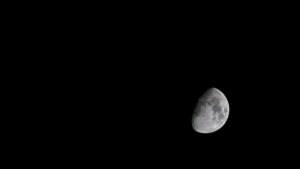
The result is quite correct but I expected better because the magnification is not enough to really get a good level of detail. I get a much higher magnification with my Orion telescope (normal, considering the optics used). The picture was taken in 1920x1080 pixels, so the resolution is not very high. This telescope is clearly not designed to observe planets. Jupiter is visible but you will not see much except a small luminous ball and maybe some moons if you are lucky. No way to see the big spot. With my Orion telescope I can see the color bands of Jupiter as well as the shadow of its moons projected on the planet.
I live away from the city but I still have light pollution. It's hard to find a place without light pollution in a country like Belgium. I didn't have many interesting objects in sight, I lingered on M42 which was just passing under an electric cable. Here is what it gives:
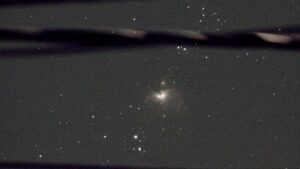
The result is already more interesting than the photo of the moon. The photo was obtained with an exposure time of about thirty seconds and without spending much time in the settings. The photo is therefore quite noisy but it is easy to correct. We see here that the tracking is good quality because the stars appear as uniform spheres without any drag.
To really enjoy the objects in the catalog, I will have to find another place because at home I have trees everywhere and it does not allow me to make a long observation.
Update January 2023
Like most crowdfunding projects, this project has been delayed and we are now 6 months after the announced launch date but we should not lose hope. The Tinyscope team has recently released photos of the production facility and the first deliveries are coming. If you don't trust this kind of communication, there are other elements that will reinforce the credibility of the product, some YouTubers have received a pre-production version and their opinion is very interesting.First of all, there is Cuiv who is located in Tokyo and who despite the pollution managed to do very interesting things with the telescope: If you want another very detailed opinion, there is the one of catchingphotons: And here is a third one to complete the previous two: I was hoping to take this telescope in Norway last year to take advantage of a nice clear sky to take night pictures, it's missed, I hope I will get it now before my next vacations to finally enjoy it. These first videos are in any case very encouraging and if this kind of product interests you, there is still time to enjoy it before the price goes up.
Update March 2023
The Dwarf II has finally arrived and I can start the test. This test may be spread out in time because I need good conditions to observe the night sky.I'll try to make a video with the app's features as soon as the weather is favorable for stargazing again.
The app is only available in English and Chinese.
Calibration
If you want to do astrophotography, you are going to have to calibrate the telescope. I also have a tube telescope without electronics, calibration is one of the obligatory steps on this type of product, it's the same thing with the Dwarf II but fortunately it's simpler. It took me several tries to figure out how to do calibration because I kept getting the "plate solving failed" message.To resolve the problem of "plate solving failed", the solution is quite simple. You must first ensure that the telescope is placed on the same line as its support but as the telescope can rotate completely on itself, I advise you to go towards the maximum left or right and then return to the main axis. This will allow you to ensure that you are in the initial position.
You then need to output optics to the front of the telescope making sure you have the battery behavior at the back. Once in this position, you can start the calibration from the “feature” menu of the “astrophoto” mode. The telescope will then completely rotate on itself to find its position and complete the calibration stage. To increase the chances of success, I advise you to point at a starry sky by observing the stars on your phone screen. Then use manual focus to make sure the stars are sharp on your screen. Then start the calibration.
Calibration allows you to guide the telescope automatically towards the object of your choice in the sky. The application has around fifty objects in its catalog and after calibration you just have to choose the object, the telescope will take care of the rest.
Photography
Astrophotography
The Moon is undoubtedly the easiest object to spot and photograph, so that's where I started my test. You don't need calibration for the moon because you can find it yourself by correctly aiming the telescope. Once positioned on the moon, you can enable tracking and the telescope will follow the movement of the moon across the sky. Tracking works quite well.The moon is a very bright object, so you need to correct the photo settings by choosing a fast shutter speed, zero gain and cutting off the IR filter. With this type of adjustment, you get this kind of photo:
The result is quite correct but I expected better because the magnification is not enough to really obtain a good level of detail. I obtain much greater magnification with my Orion telescope (normal, given the optics used). The photo was taken at 1920x1080 pixels, so the resolution is not very high. This telescope is clearly not designed to observe planets. Jupiter is visible but you won't see much other than a small ball of light and maybe a few moons if you're lucky. There is no question here of seeing the big stain. With my Orion telescope I can see Jupiter's color bands as well as the shadows of its moons cast on the planet.
I live away from the city but I still have light pollution. Difficult to find a place without light pollution in a country like Belgium. I didn't have many interesting objects in sight, I lingered on M42 which passed just under an electric cable. Here's what it looks like:
The result here is already more interesting than the photo of the moon. The photo was obtained with an exposure time of around thirty seconds and without spending a lot of time in the settings. The photo is therefore quite noisy but it is quite easy to correct. We see here that the tracking is of good quality because the stars appear as uniform spheres without any trail.
To really enjoy the objects in the catalog, I will have to find another place because at home I have trees almost everywhere and that does not allow me to make a long-term observation.
Updated January 2023
Like most crowdfunding projects, this project has fallen behind schedule and we are now 6 months after the announced launch date but we must not lose hope. The Tinyscope team recently released photos of the production facility and the first deliveries will take place. If you don't trust this kind of communication, there are other elements that will reinforce the credibility of the product, some YouTubers have received a pre-production version and their opinion is very interesting.First there is Cuiv which is located in Tokyo and which, despite the pollution, has managed to do very interesting things with the telescope: If you want another very detailed review, there is this one from catchingphotons: And here is a third to complete the previous two: I was hoping to be able to take this telescope to Norway last year to enjoy a beautiful clear sky to take night photos, it was a failure, I hope I will receive it now before my next vacation just to finally be able to benefit. These first videos are in any case very encouraging and if this type of product interests you, there is still time to take advantage of it before the price rises.

Commentaires (10)